Jupyter on OnDemand
The CRCD offers Jupyter through Open OnDemand so users can run Python notebooks on the CRCD clusters — currently the HTC and GPU clusters. The service is available to everyone with a CRCD account, through the OnDemand web portal at ondemand.htc.crc.pitt.edu.
As with any method of connecting to CRCD resources, first make sure you are connected to the GlobalProtect VPN, then proceed with the steps below.
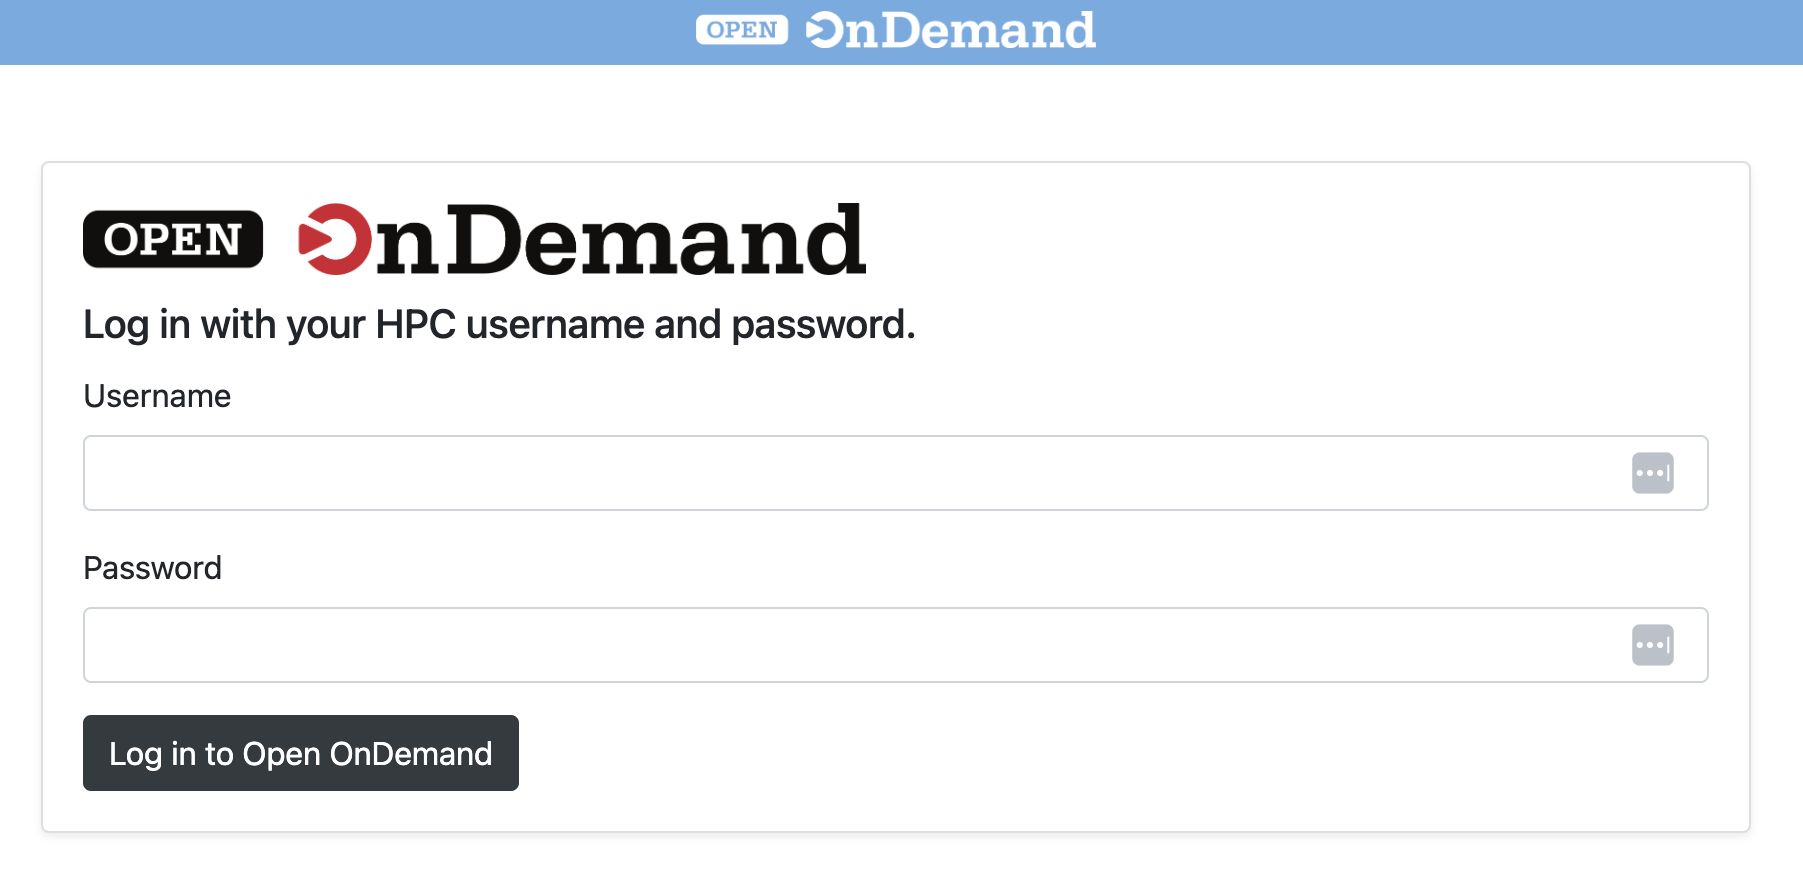
When you visit the OnDemand web portal, you are prompted to log in with your Pitt account:
Once logged in, you see the Dashboard:
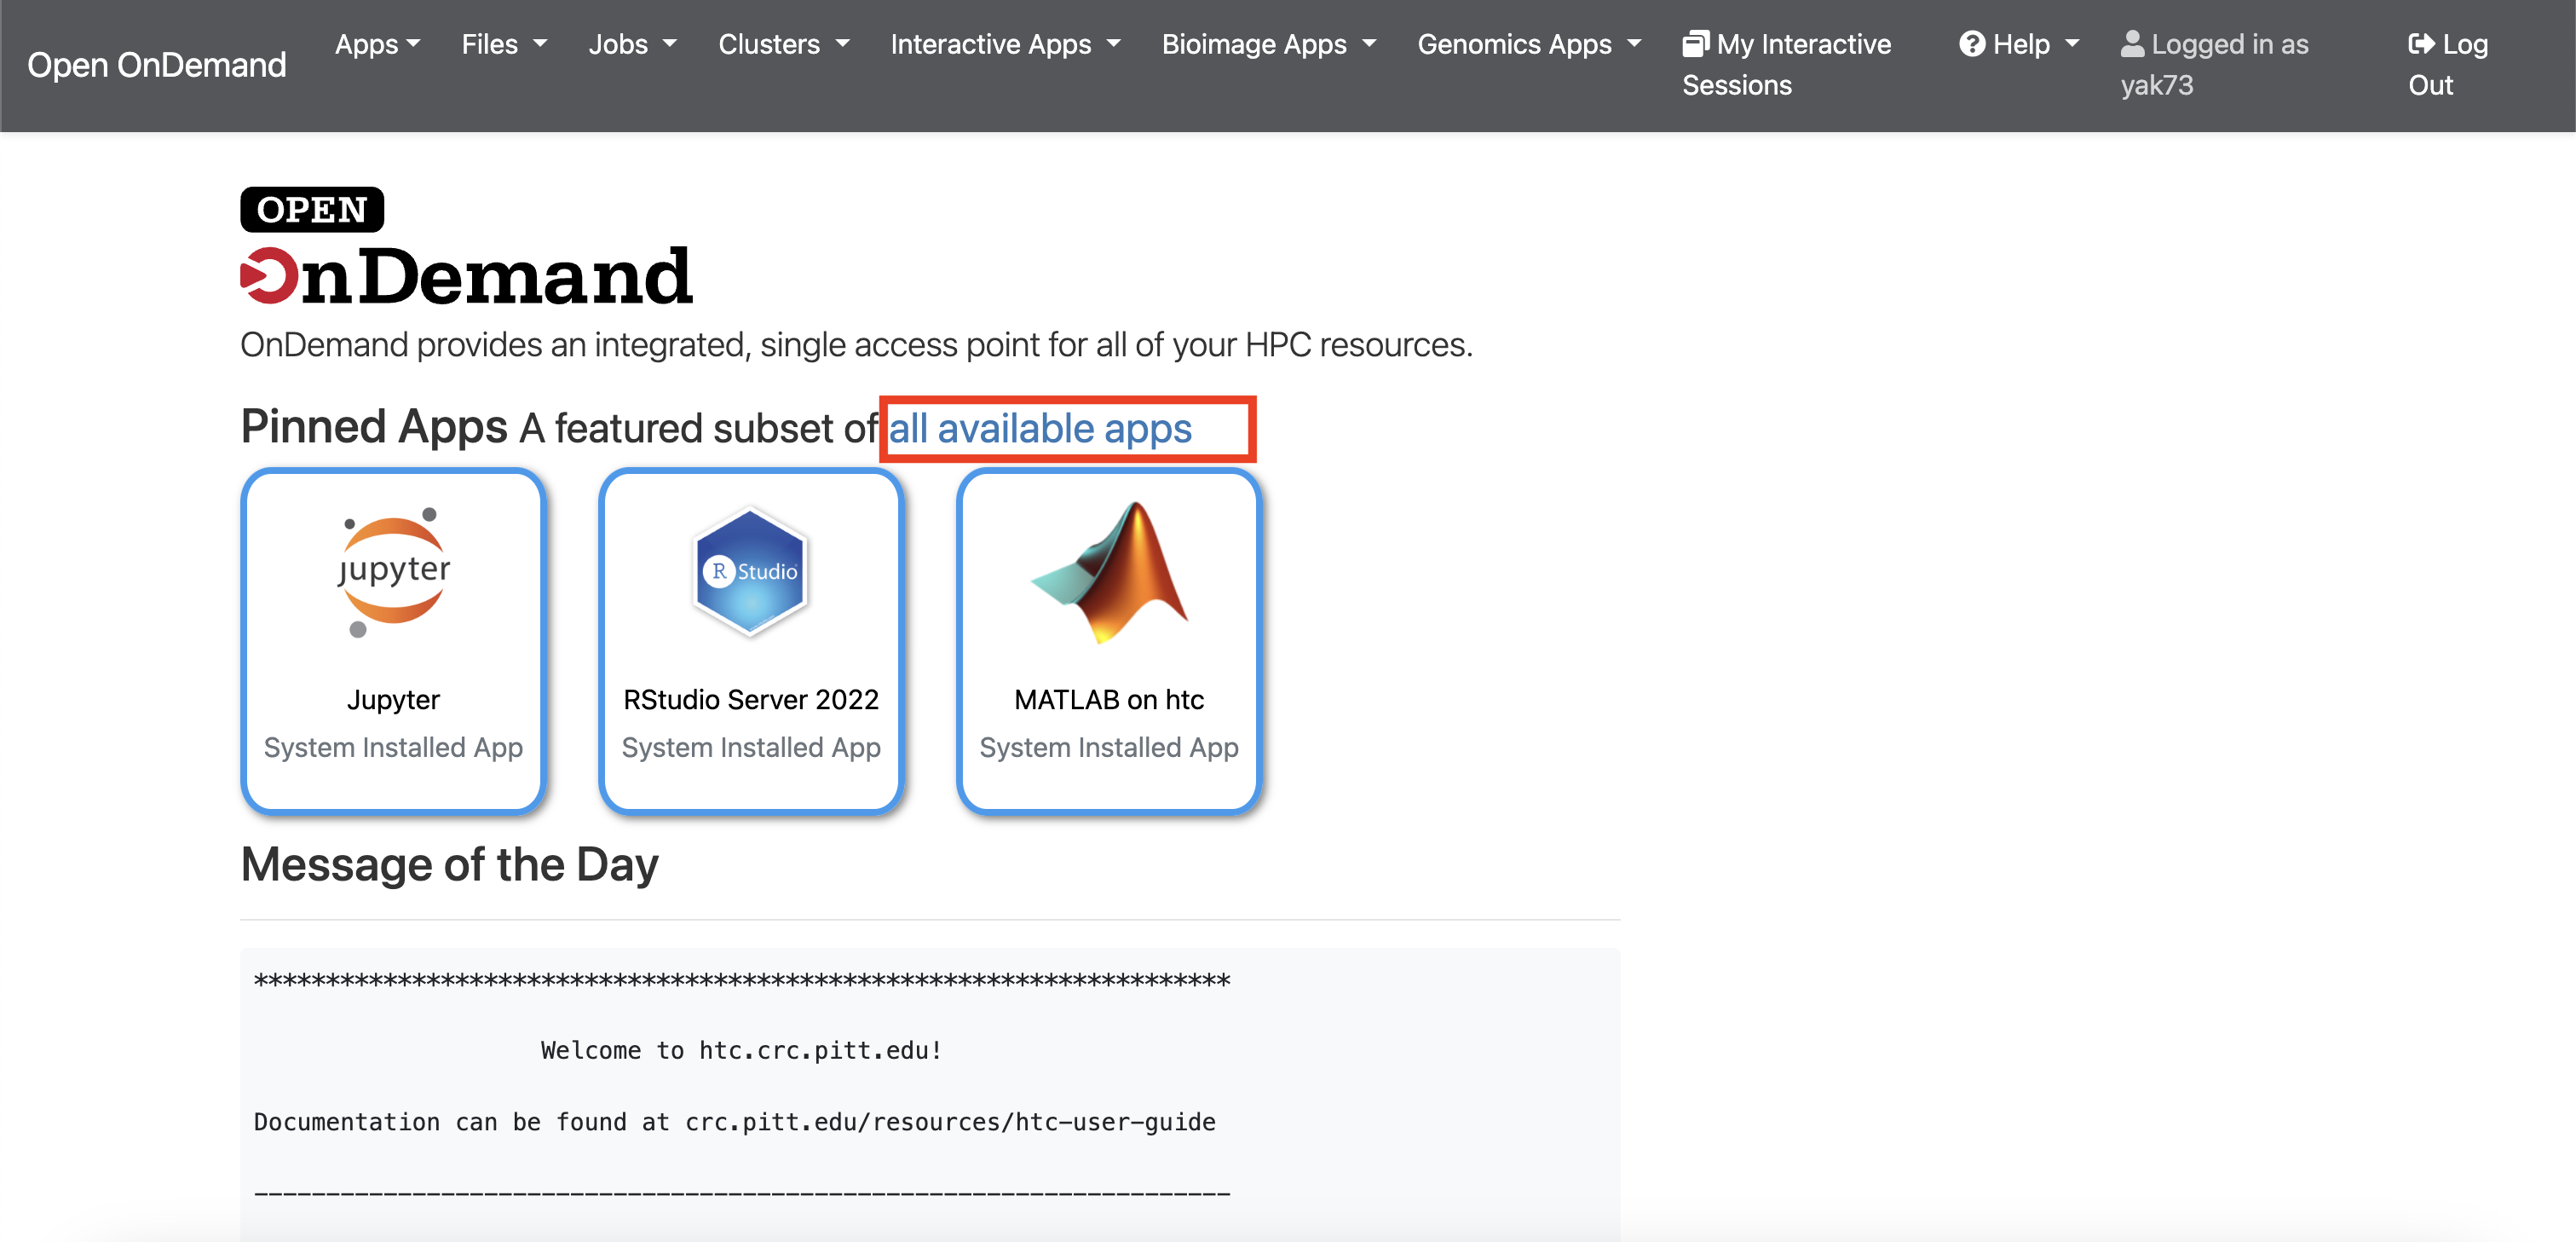
Click the All Available Apps link (highlighted in red above) to see every application available through OnDemand:
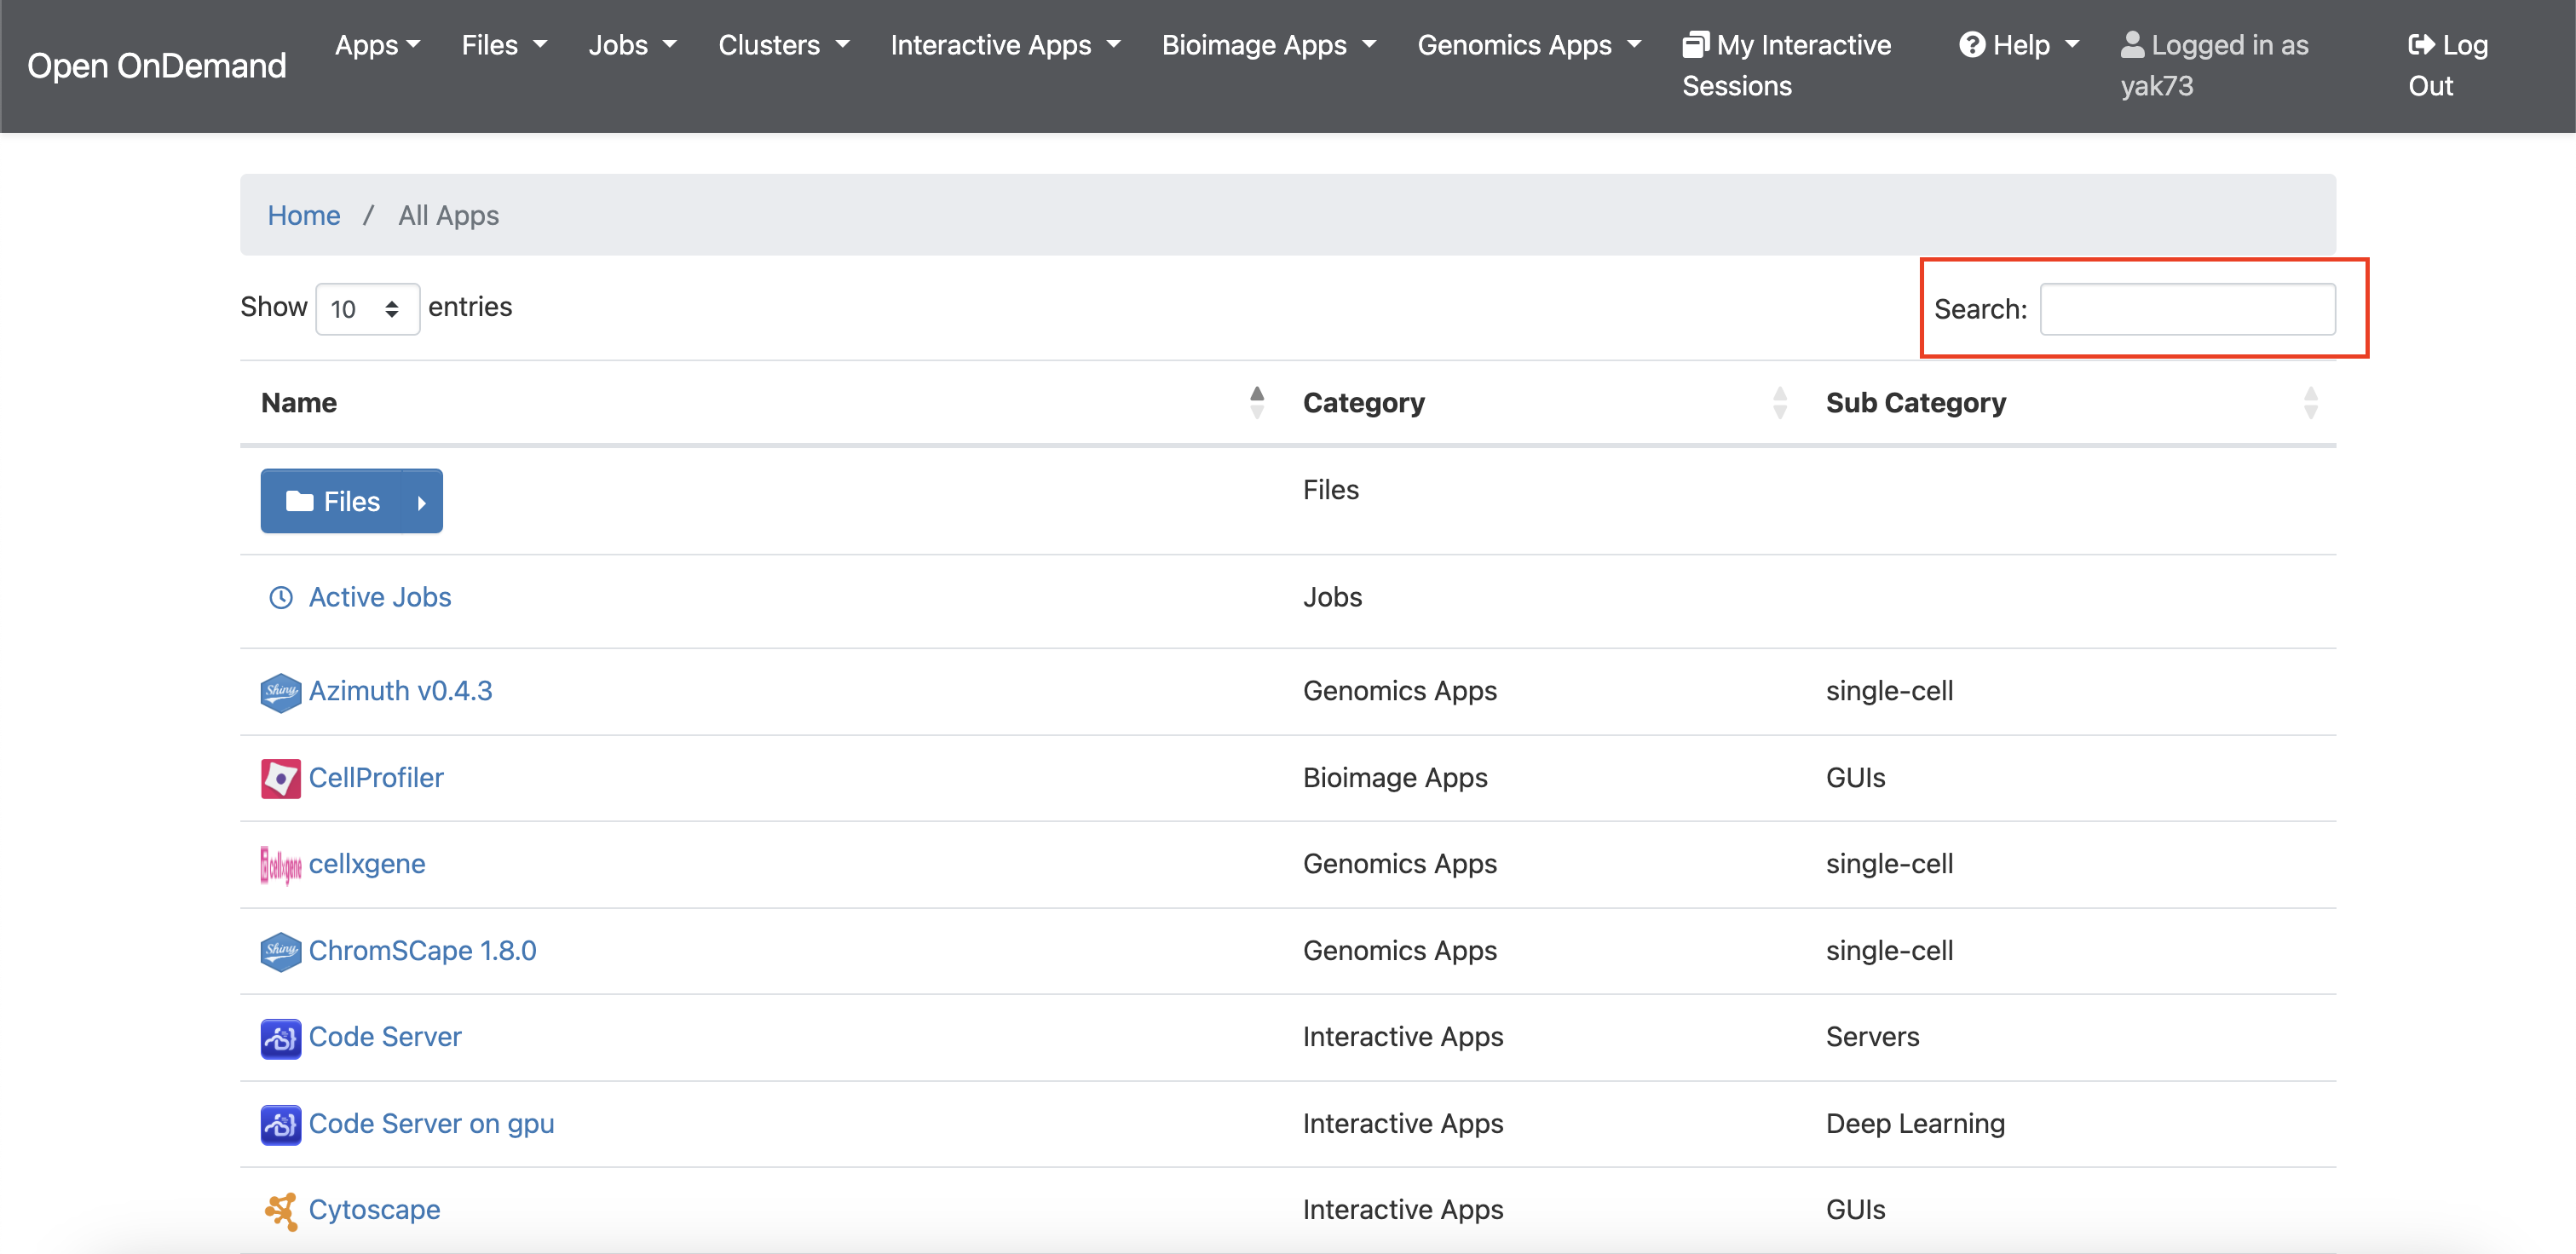
Search for "Jupyter" in the search box; two results appear:
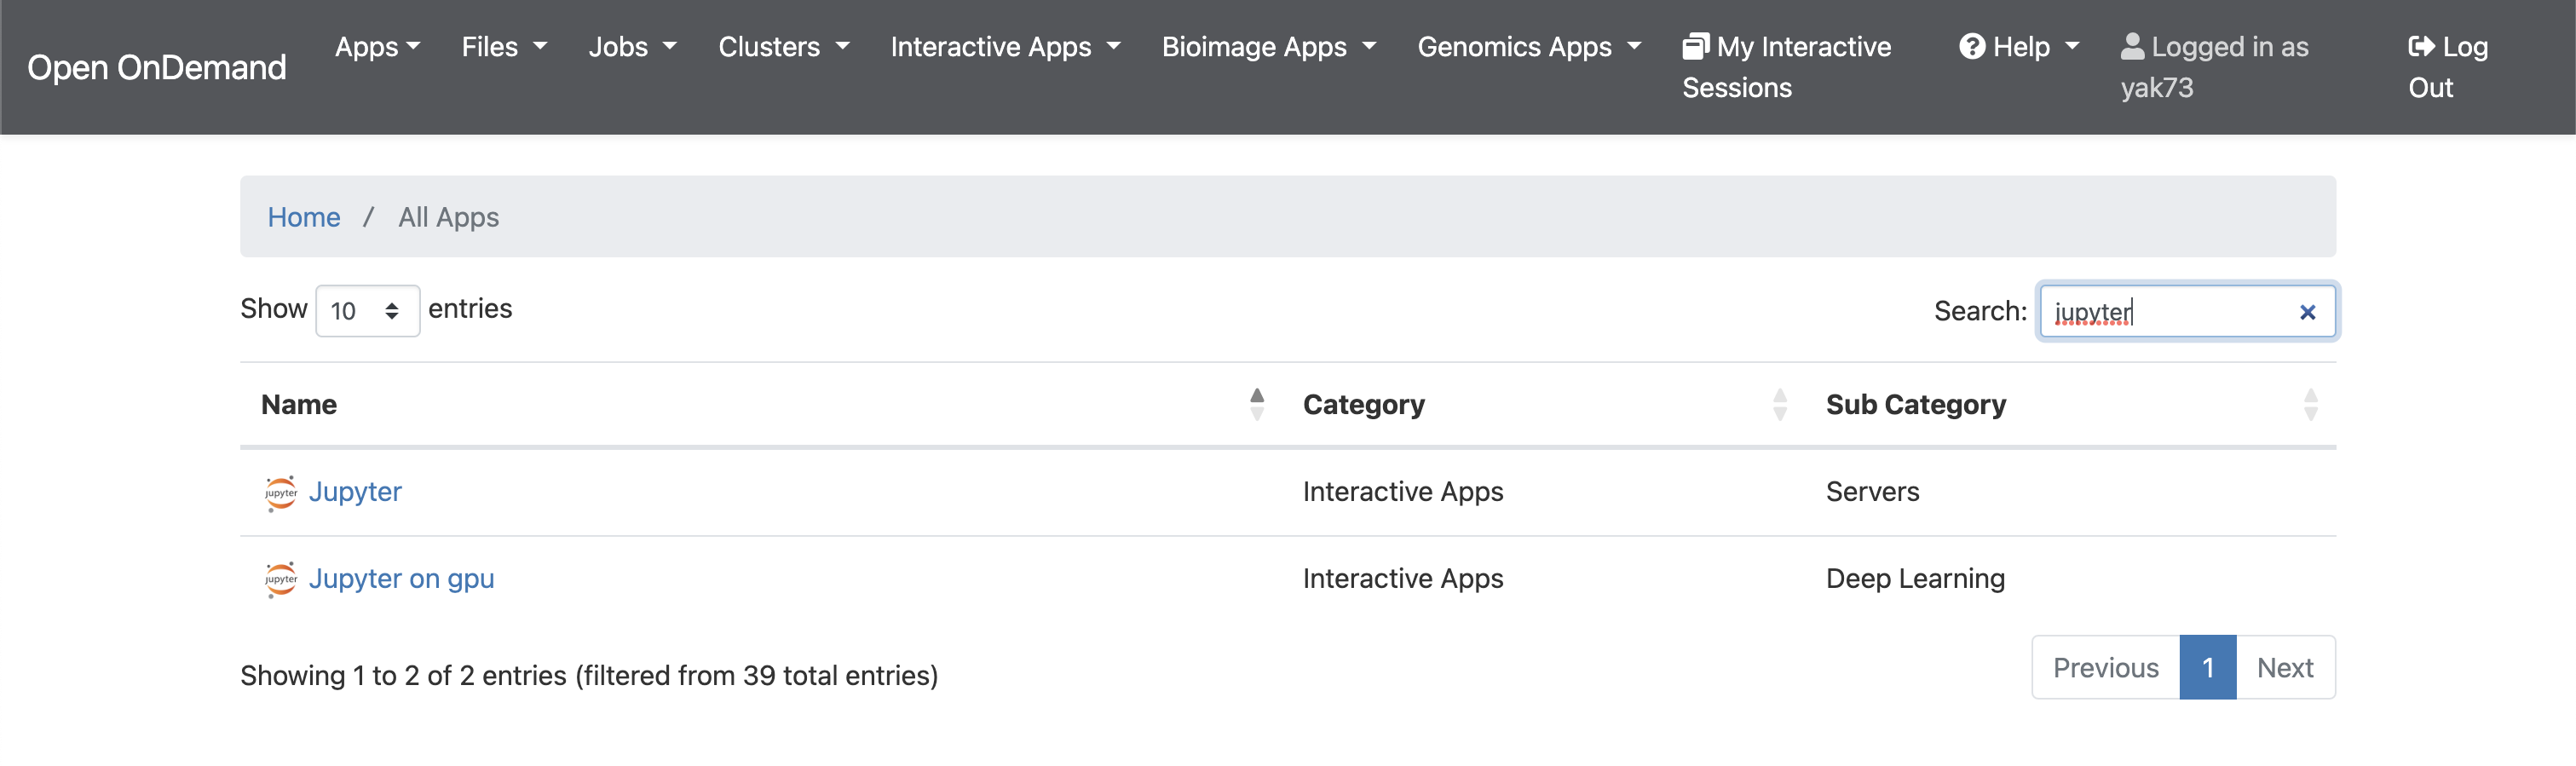
- Jupyter — launches Jupyter on the HTC cluster.
- Jupyter on GPU — launches Jupyter on the GPU cluster.
Jupyter on HTC
Click the Jupyter link to open the submission form:
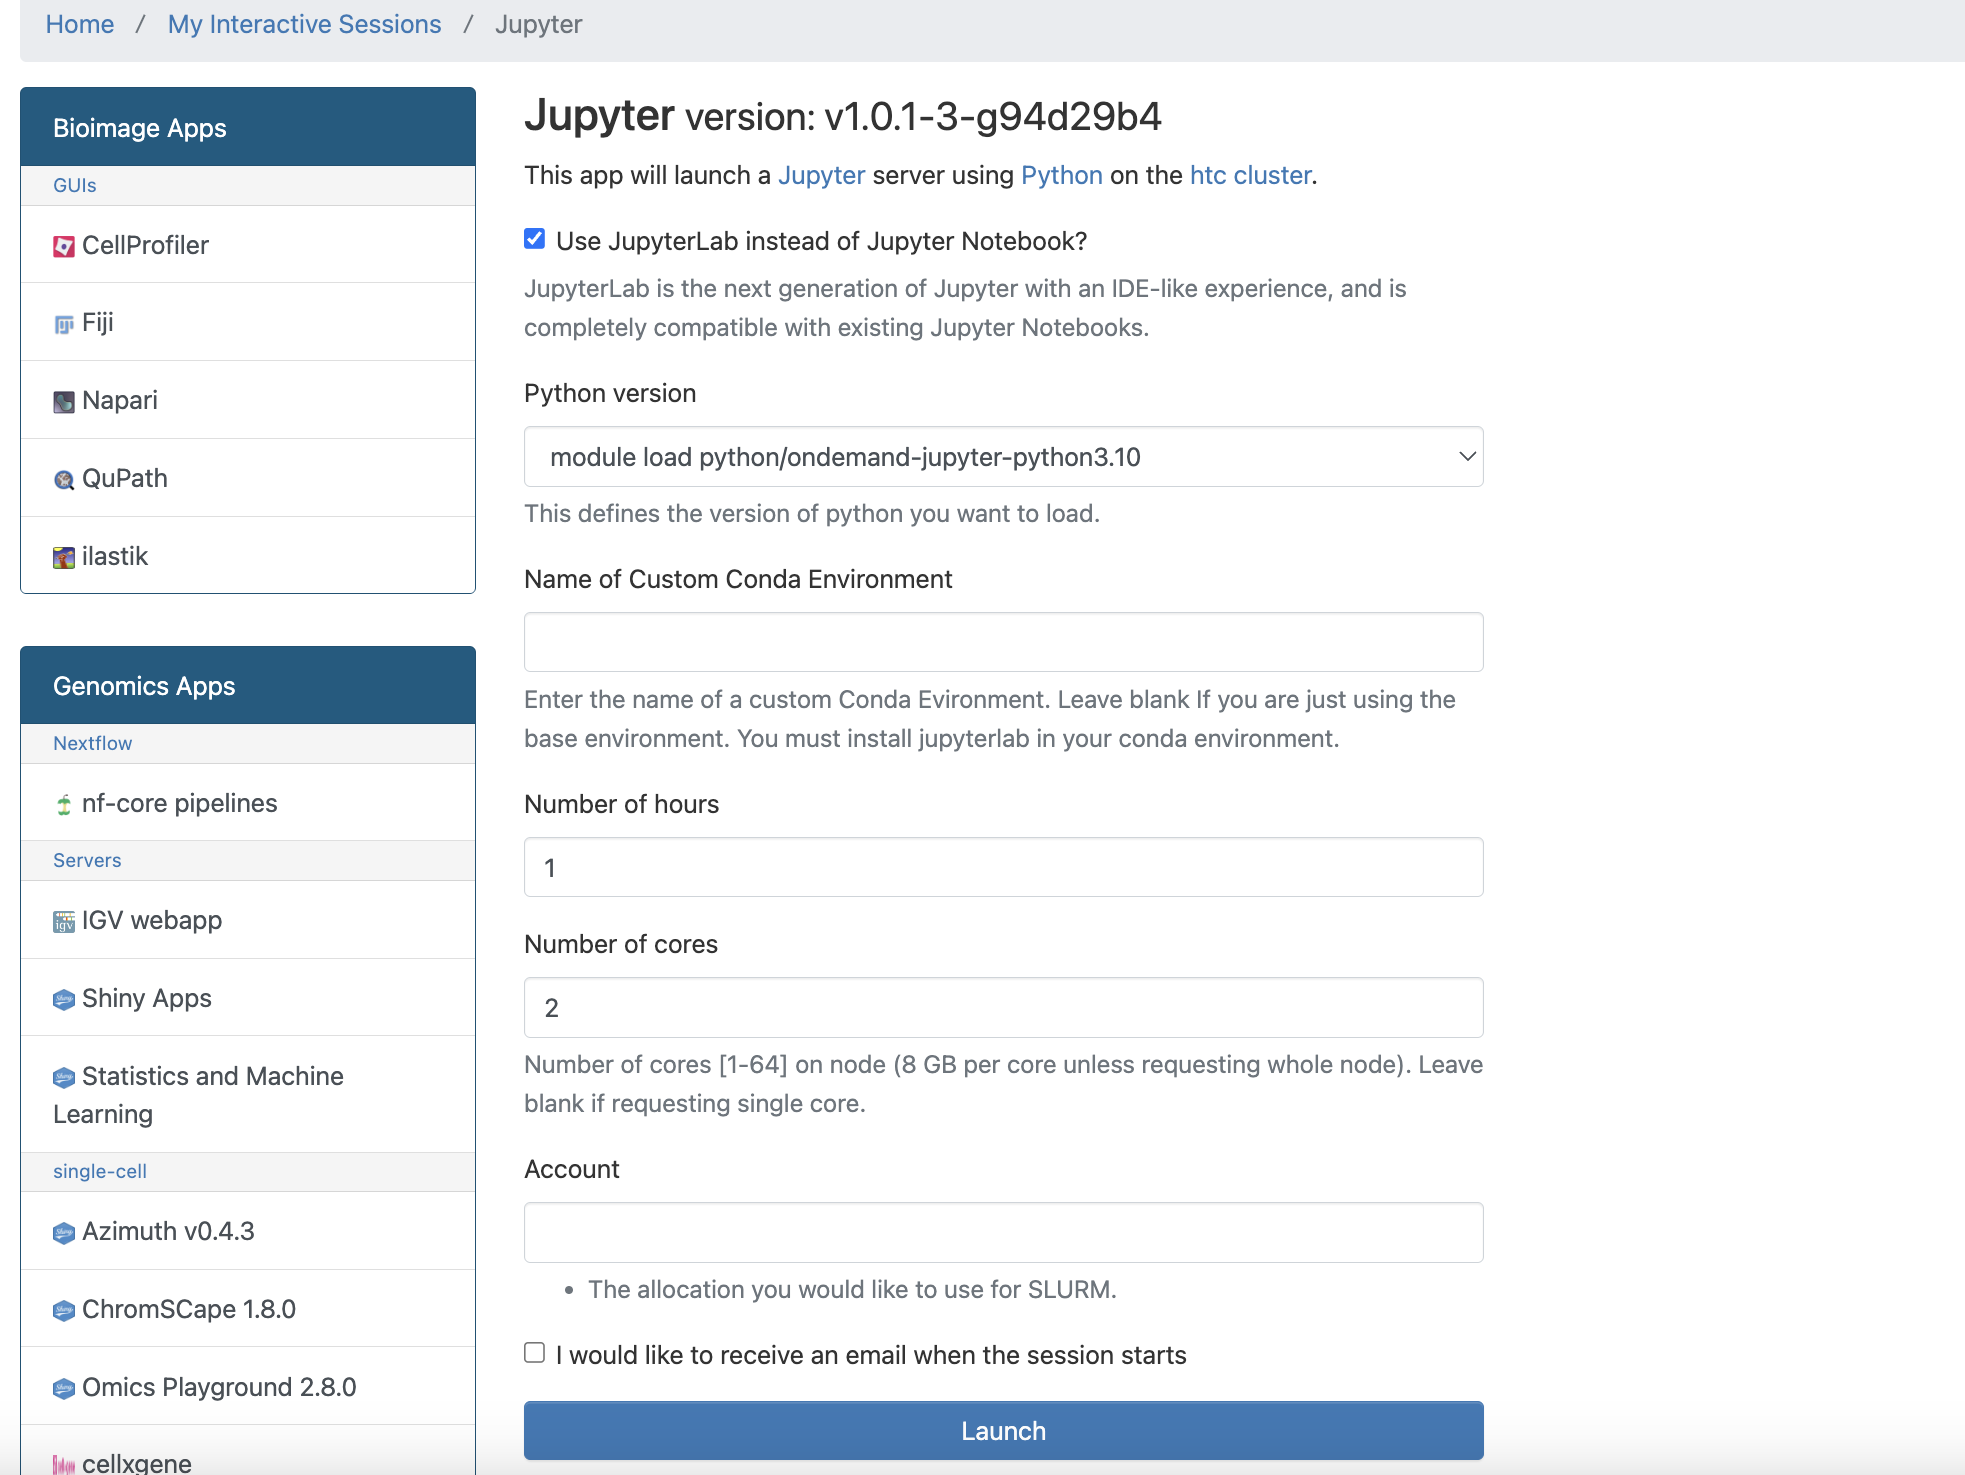
Several ready-to-use Python environments are offered for Jupyter on HTC:
- Python 3.10
- Python 3.9
- Python 3.8
- Python 3.7
- Python 2.7
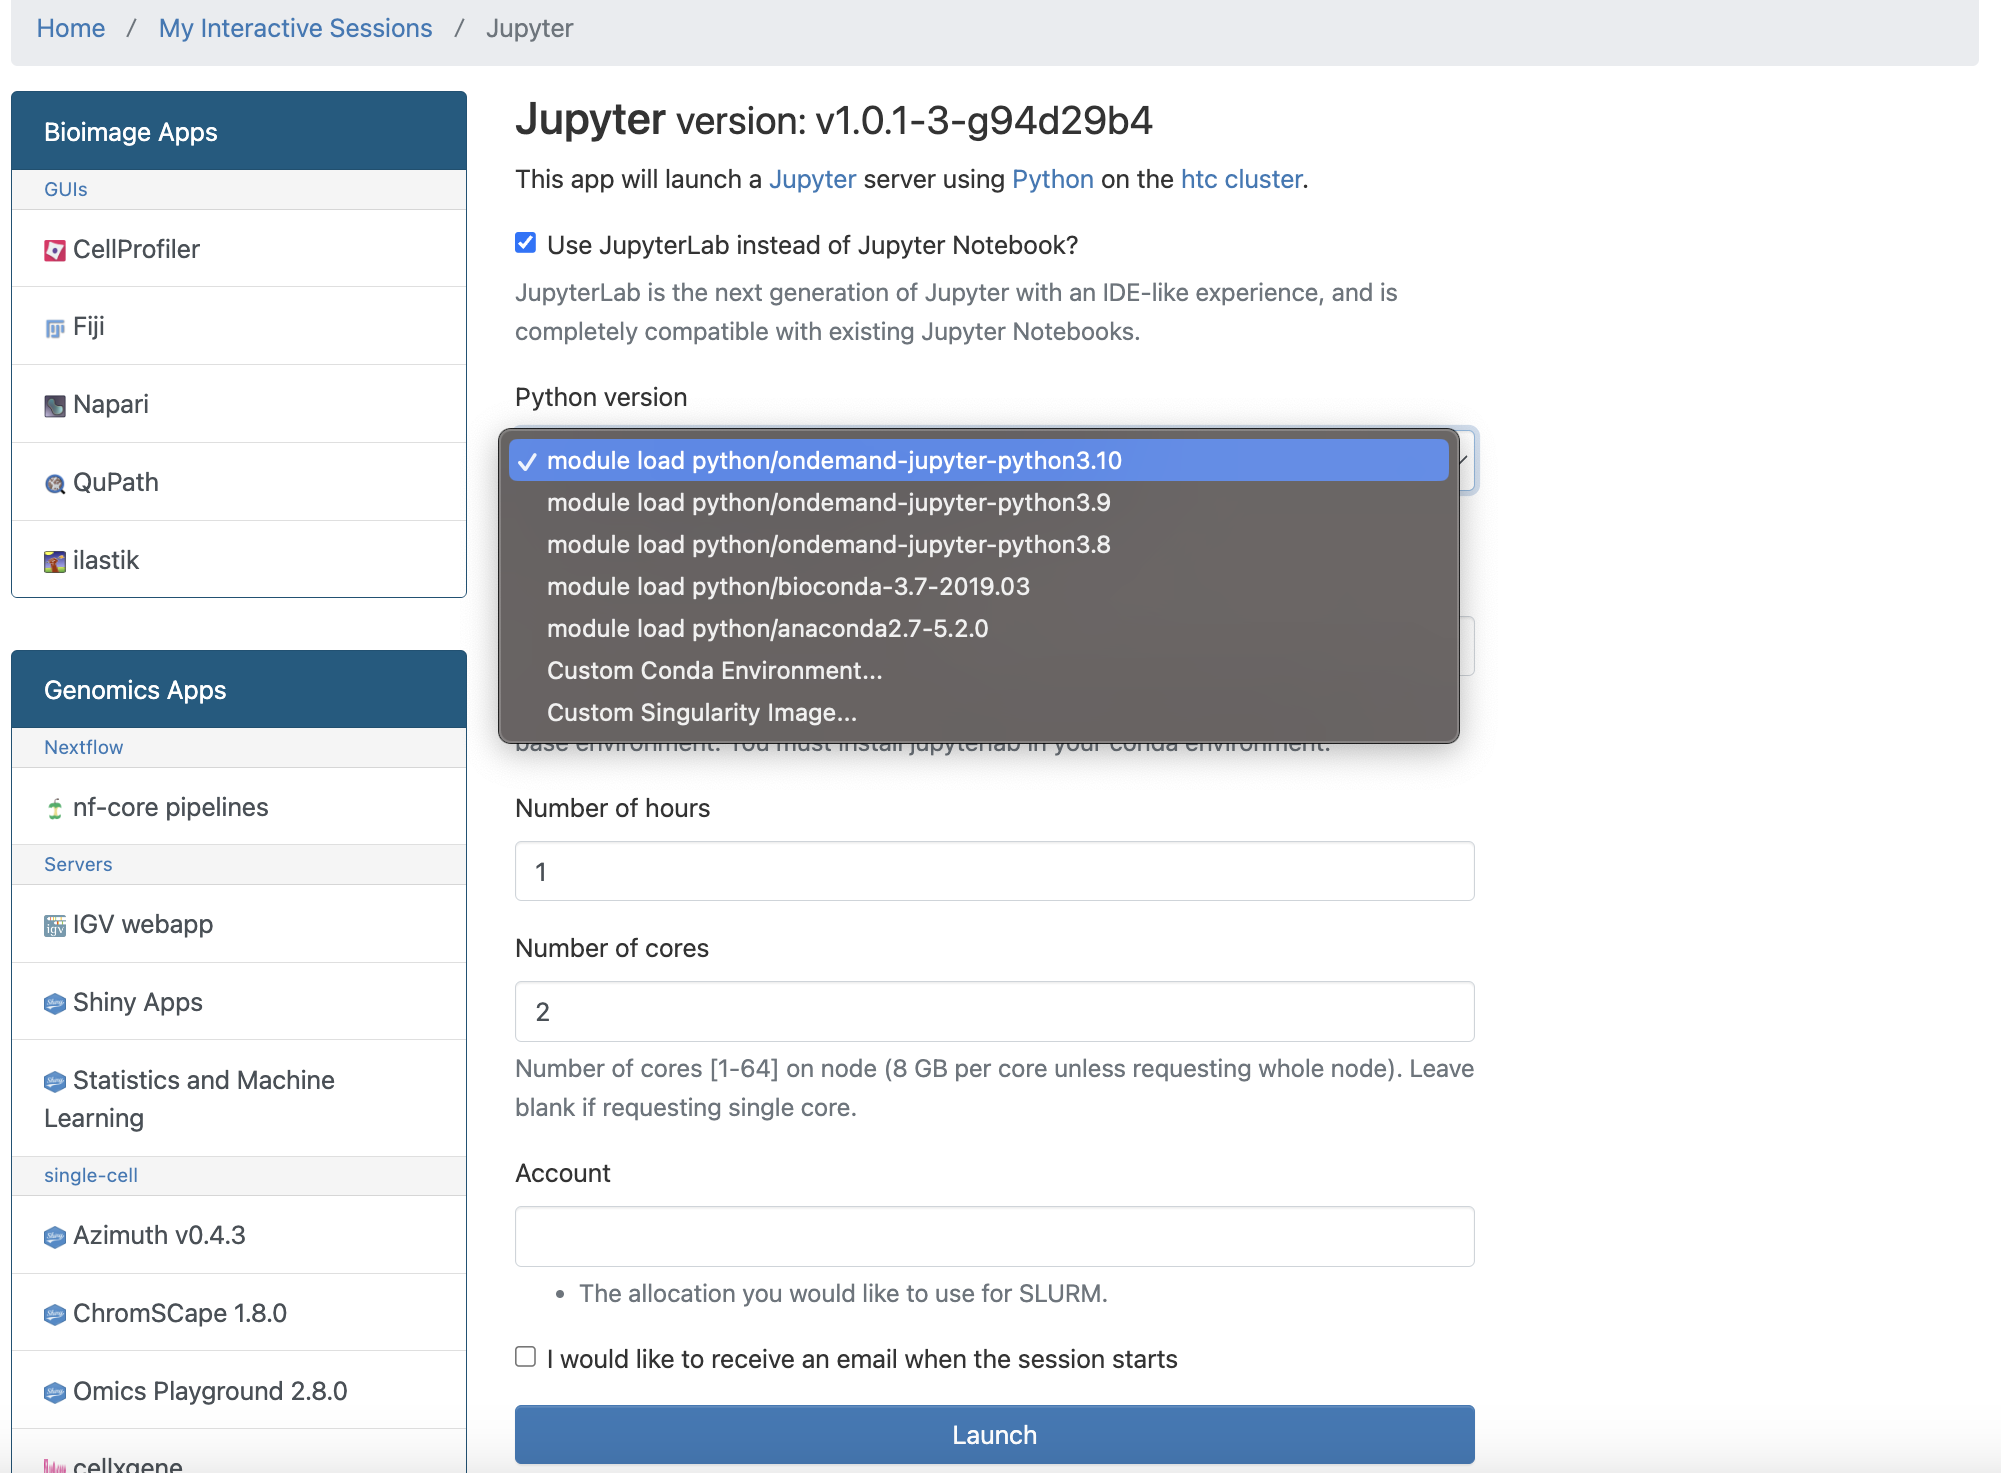
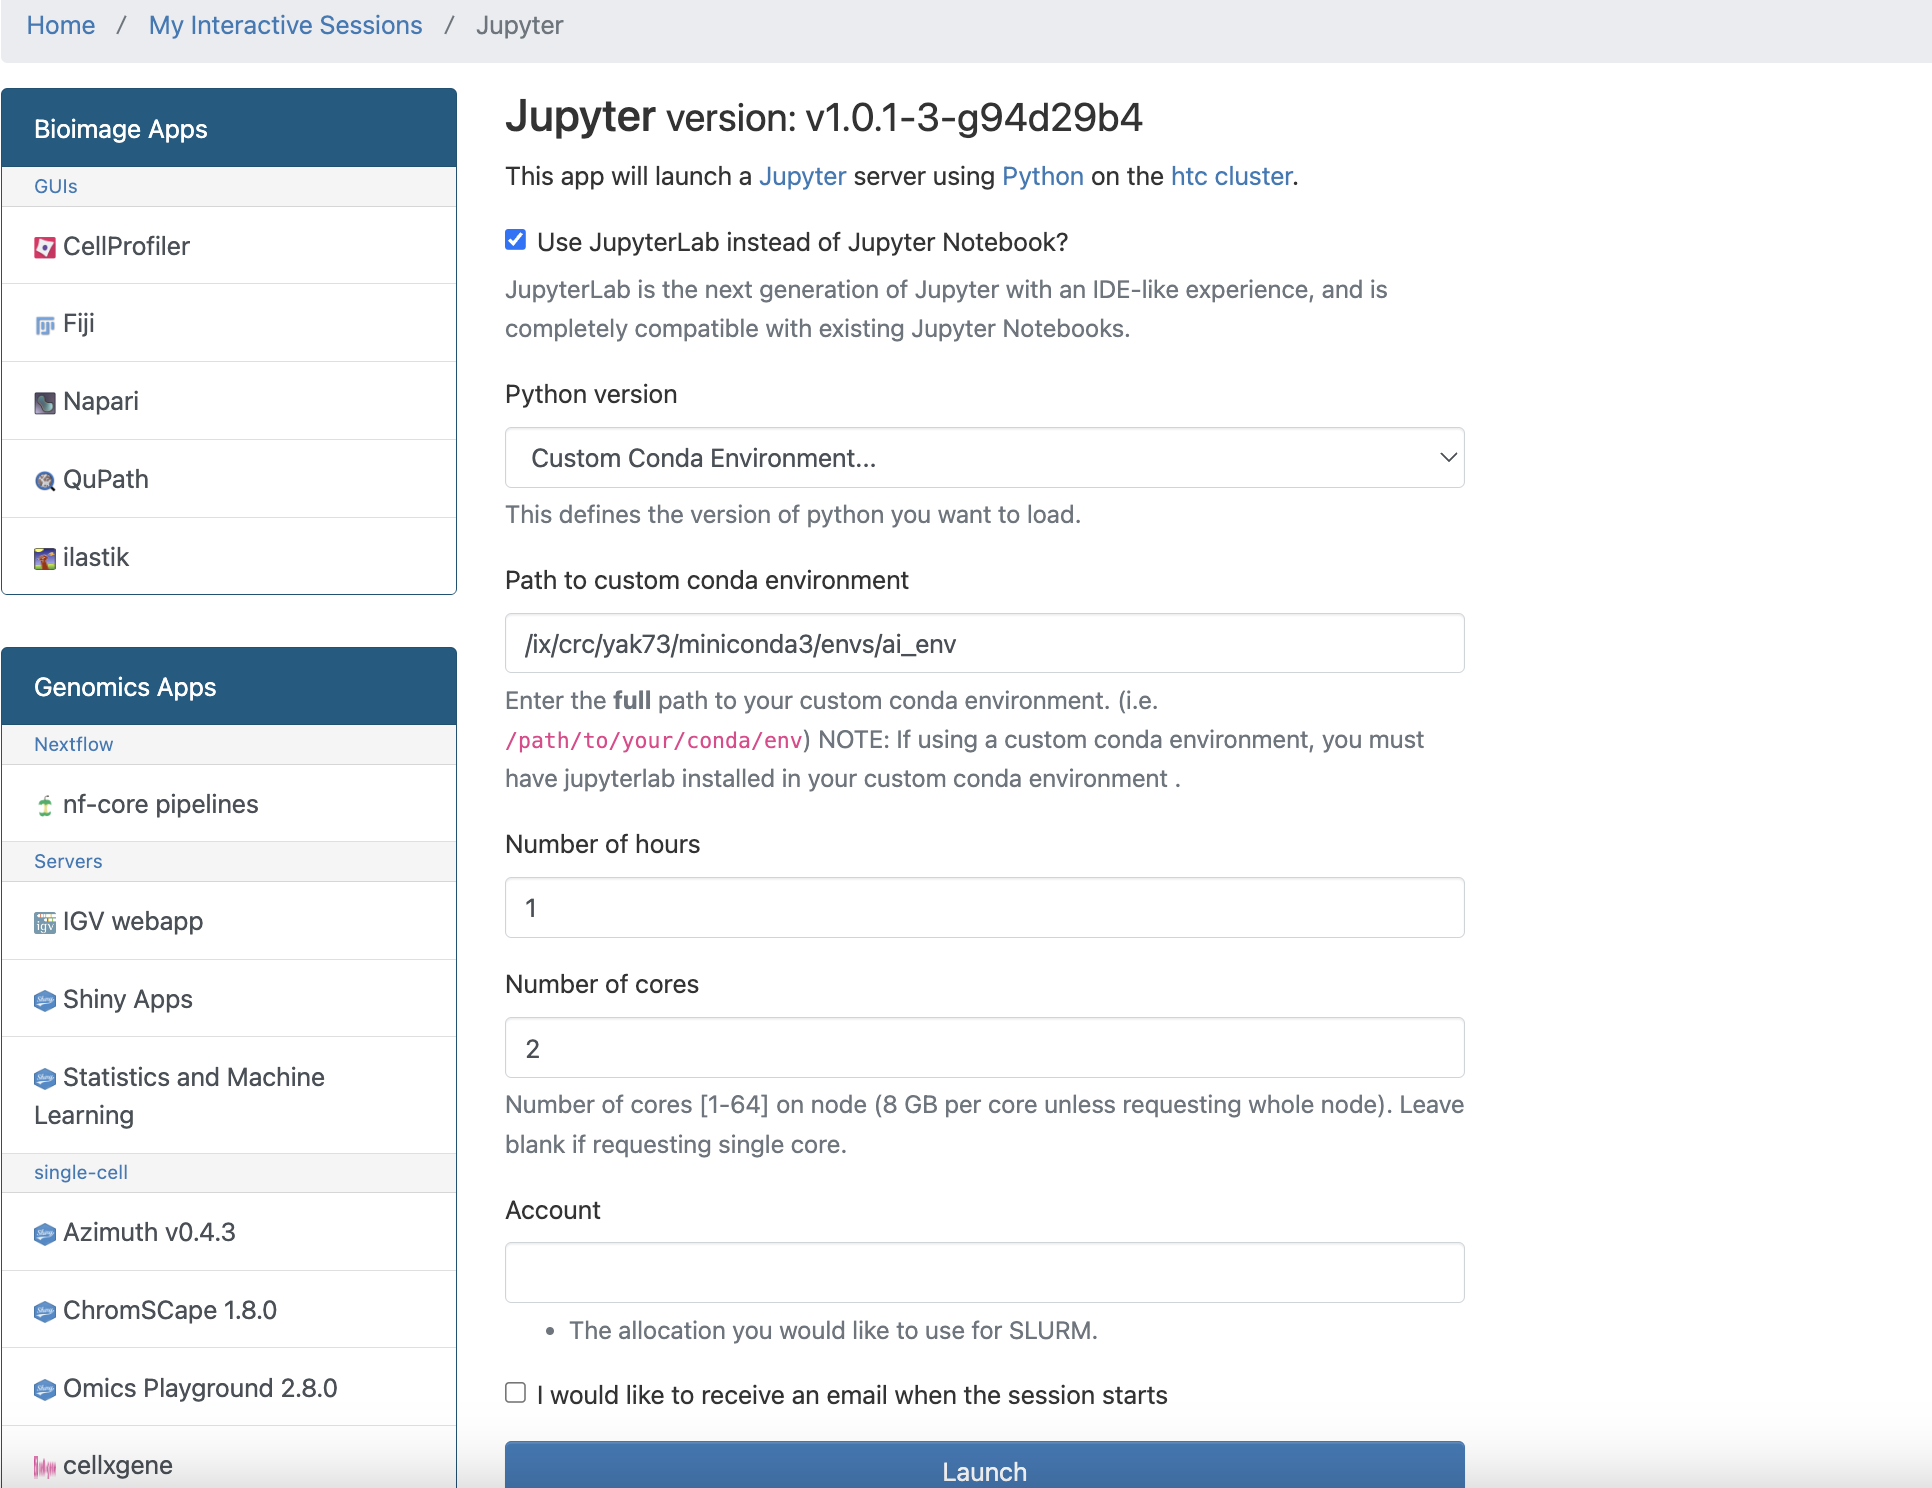
These are base conda installations with JupyterLab integration, so you can start Jupyter and work with your notebooks right away. You can also use your own conda environment by providing its path:
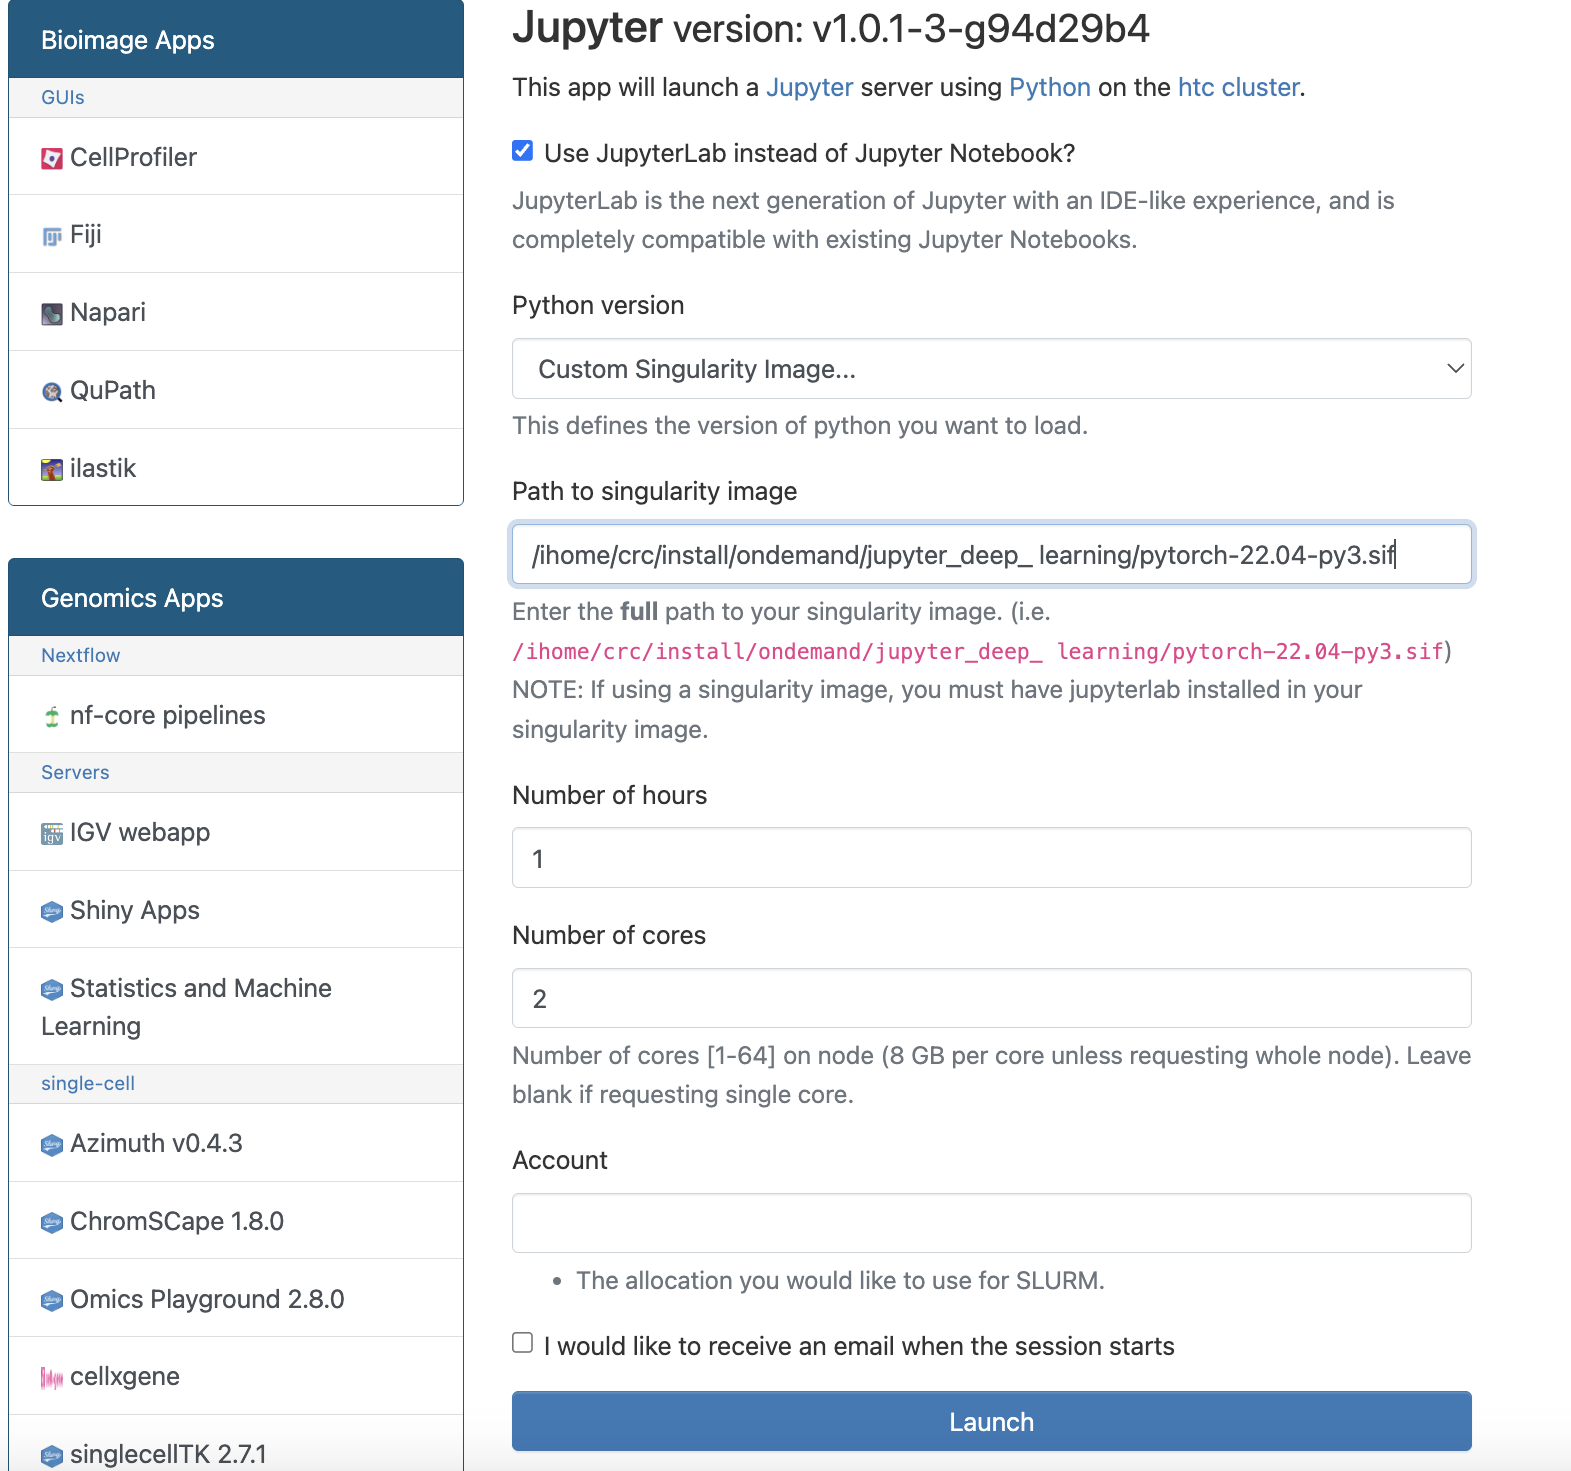
Or run Jupyter from a Singularity container by providing the container's path:
After selecting an environment, set the number of hours (default 1) and cores (default 1). If you belong to more than one group/account, you can also choose which account the Service Units are drawn from:
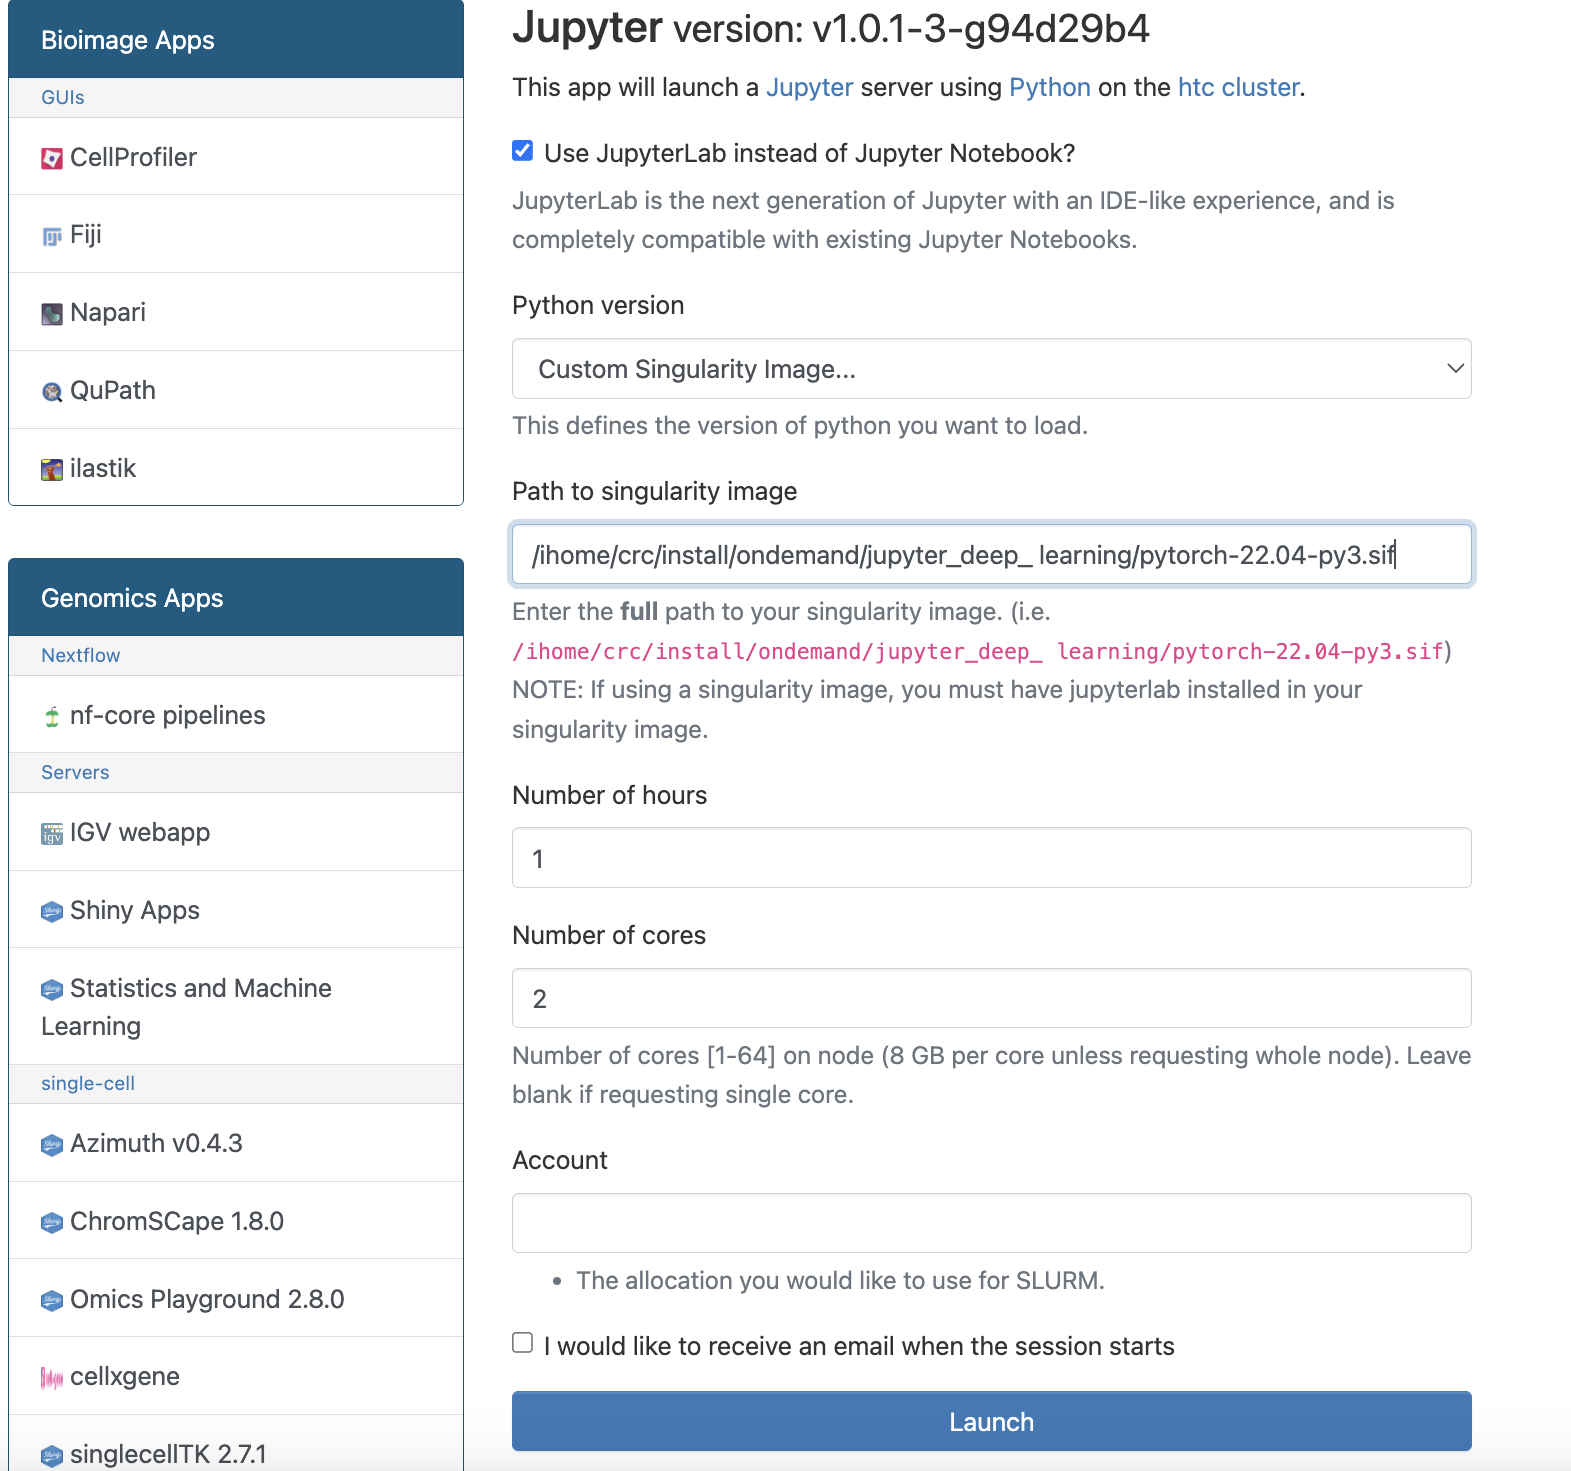
Click Launch. The job is queued:
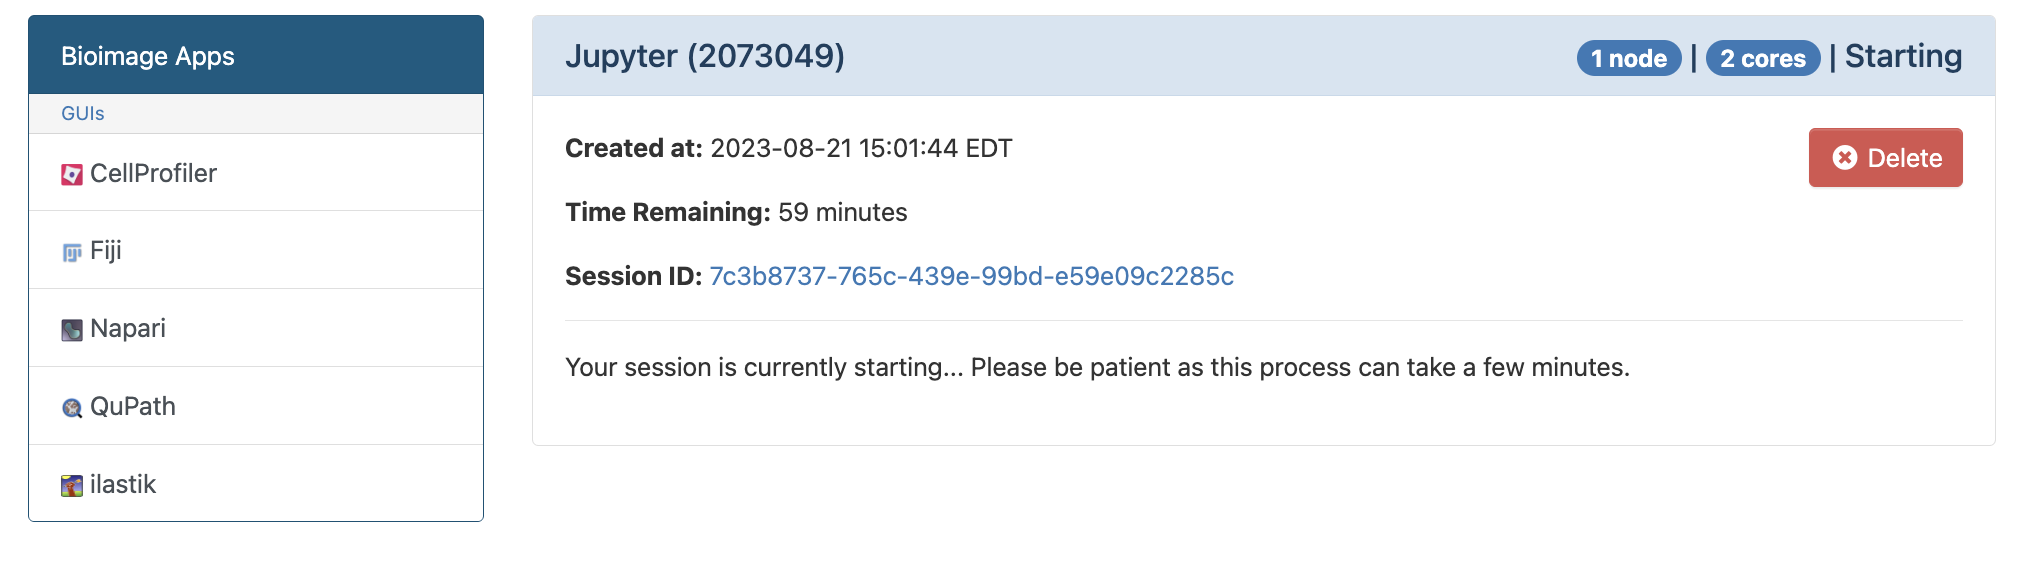
Wait until the requested resources are allocated:
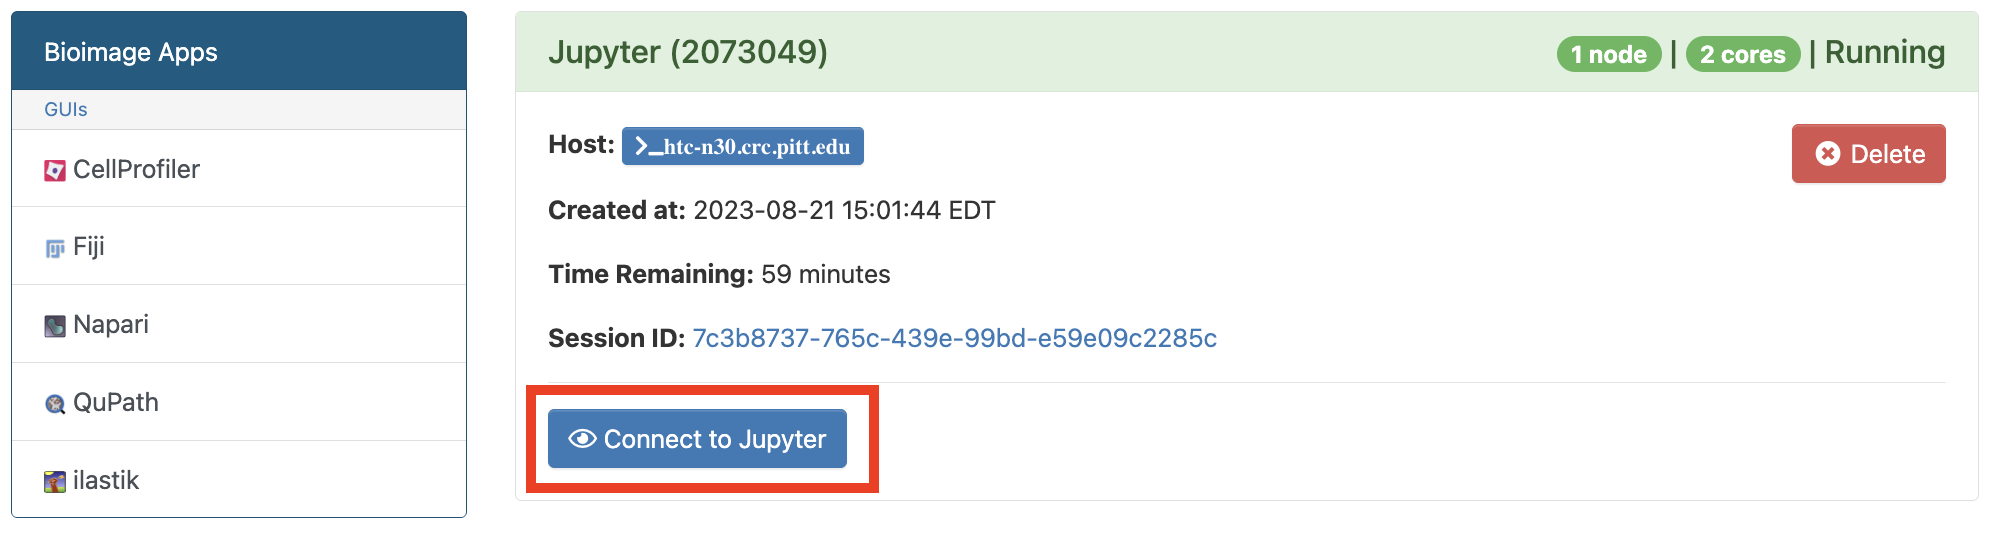
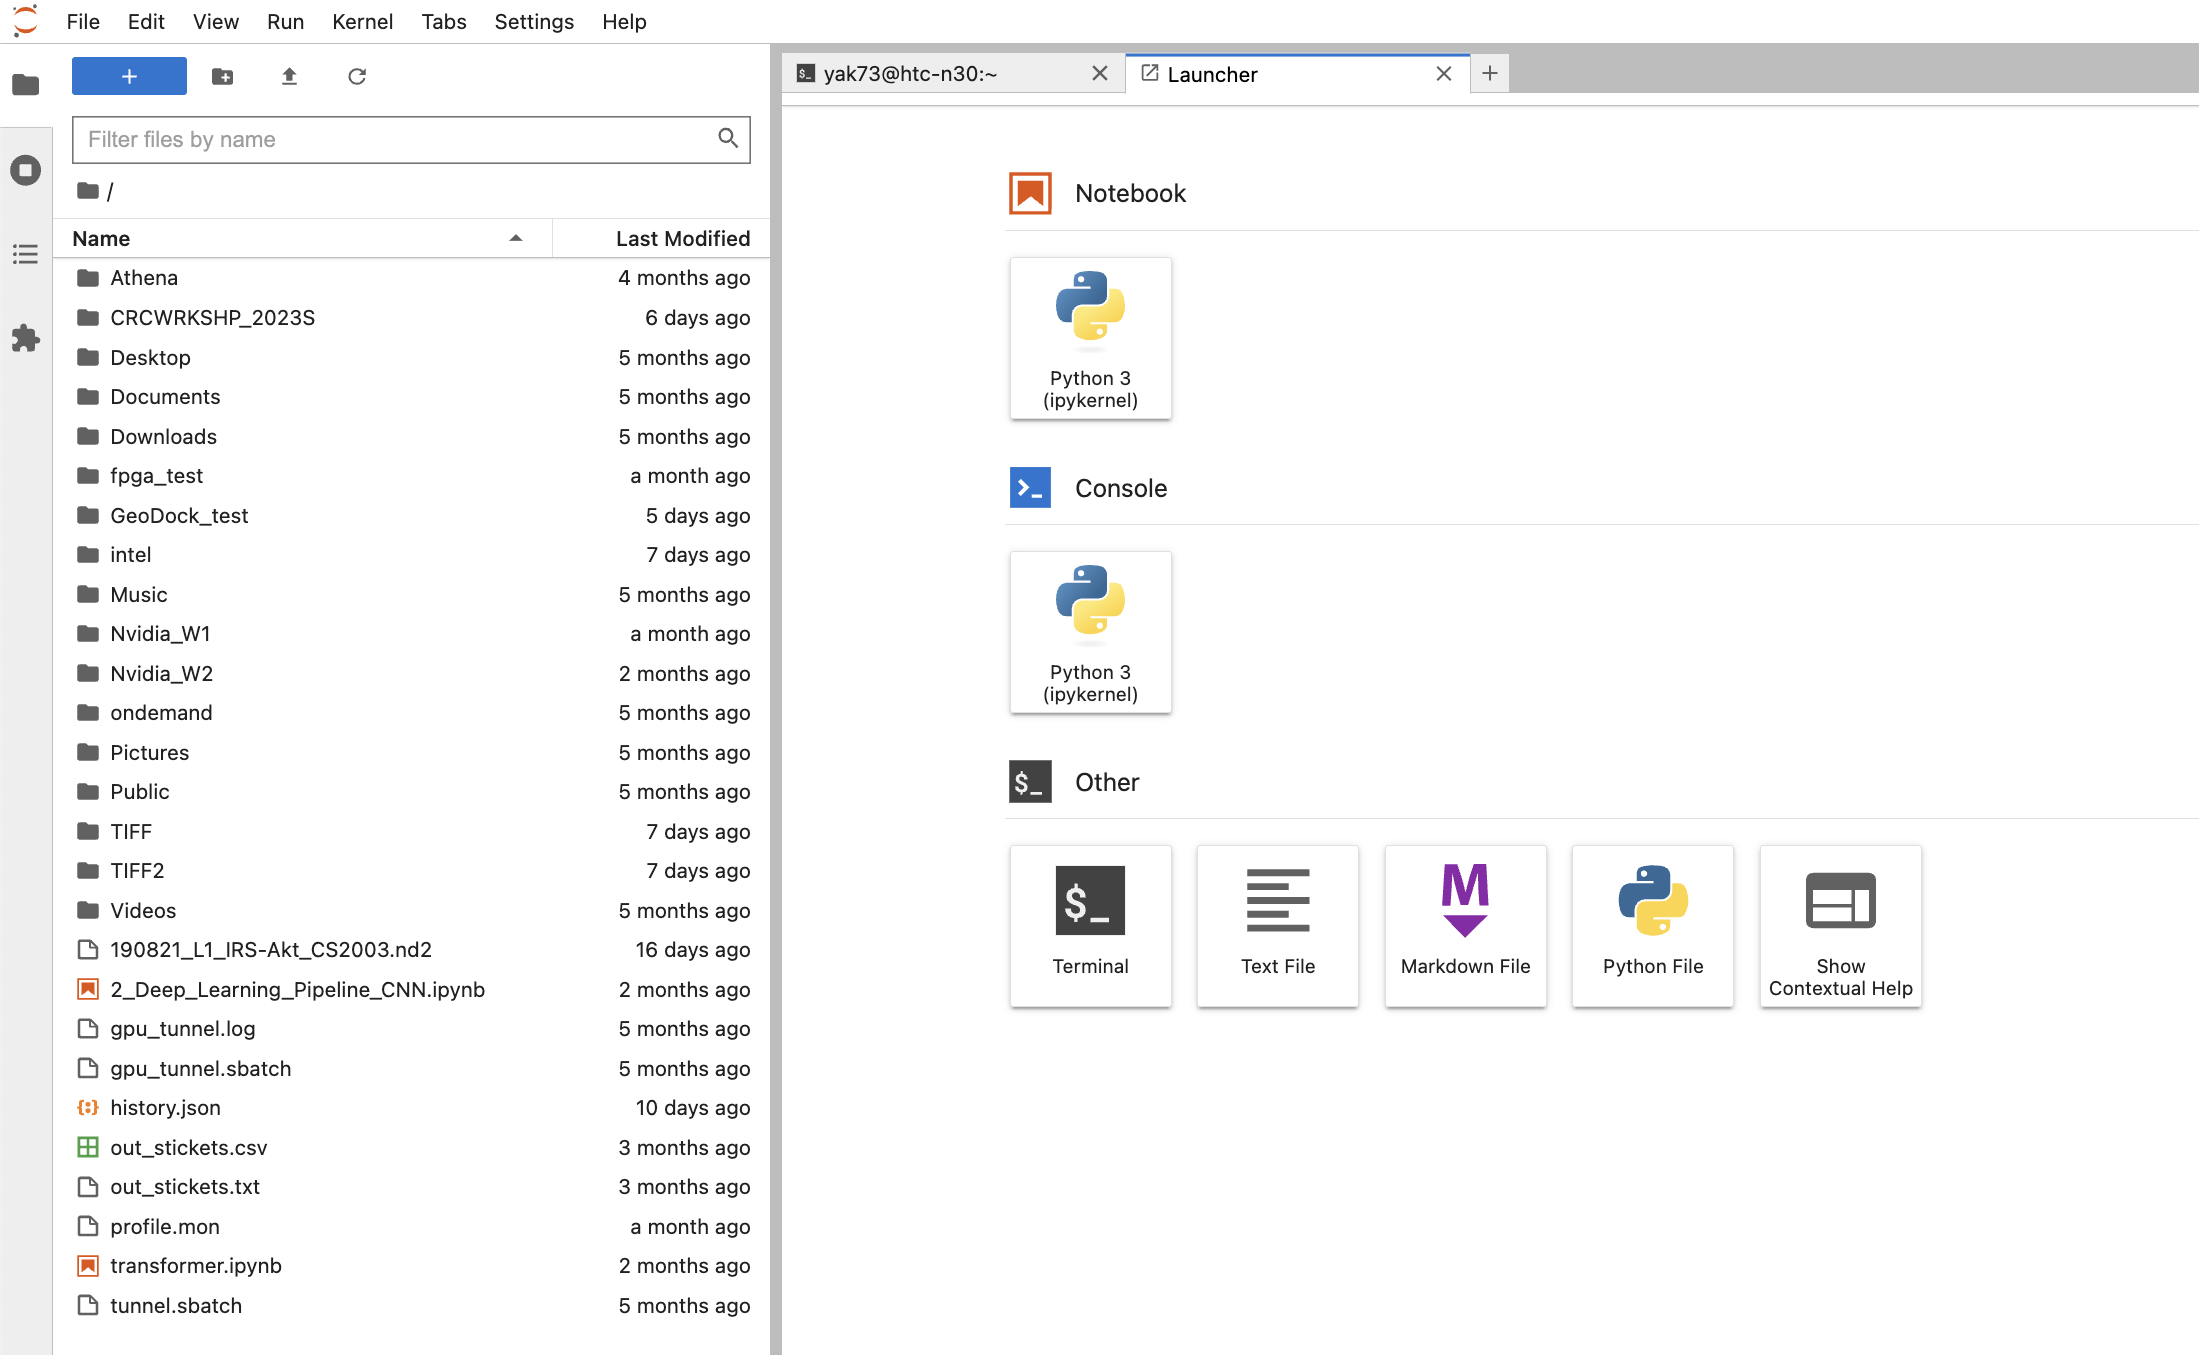
Click Connect to Jupyter to open the JupyterLab interface, where you can browse your home directory for notebooks:
Jupyter on GPU
Click the Jupyter on GPU link to open the submission form:
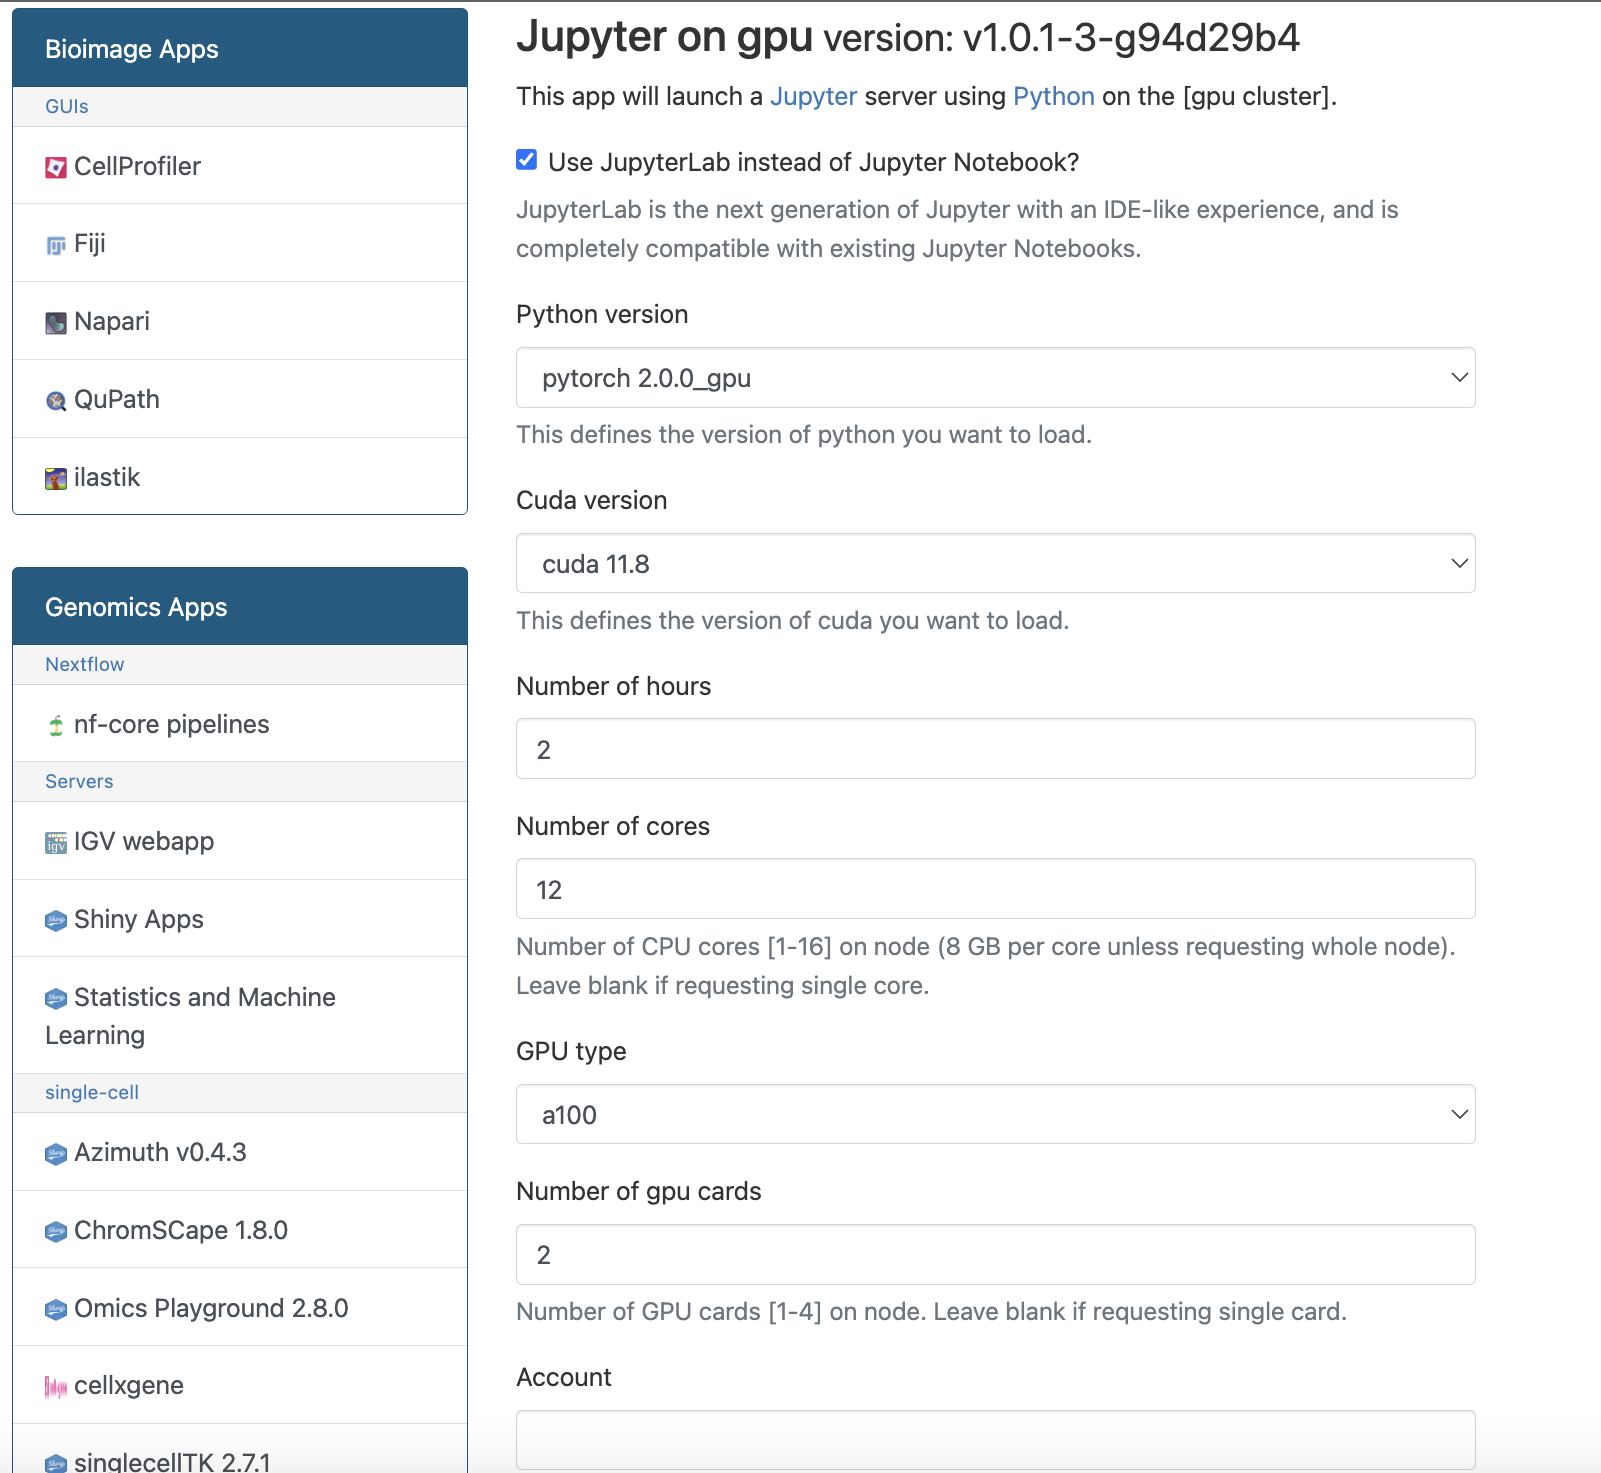
Several ready-to-use deep-learning environments are offered for Jupyter on GPU, for example:
- PyTorch 2.0.0
- PyTorch 1.11.0
- PyTorch 1.8.1 + CUDA 11.1.1
- TensorFlow 2.4.1 + CUDA 10.1
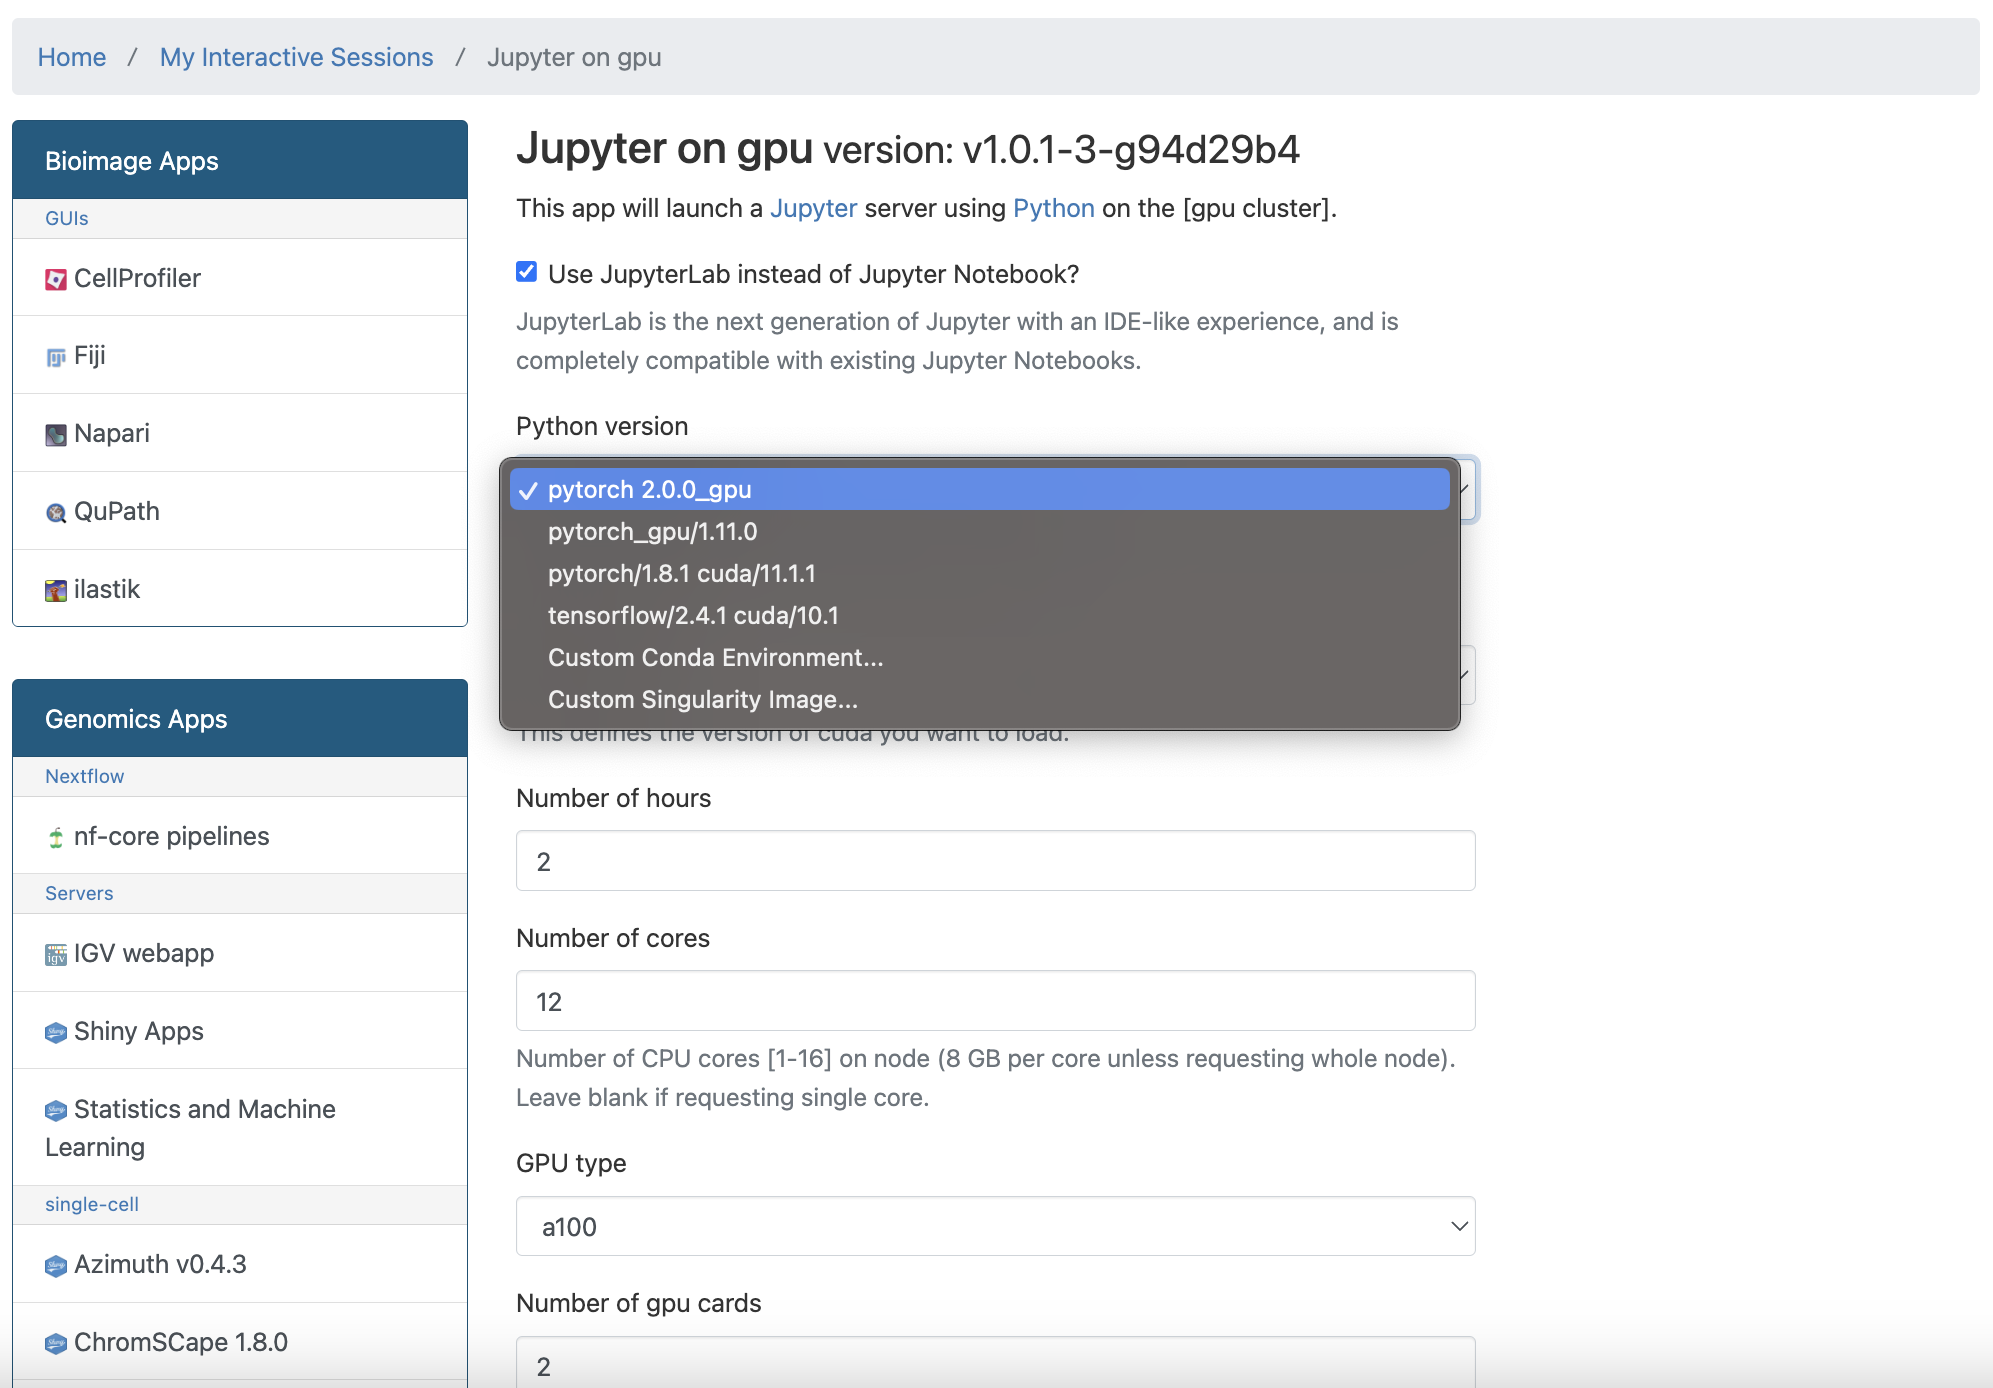
Check the current offerings
The exact framework and CUDA versions in the dropdown change over time — use whatever the form currently lists rather than the specific versions shown here.
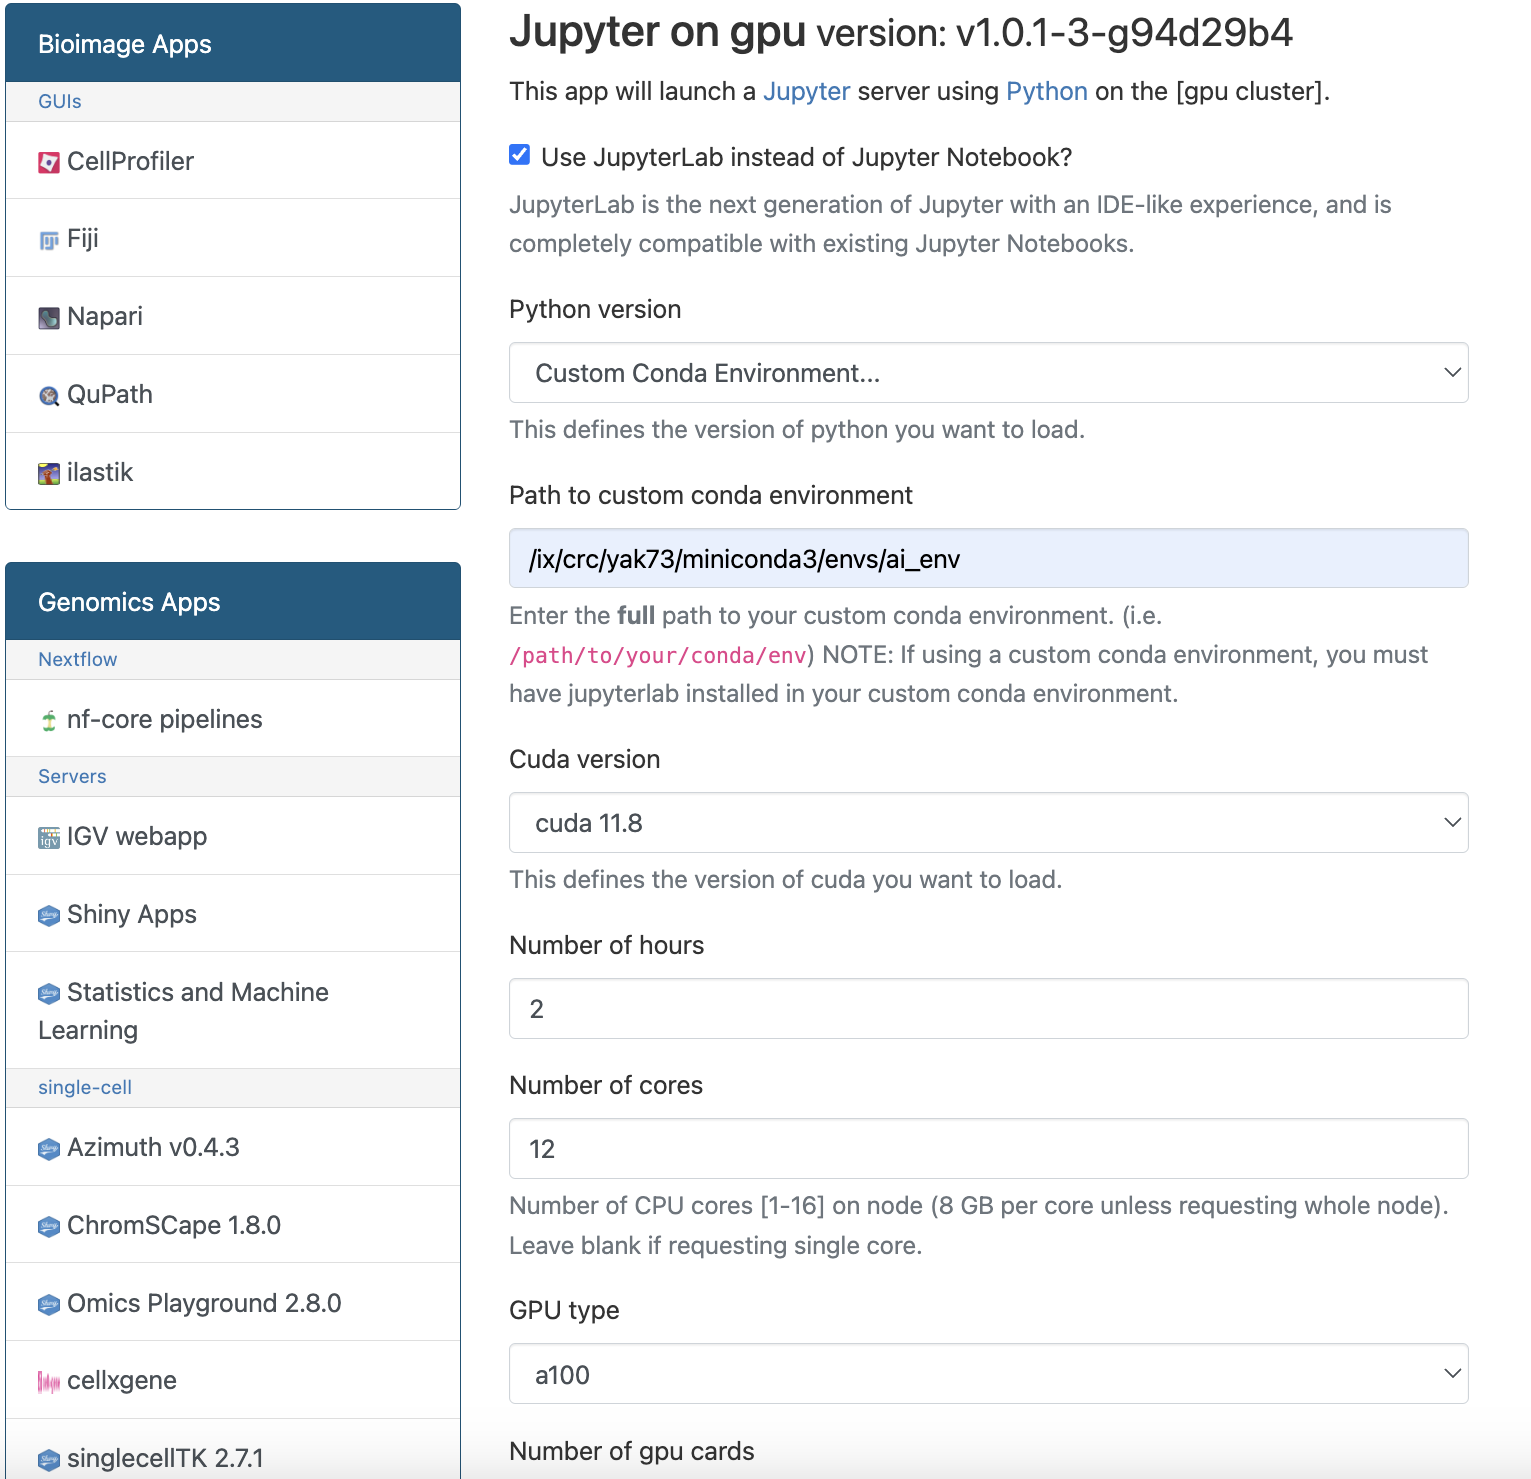
These are base conda installations with JupyterLab integration and GPU-enabled packages. As on HTC, you can instead supply the path to your own conda environment:
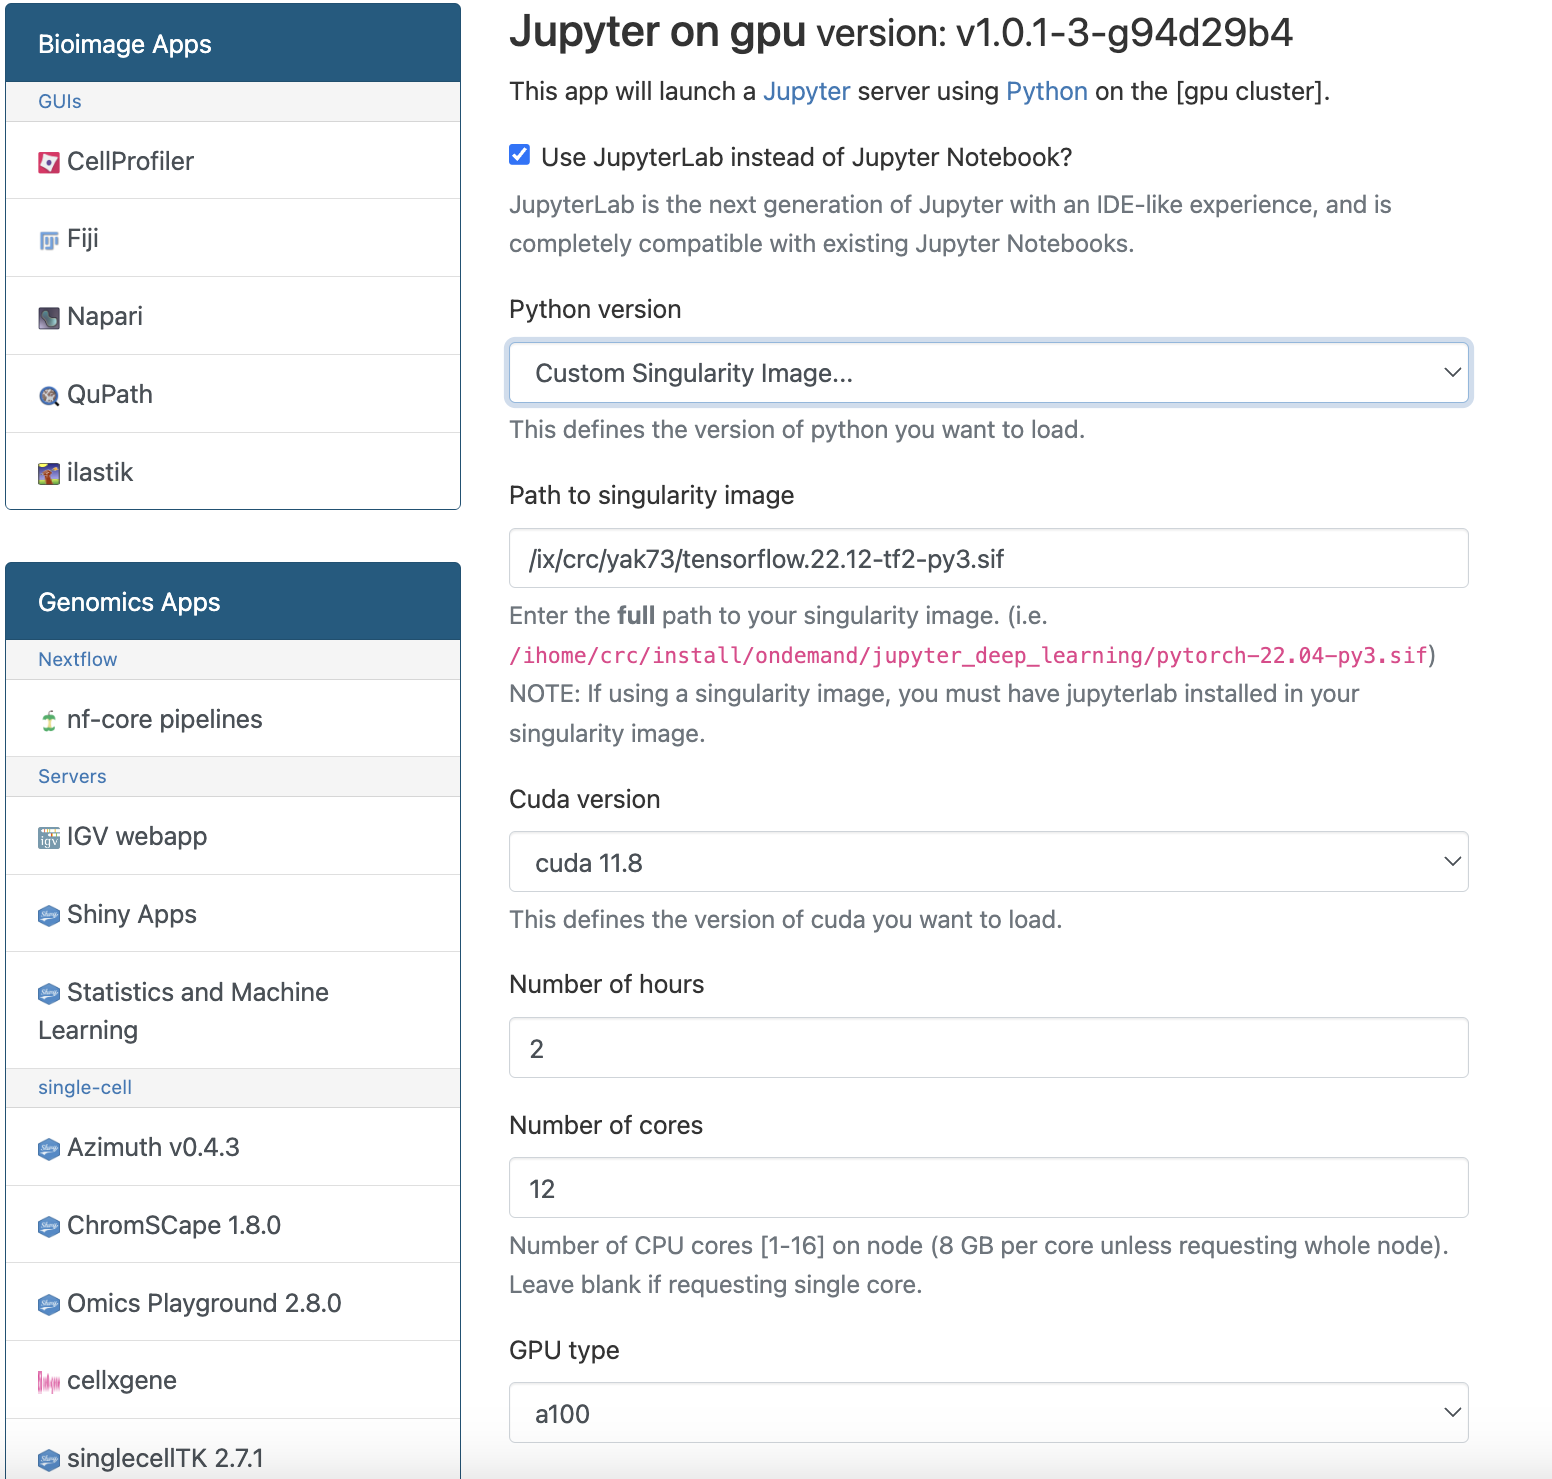
Or run from a Singularity container:
After selecting an environment, you can choose the CUDA version to load with it:
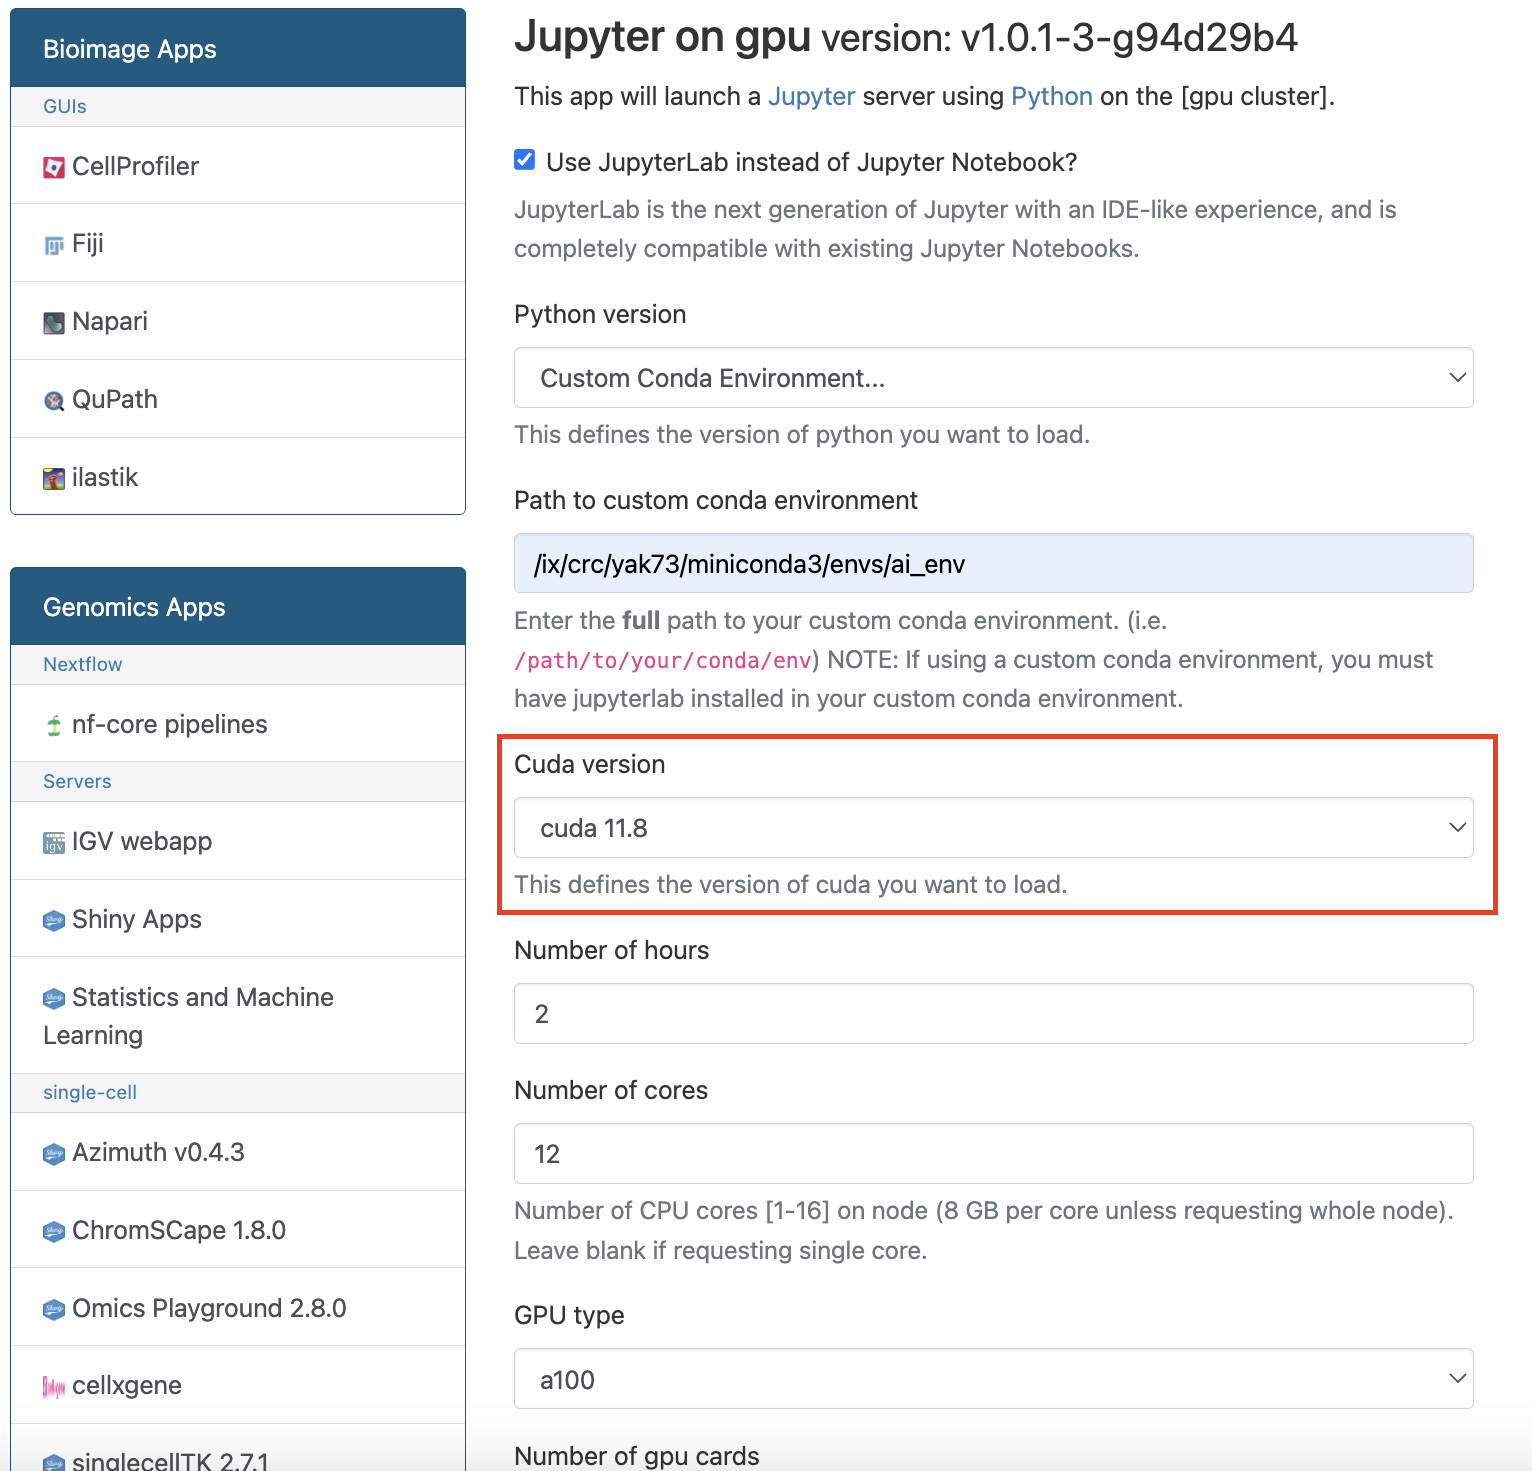
You also choose the GPU type, which determines how many CPU cores are available per GPU card:
- A100: 12 cores per GPU card
- A100_NVLINK: 16 cores per GPU card
- A100_multi: 16 cores per GPU card
Available GPU types reflect current hardware
The GPU types listed in the form track the GPU cluster's current partitions. See the
GPU cluster page for the full, up-to-date list (such as l40s, rtx6k, and h200)
and confirm the options in the live dropdown, as they change as hardware is added or retired.
If you belong to more than one group/account, you can choose which account the Service Units are drawn from. After choosing your environment and parameters, click Launch:
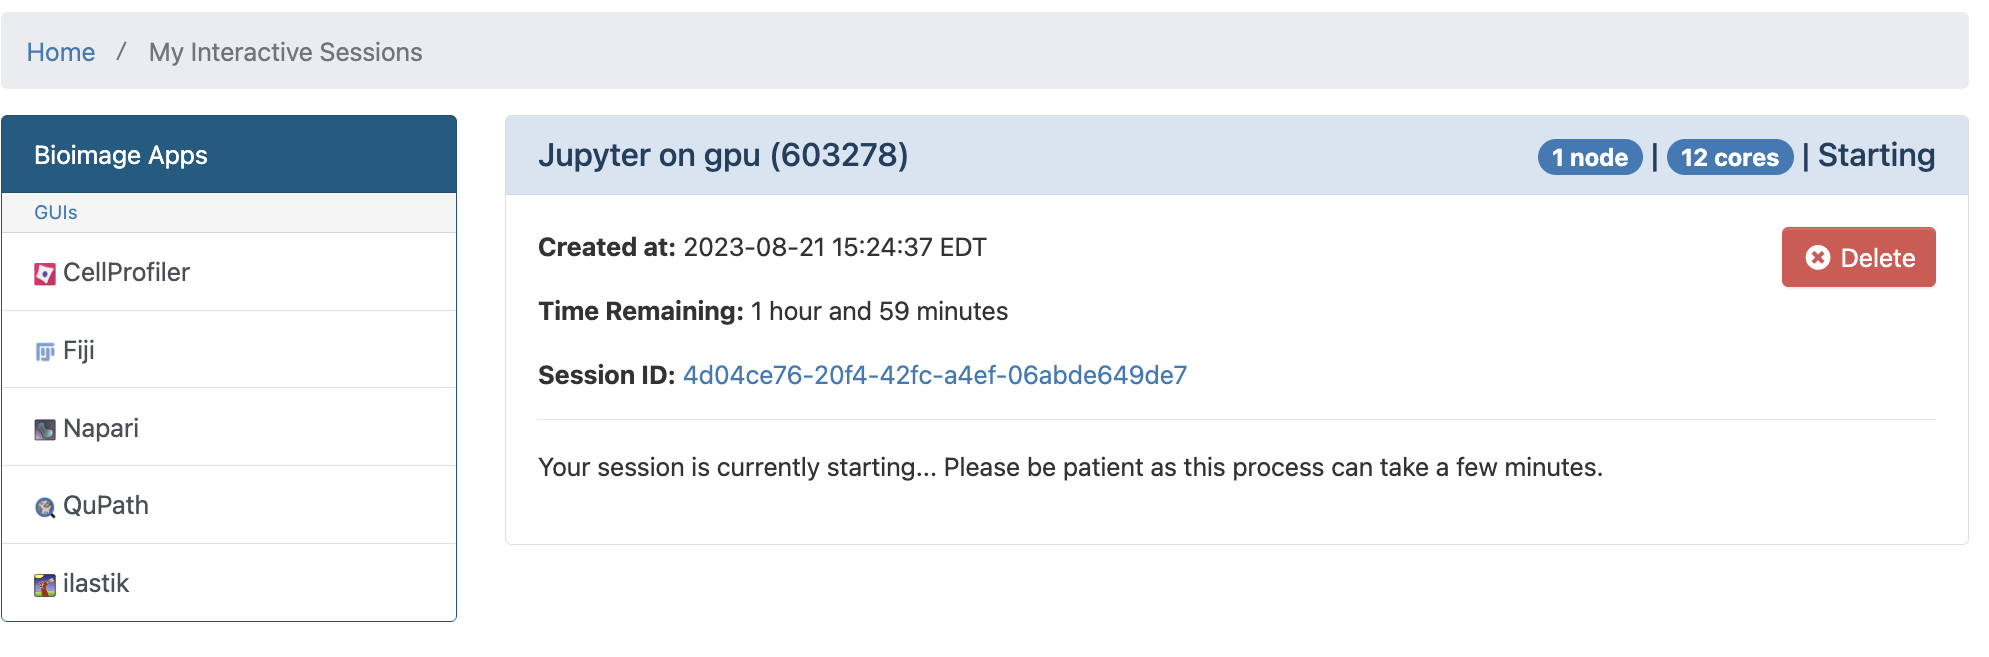
Wait until the requested resources are allocated:
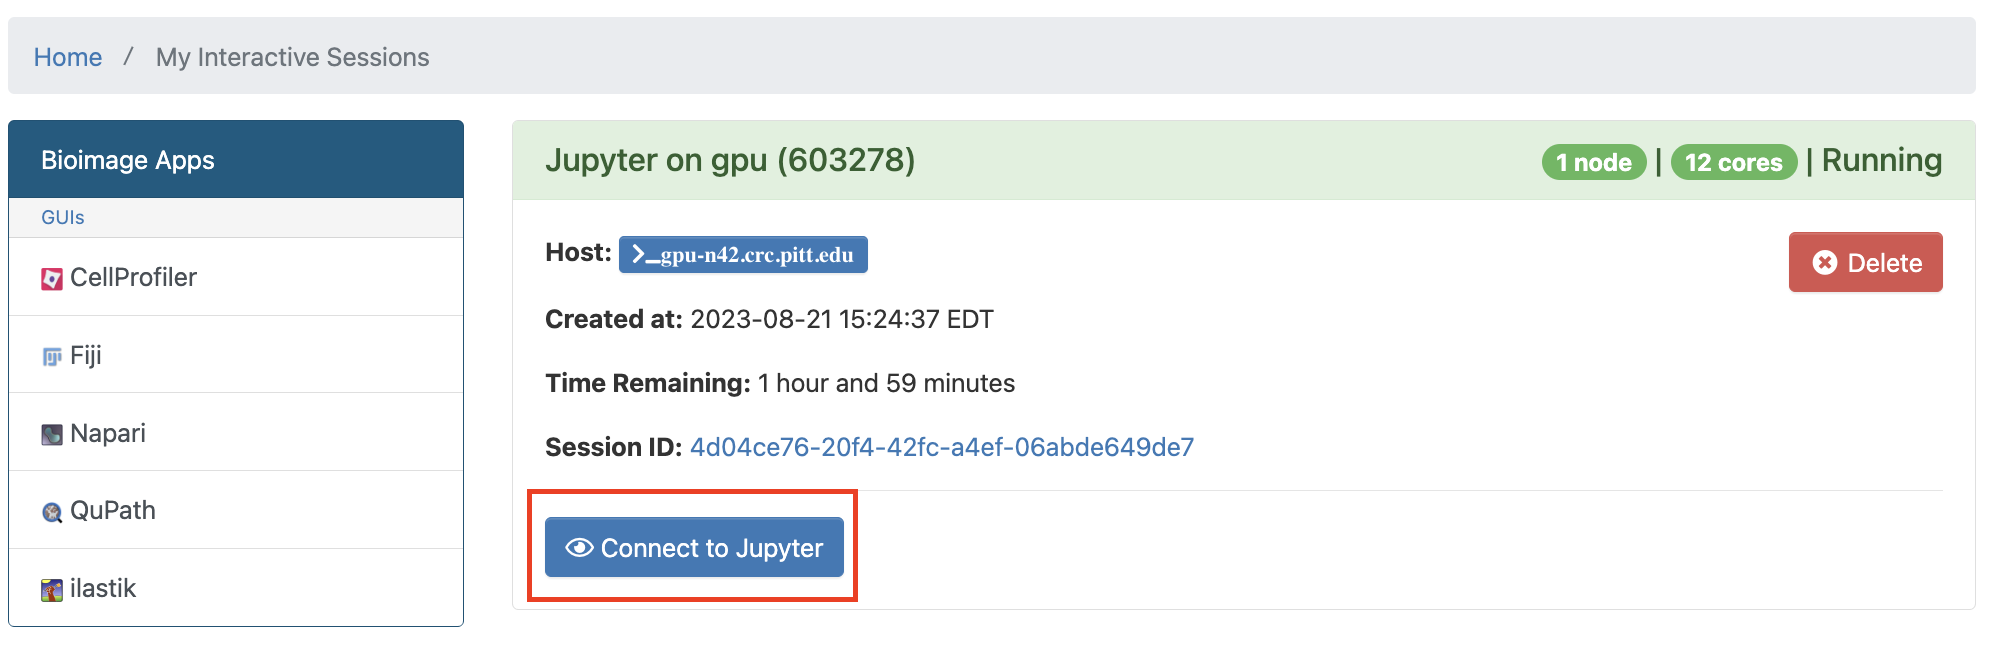
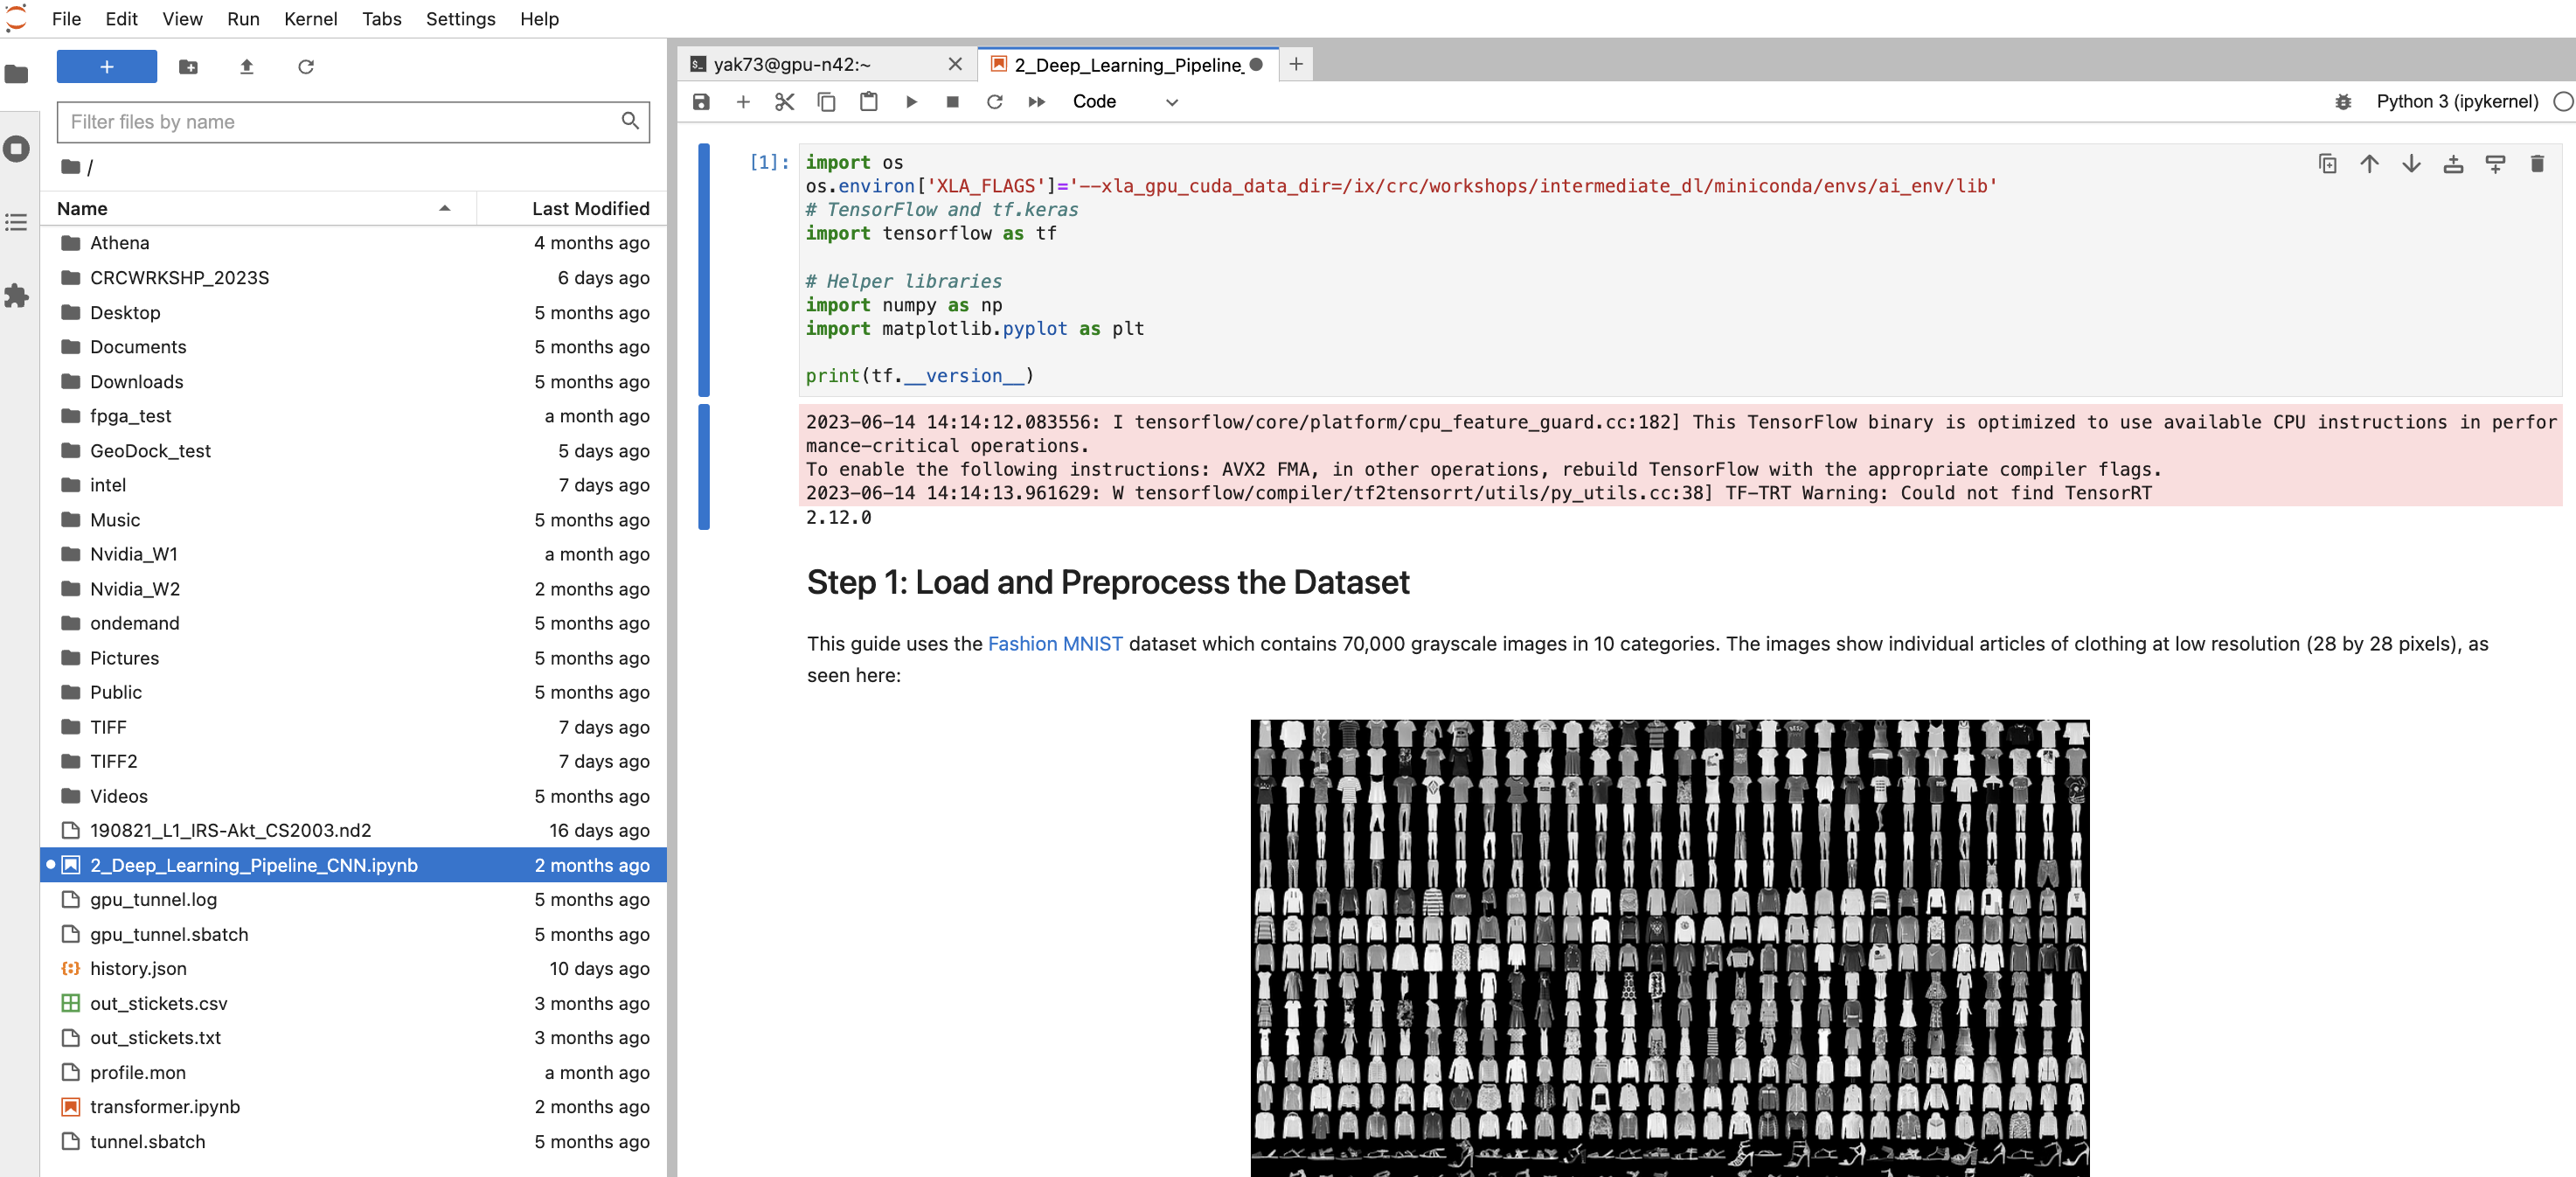
Click Connect to Jupyter to open the JupyterLab interface:
General notes
Project storage isn't browsable by default
Project storage locations (for example /ix, /ix1, and /vast) are not browsable from OnDemand by default. To
reach them, create a symbolic link from your home directory to the location, for example:
ln -s /ix/<group>/<username>/dir /ihome/<group>/<username>/ix_dir
You can view the logs of your Jupyter session by clicking My Interactive Sessions:
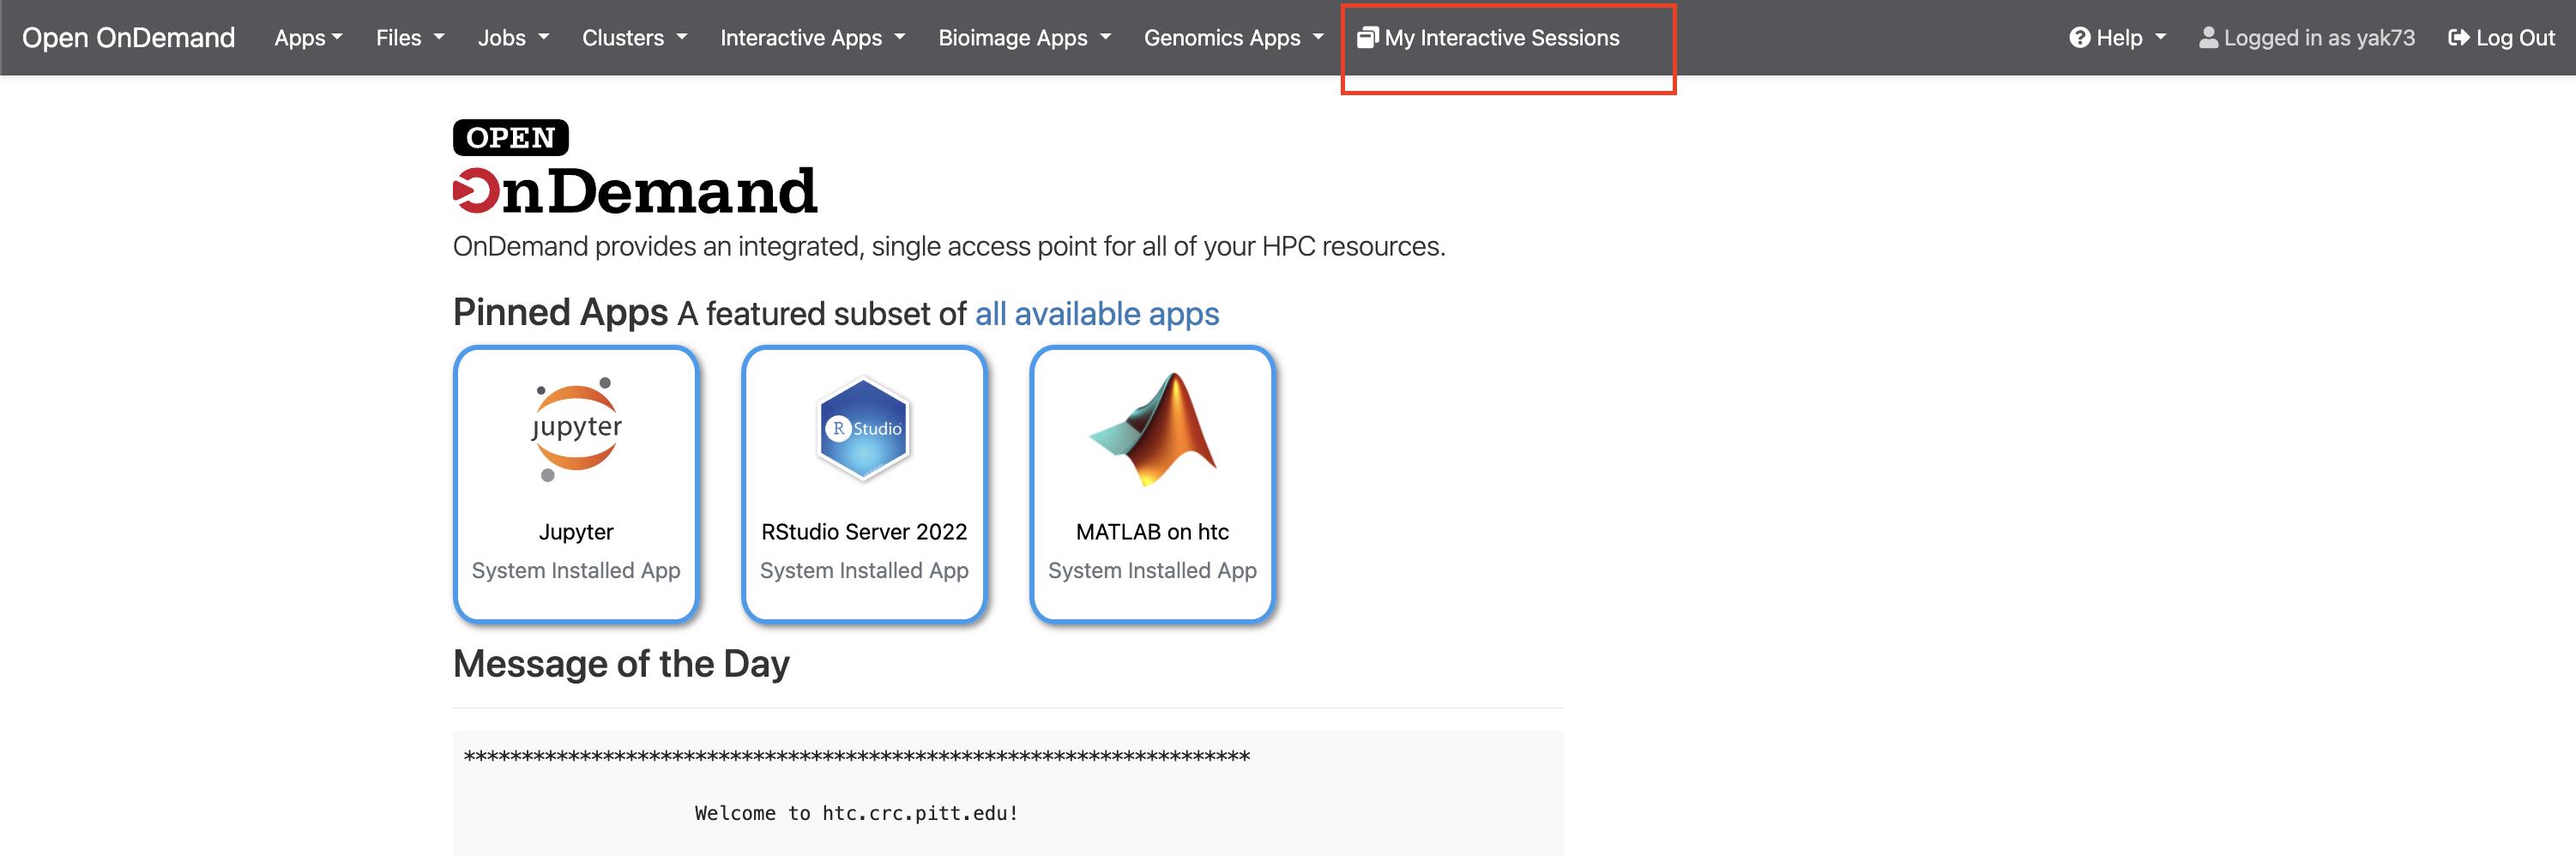
This opens a file explorer with your session logs and scripts:
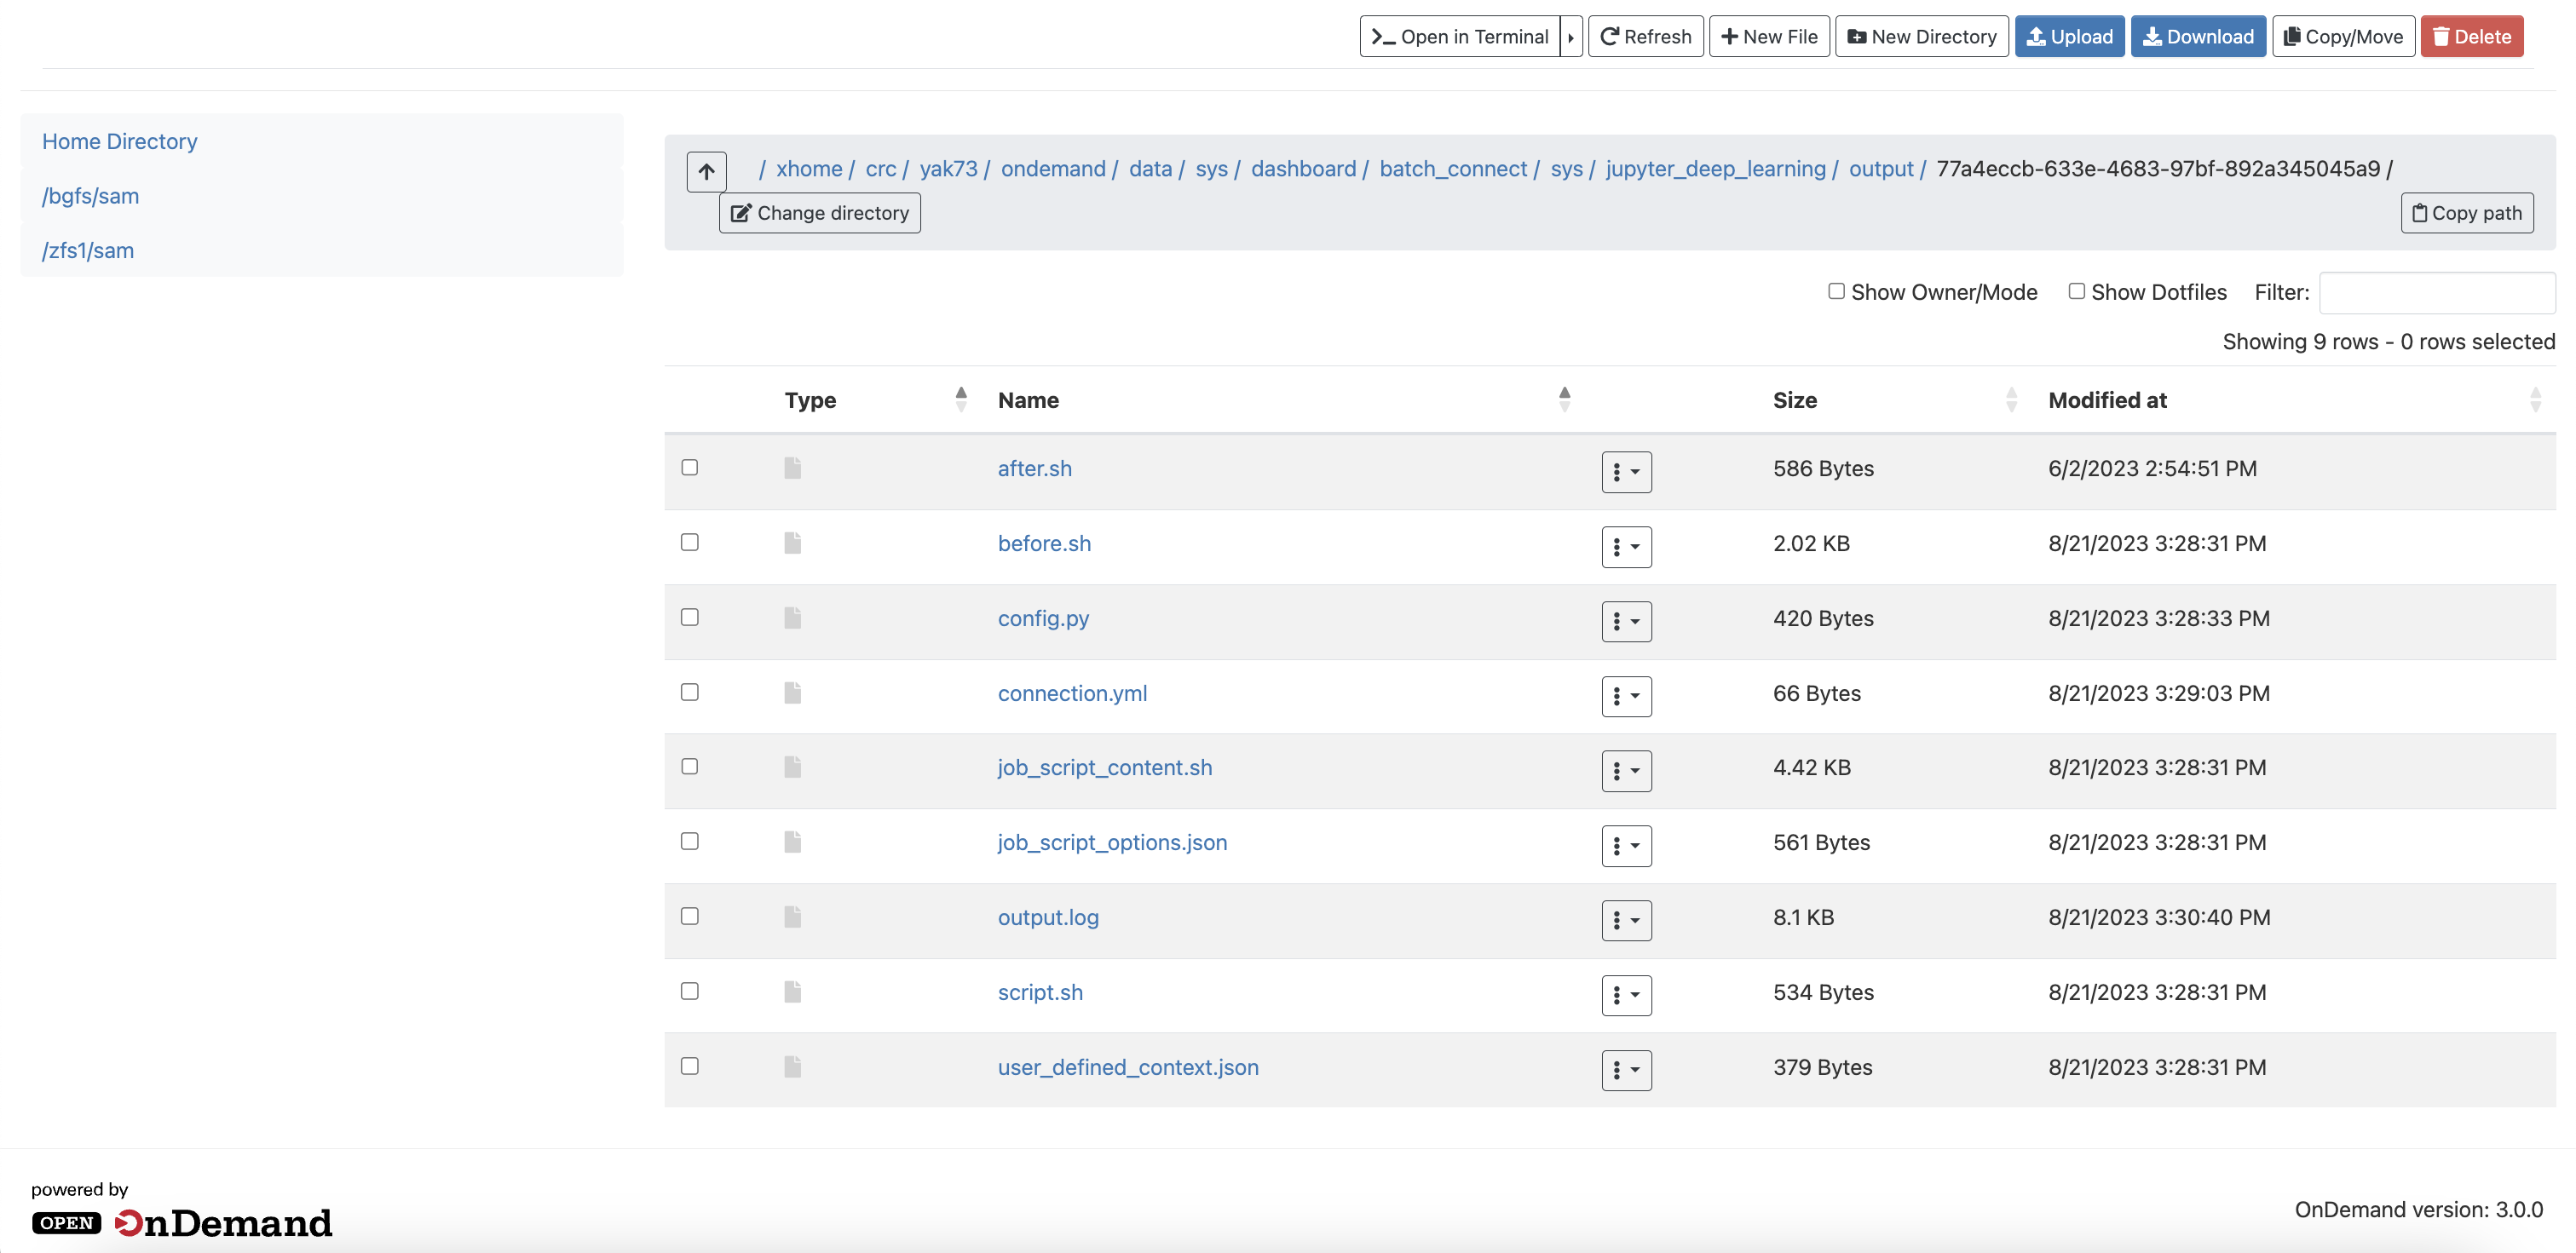
These logs are useful for debugging a session, and helpful to us when troubleshooting if you submit a support ticket.
Using custom virtual environments
See the Python environments page for a complete guide to managing Python environments on the CRCD clusters. In short:
- To use a custom environment (rather than one of the pre-installed modules), create the environment first using one of the methods in that guide and install your required packages into it.
- Make sure you install the
jupyterandjupyterlabpackages into the environment so it can run Jupyter through OnDemand (viaconda install,mamba install, orpip install). - If you need Lmod modules loaded during your Jupyter on OnDemand session, install the
jupyterlmodpackage, which adds a panel to Jupyter's interface for selecting modules to load. This package can only be installed throughpip.