Transferring Files with FileZilla
FileZilla is a free, cross-platform SFTP client with a
drag-and-drop interface for moving files between your computer and CRCD storage. It's a good
choice if you prefer a graphical tool over command-line scp or rsync. The screenshots below
are from macOS; the Windows and Linux clients work the same way.
Connect to the VPN first
CRCD is reachable only from the University network. From off campus, connect to the GlobalProtect VPN before connecting with FileZilla.
Download the FileZilla Client from the FileZilla download page and install it, then work through the tabs below to connect and transfer files.
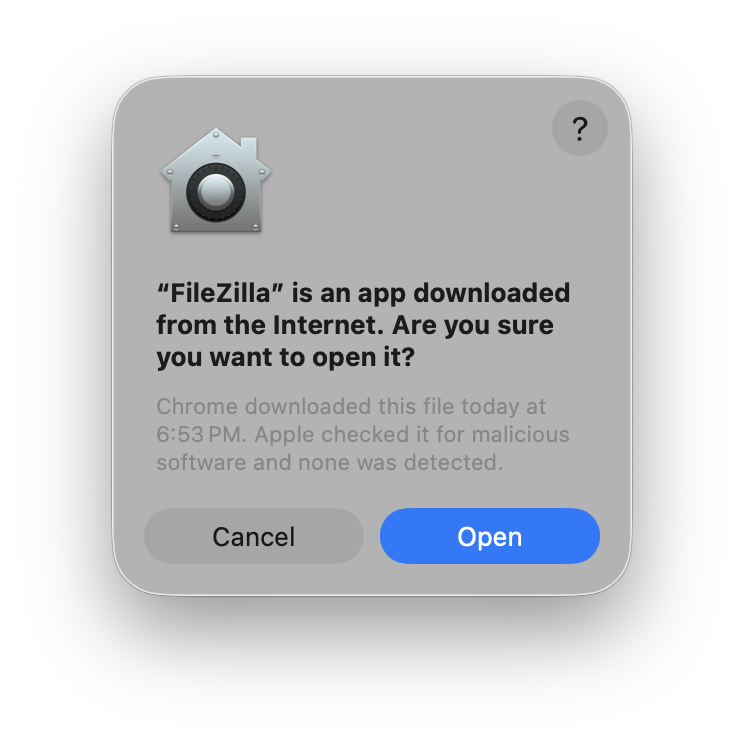
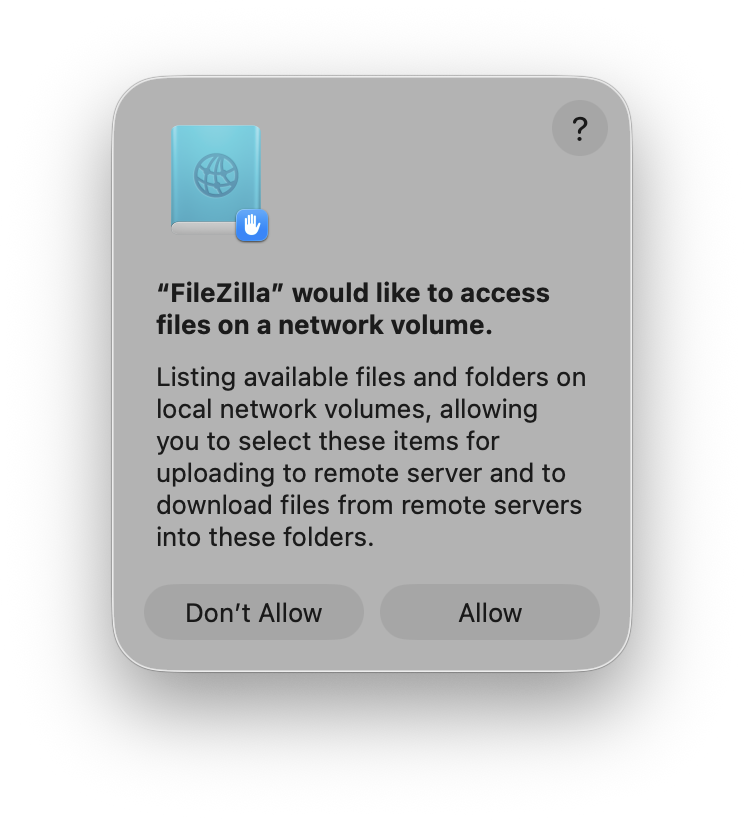
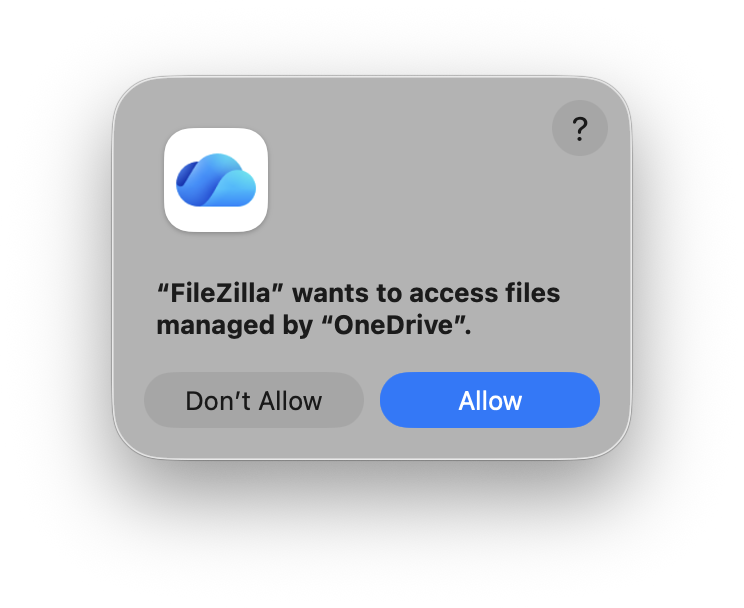
The first time you open FileZilla on macOS, confirm that you want to open an app downloaded from the internet. macOS may also ask FileZilla for permission to read a local location — such as a network volume — so it can list files to transfer; click Allow.
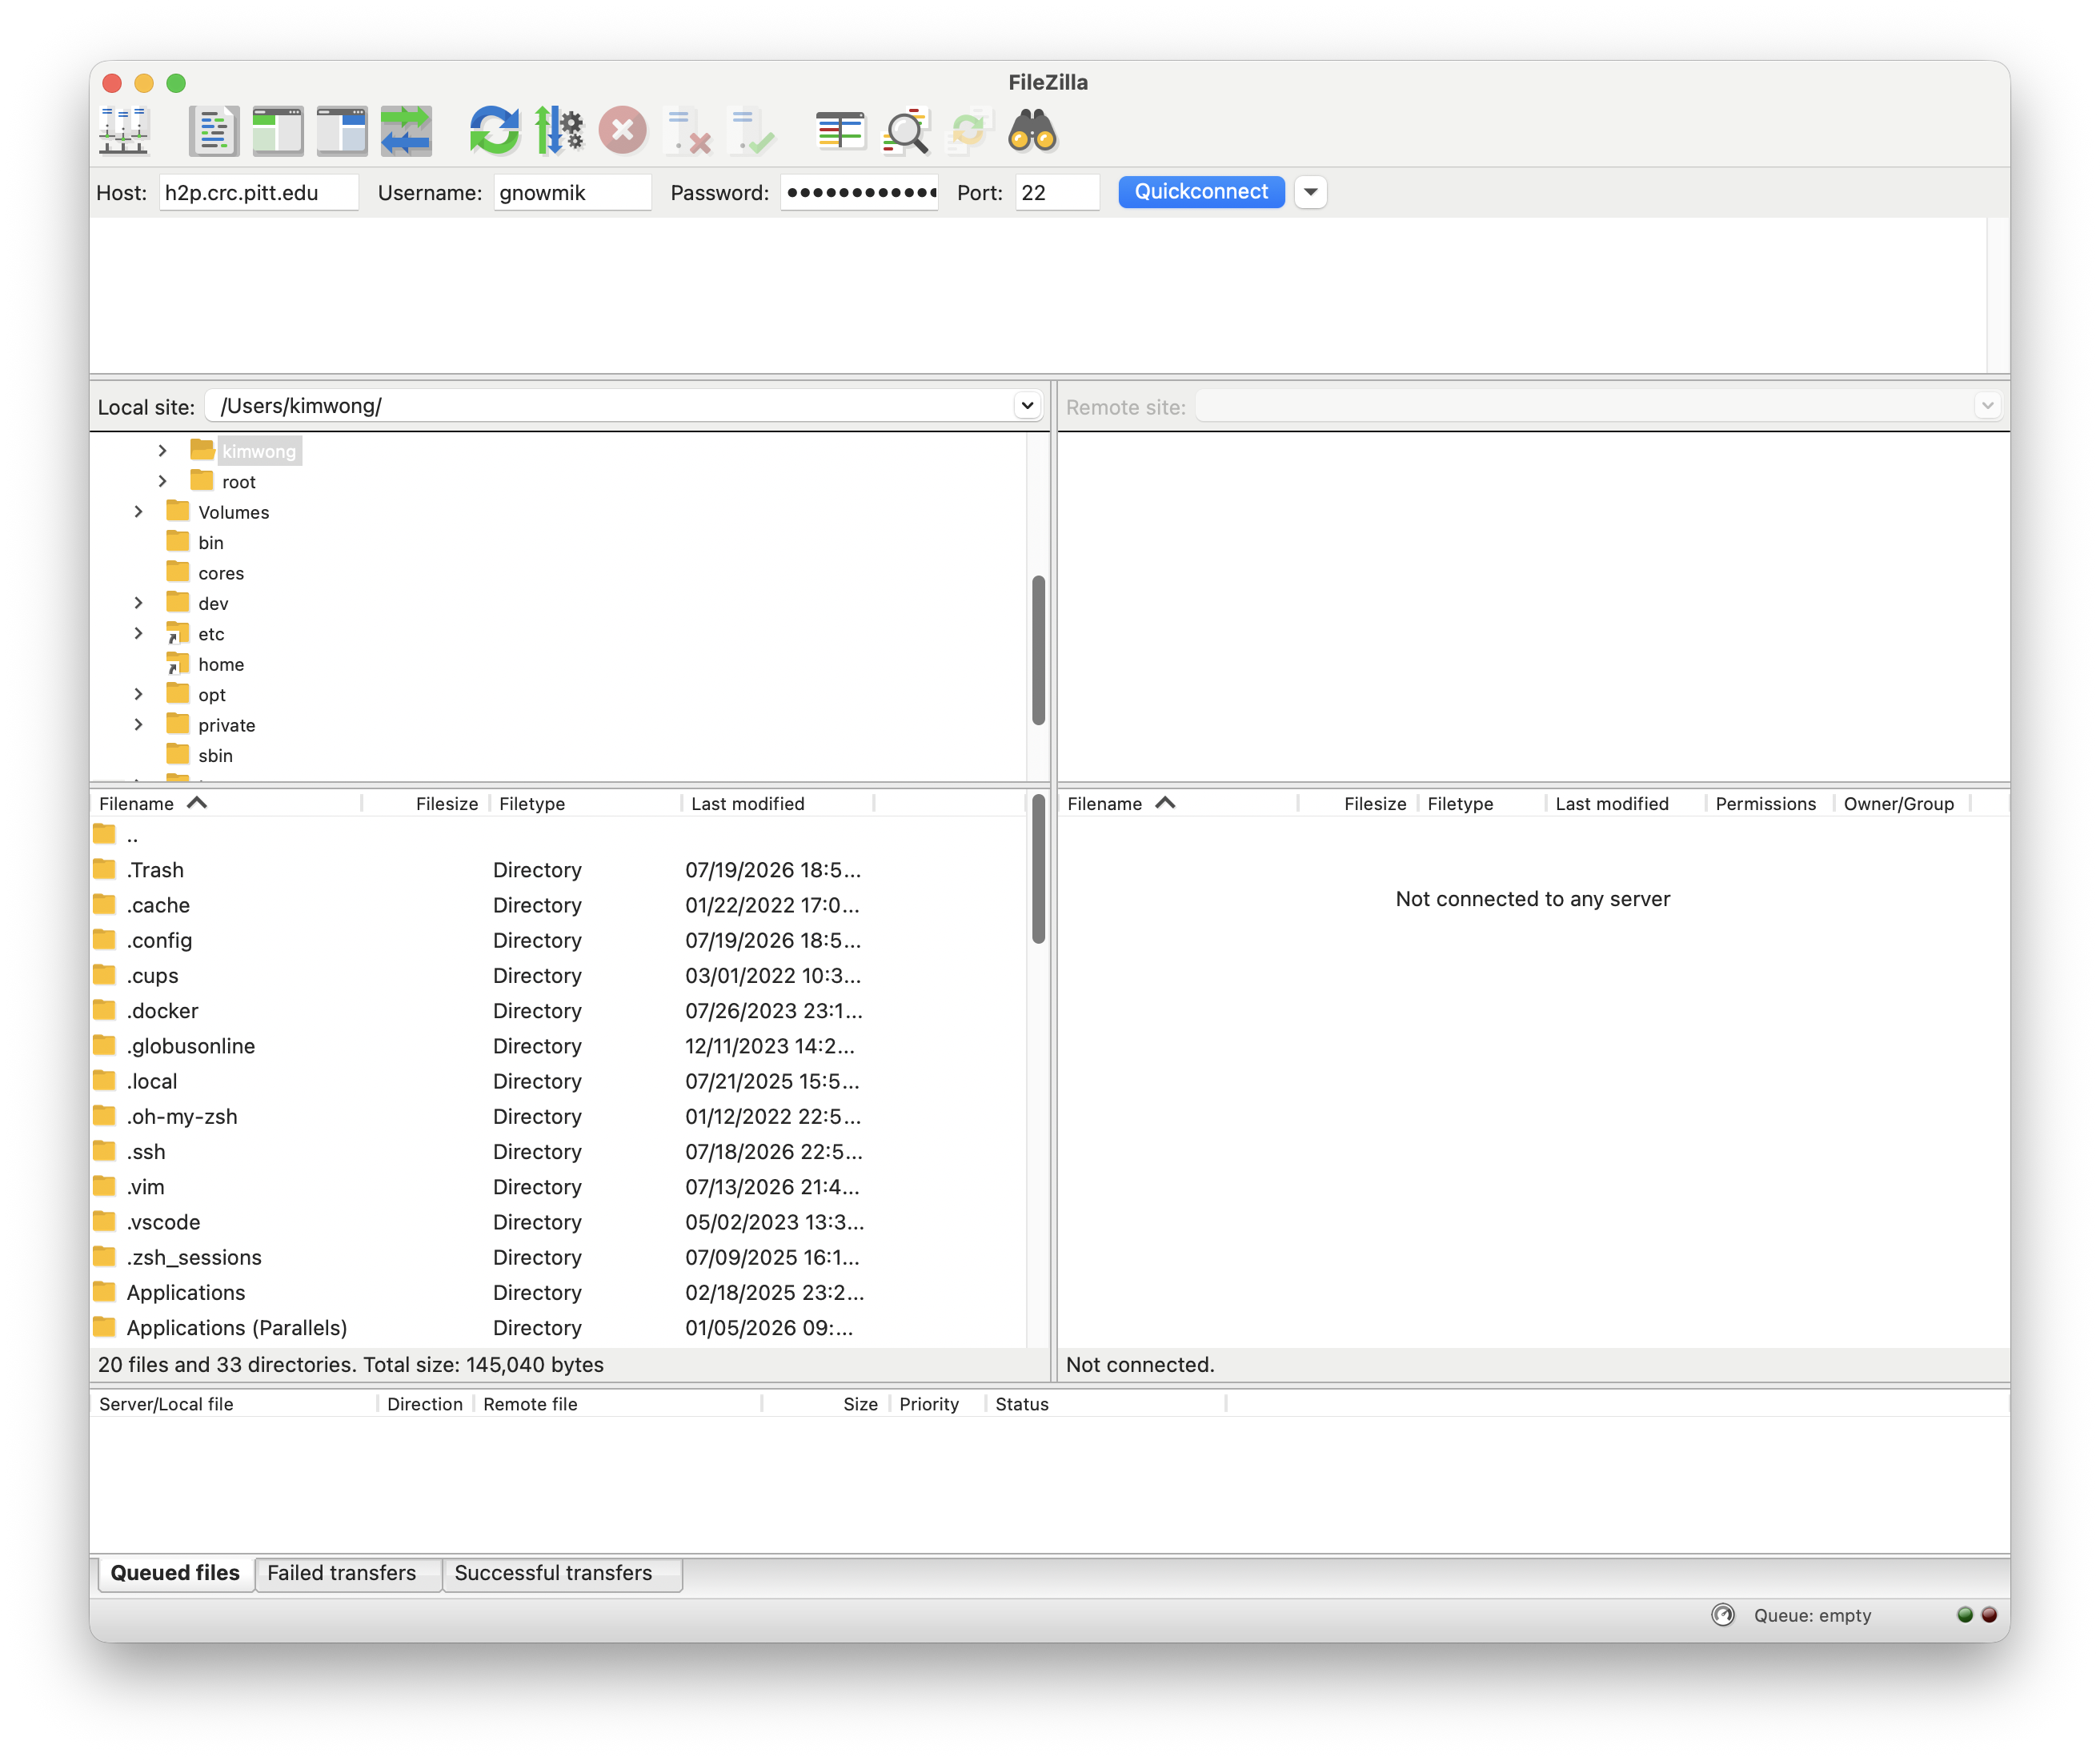
Fill in the Quickconnect bar at the top of the window, then click Quickconnect:
| Field | Value |
|---|---|
| Host | sftp://h2p.crc.pitt.edu for SMP, MPI, or GPU; sftp://htc.crc.pitt.edu for HTC. The sftp:// prefix forces a secure connection. |
| Username | Your Pitt username, all lowercase. |
| Password | Your Pitt password. |
| Port | 22 |
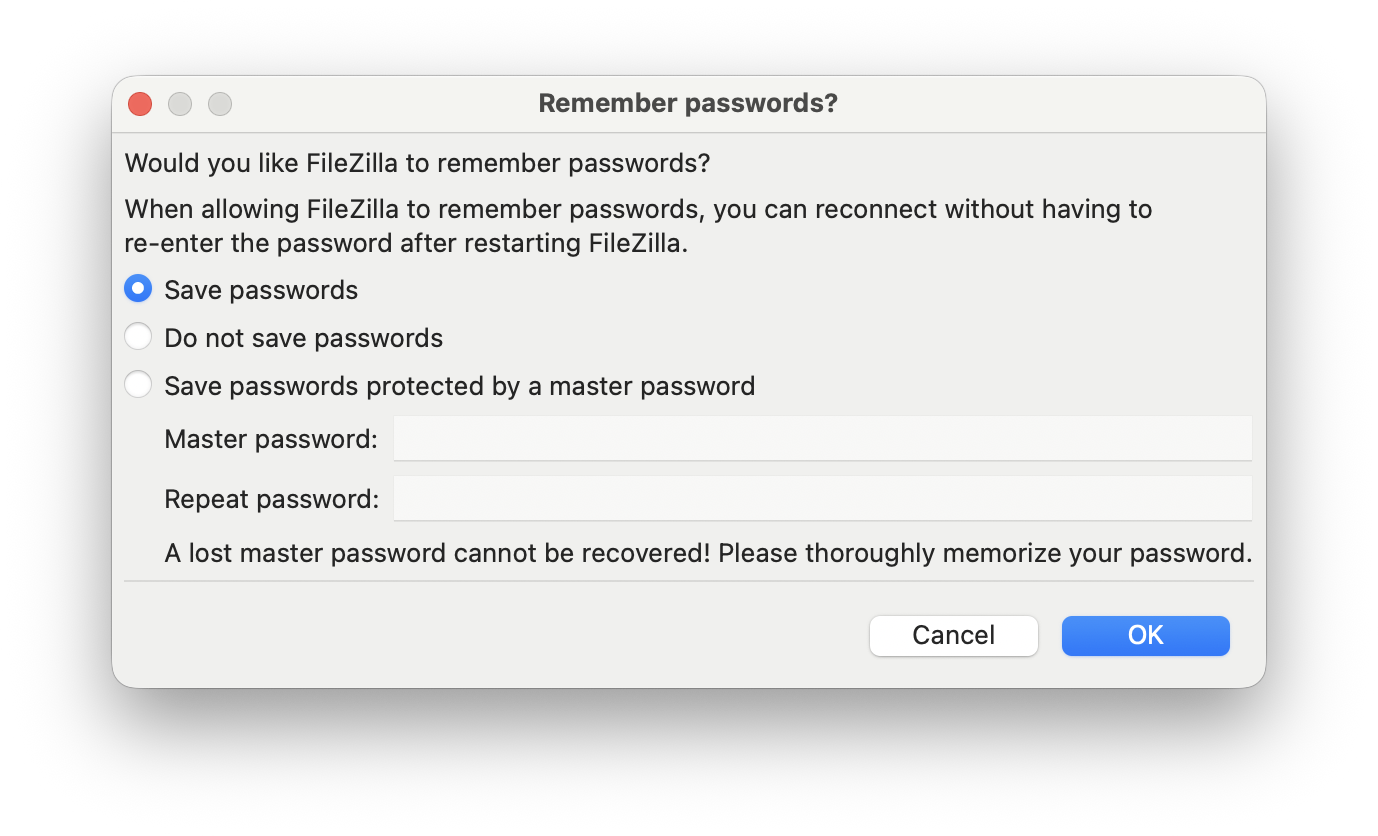
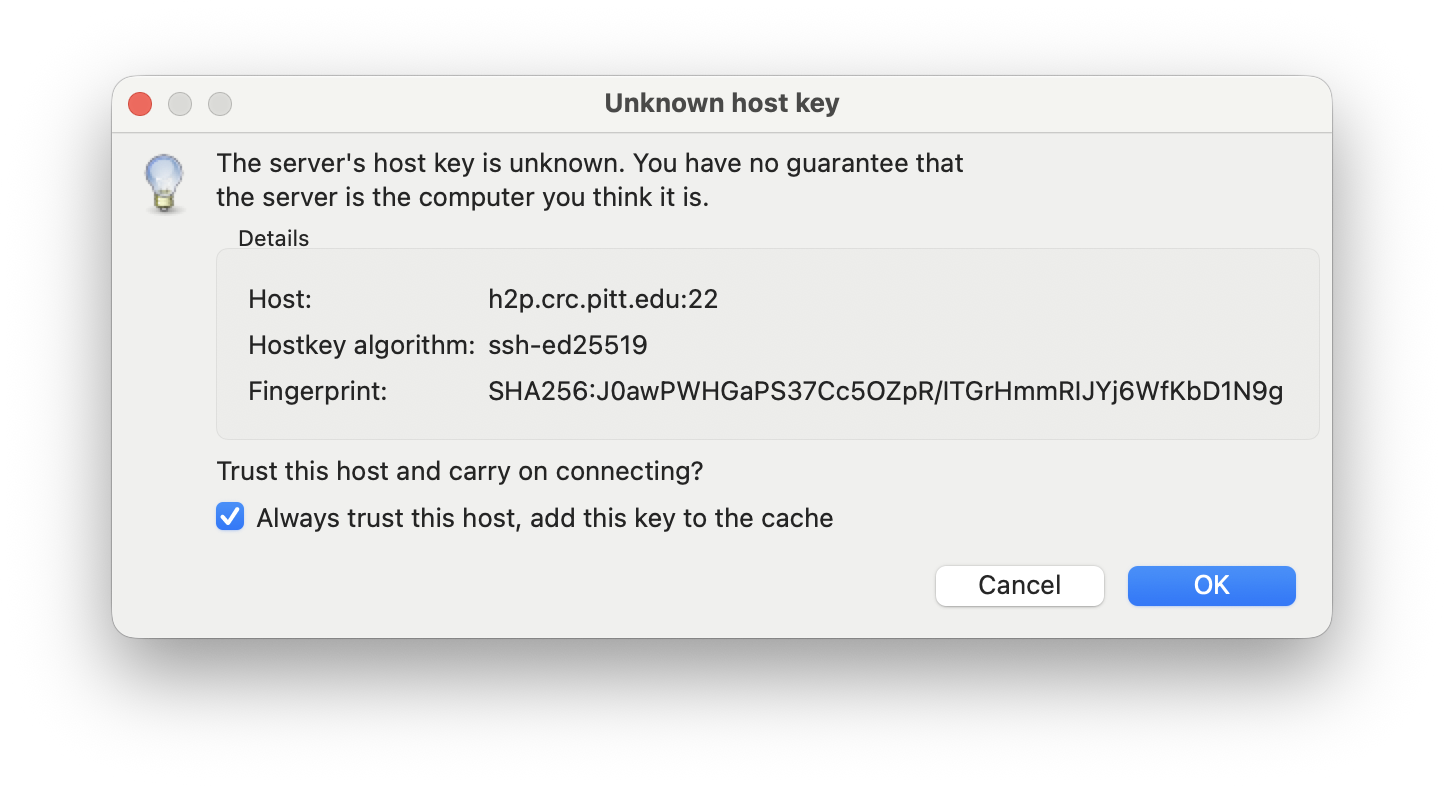
FileZilla asks whether to remember passwords — on your own computer, Save passwords is convenient; on a shared machine, choose Do not save passwords or protect them with a master password. Then, on first connection, FileZilla shows the server's host key: check Always trust this host, add this key to the cache and click OK.
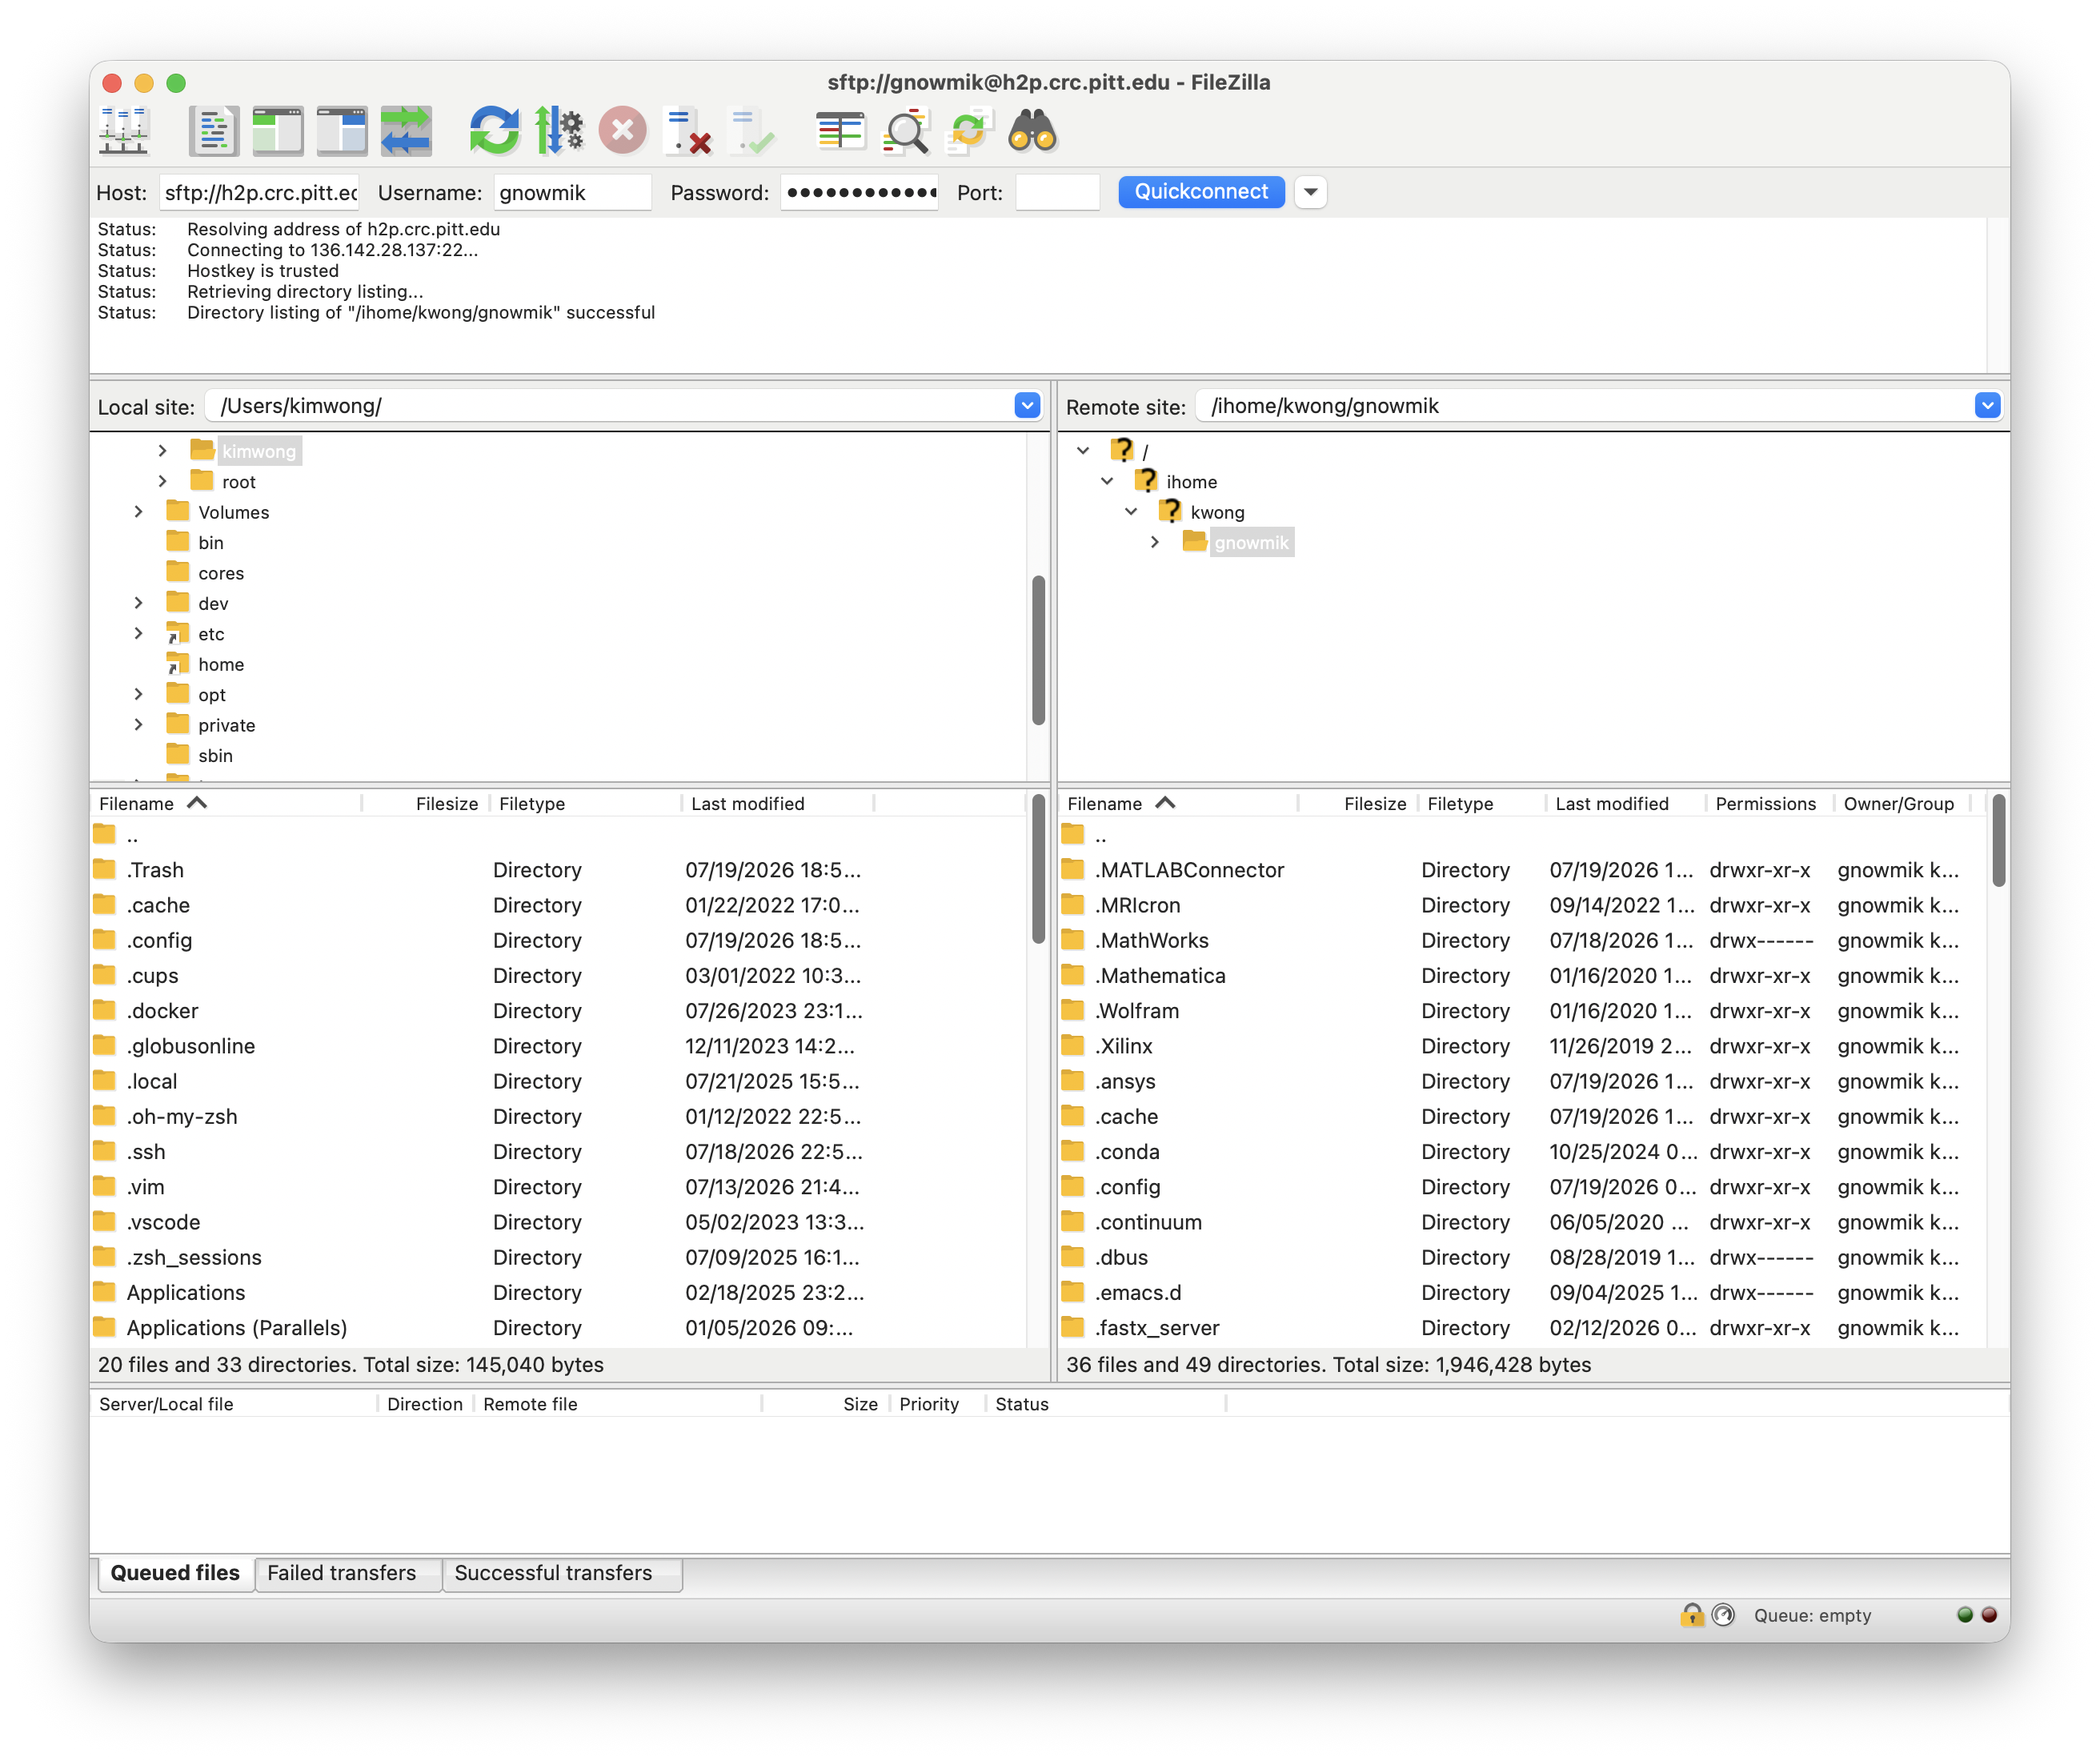
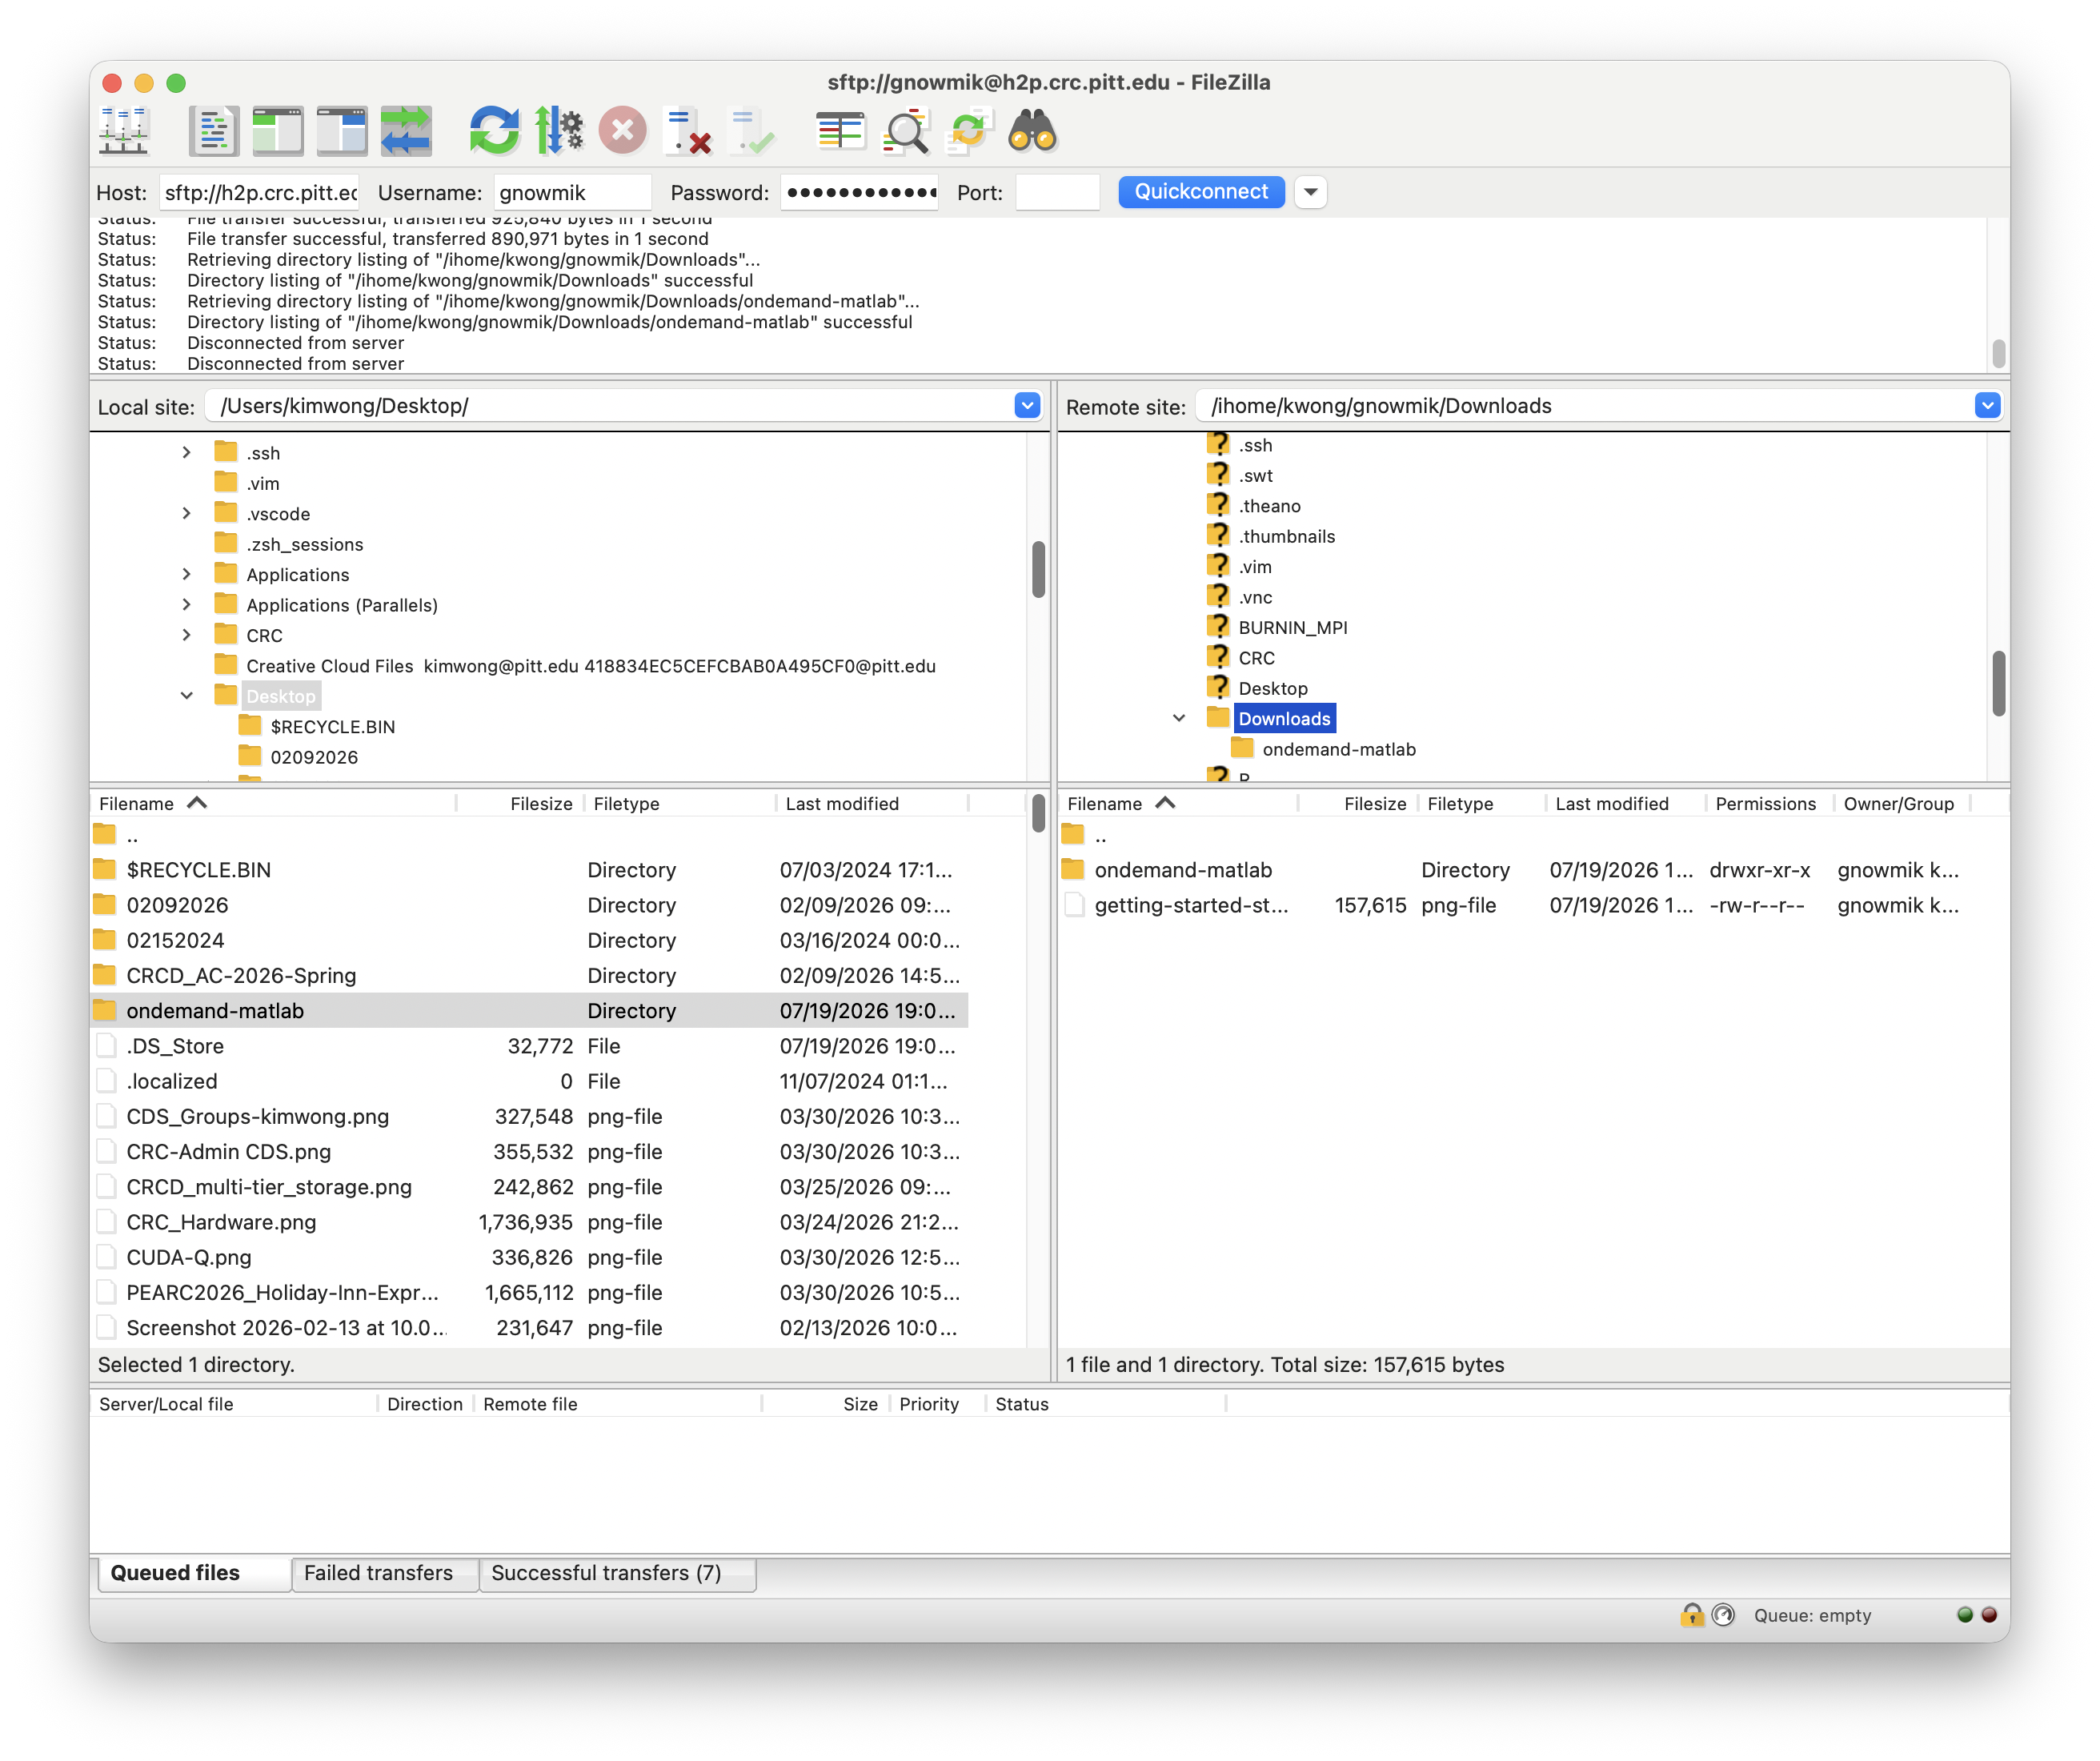
Once connected, the Remote site panel on the right shows your CRCD home directory
(/ihome/<group>/<username>); the Local site panel on the left is your own computer.
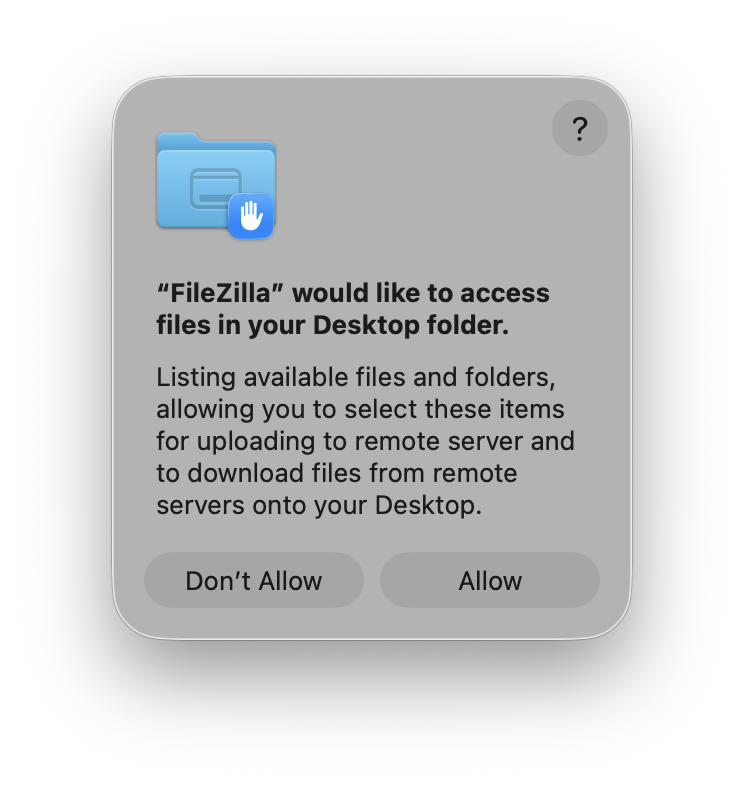
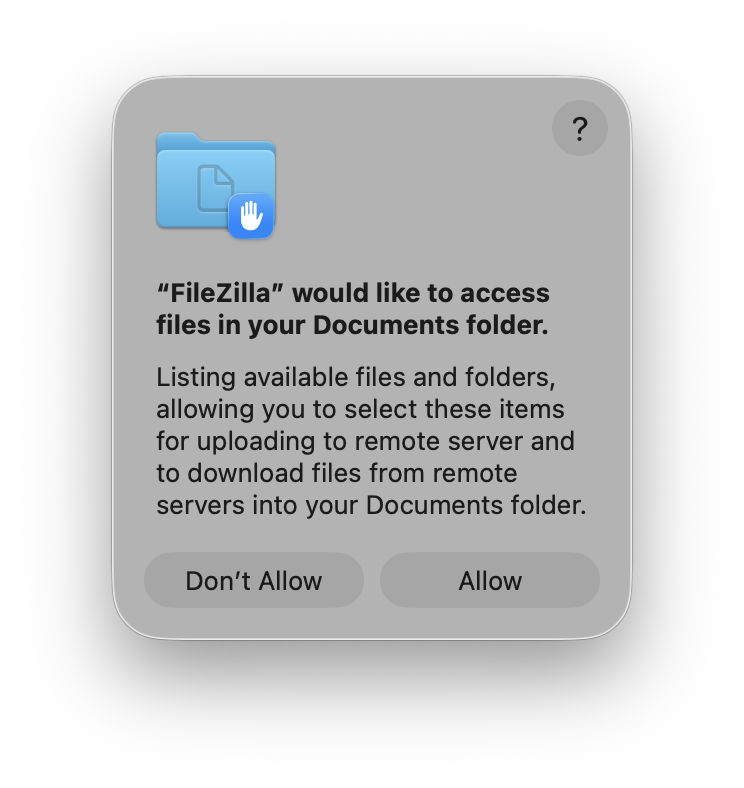
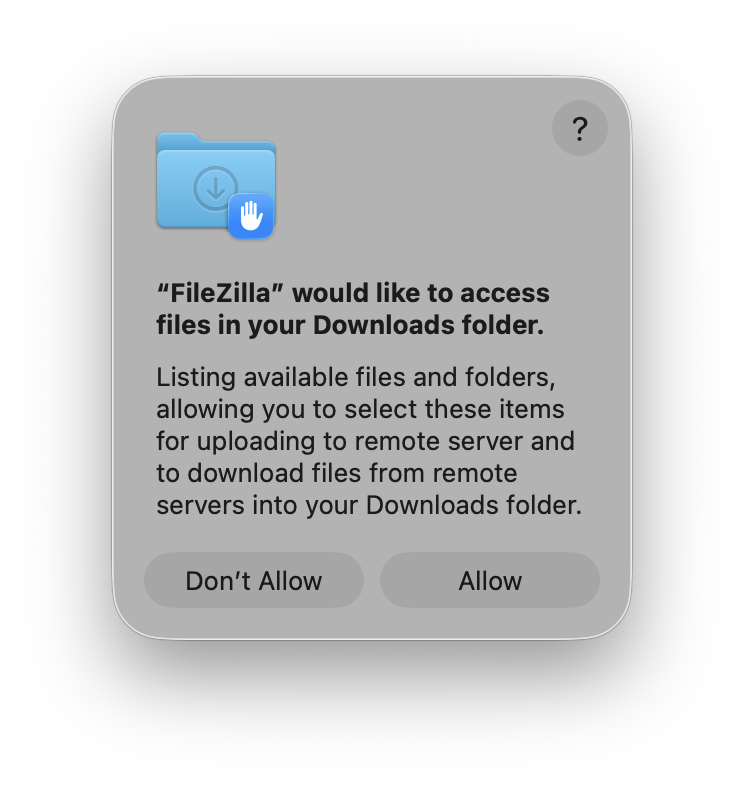
As you browse your computer to pick files, macOS asks FileZilla for permission to each personal folder (OneDrive, Desktop, Documents, Downloads). Click Allow on each so FileZilla can upload from and download to them.
With both panels showing the folders you want, move files by dragging them between Local site and Remote site, or by double-clicking a file to send it to the other side. Progress appears in the transfer queue at the bottom, and finished transfers move to the Successful transfers tab.
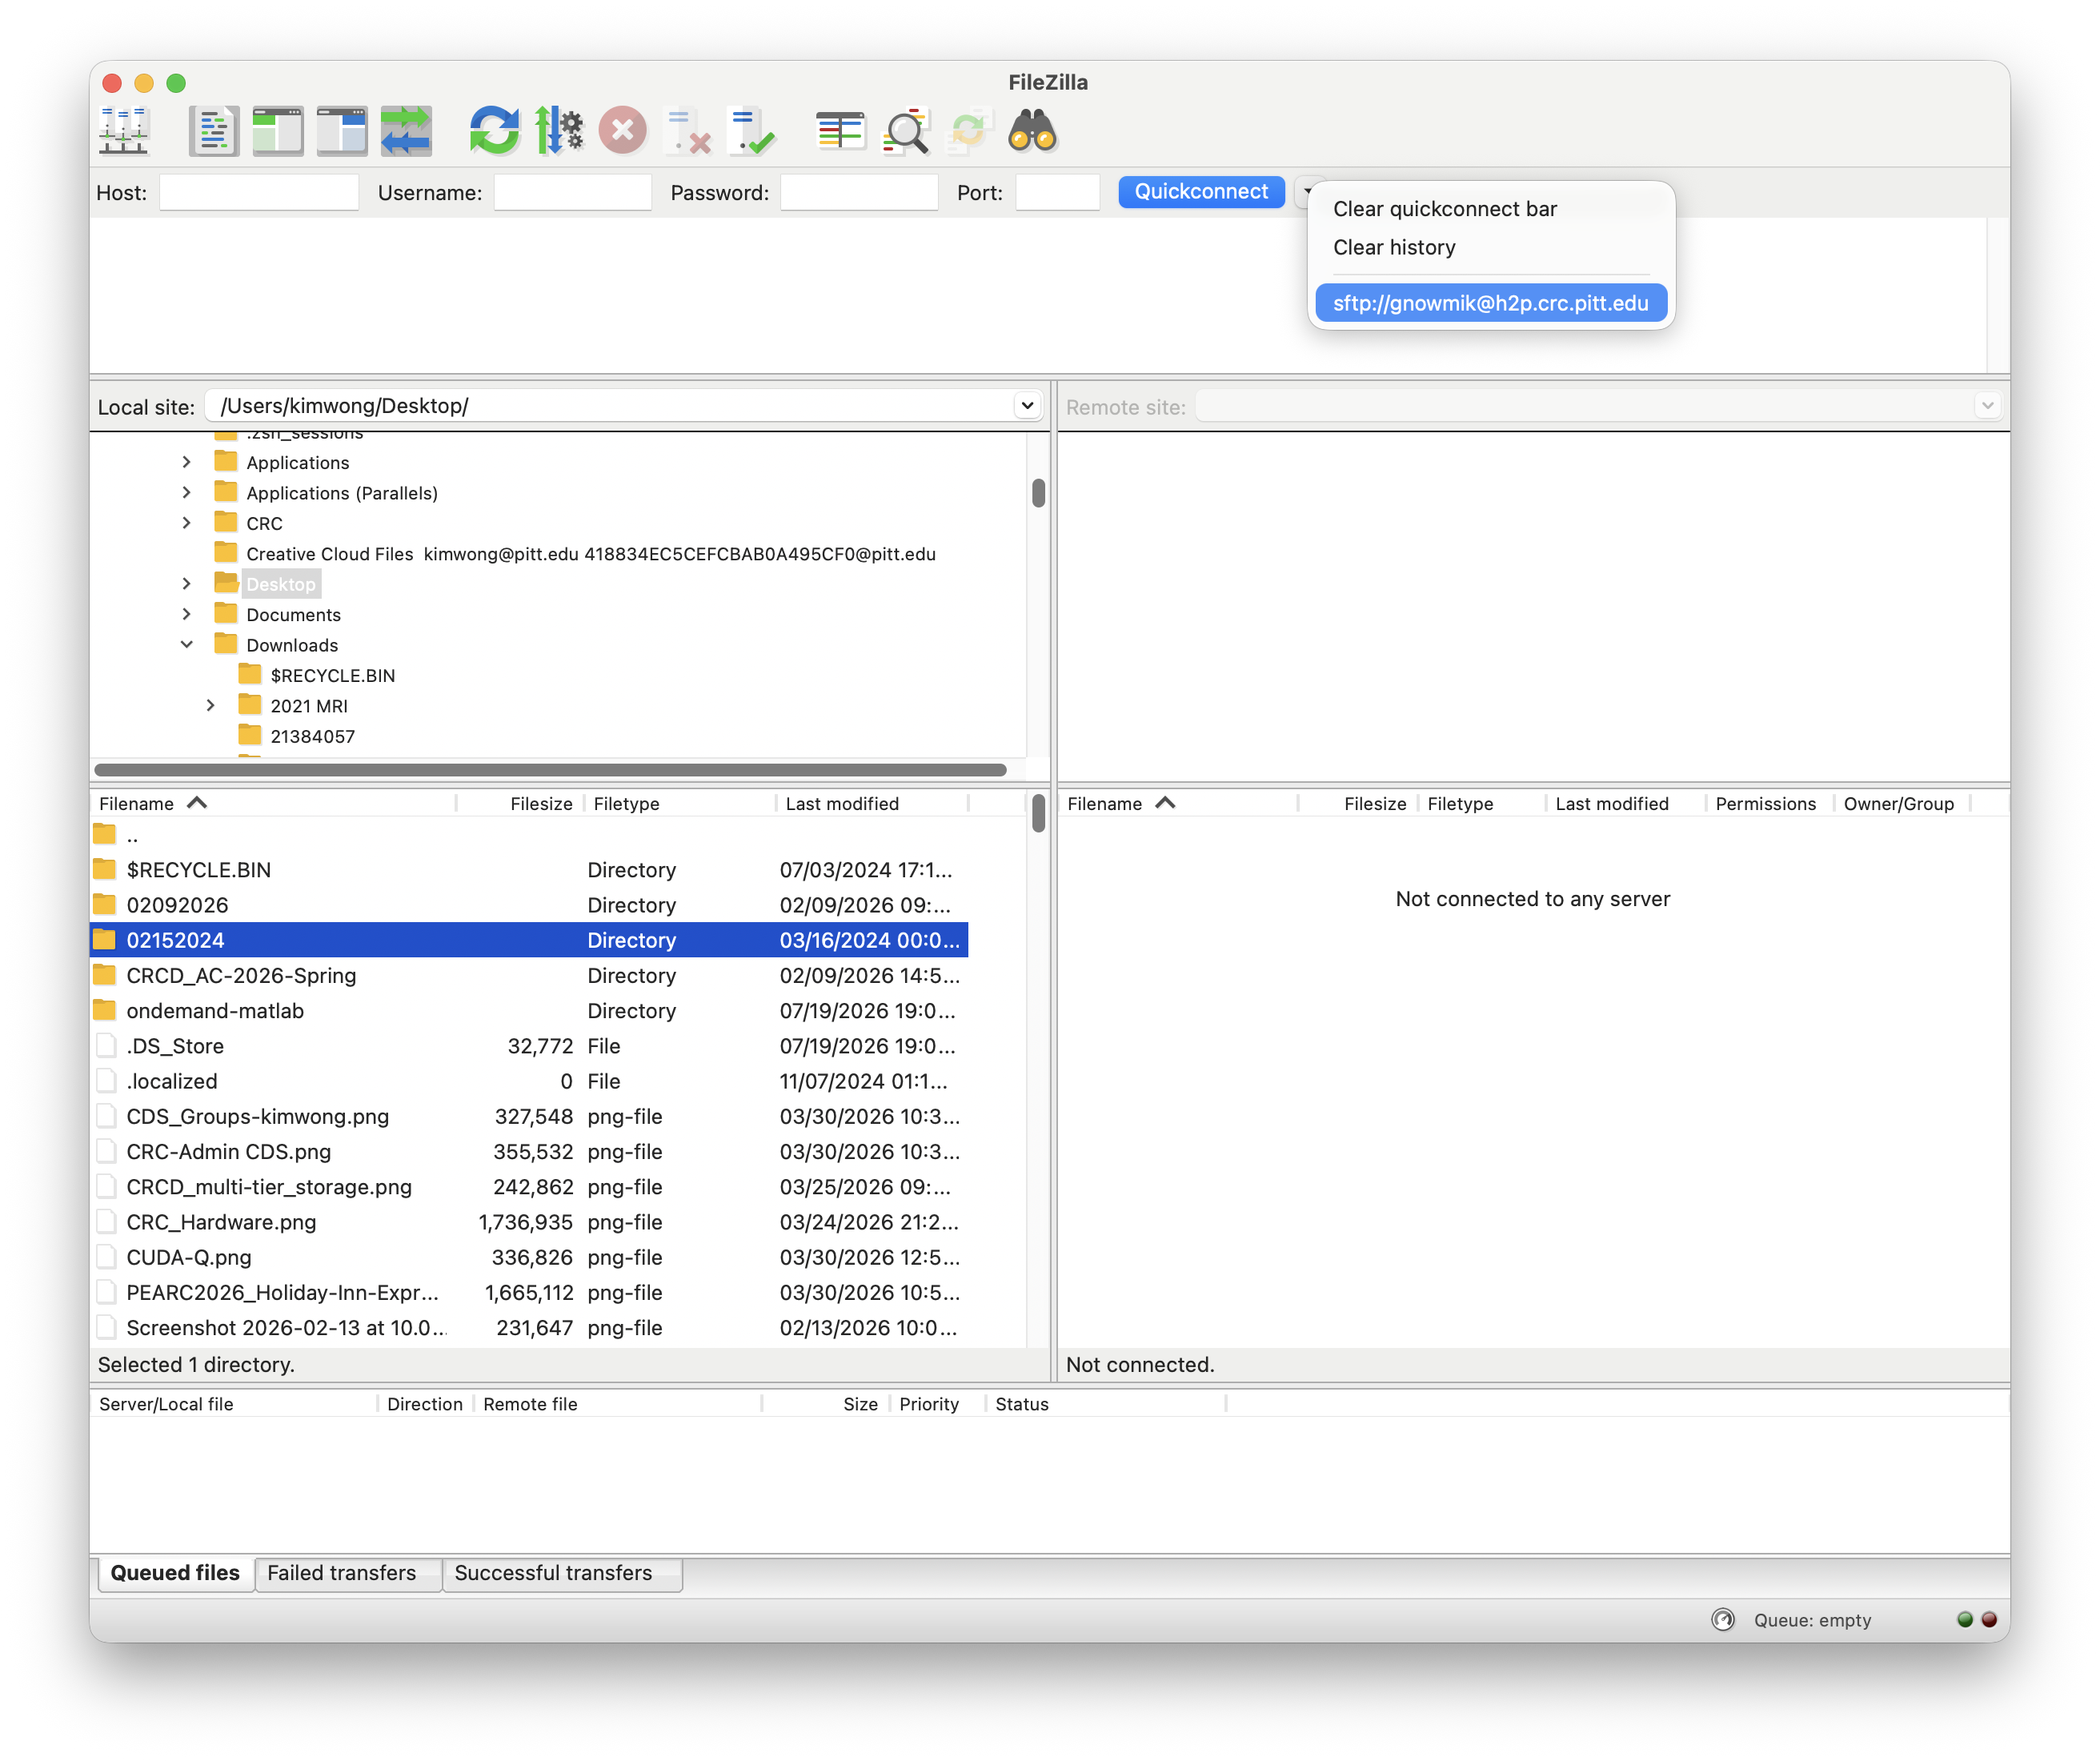
FileZilla remembers recent connections. Next time, click the arrow next to Quickconnect and pick your saved host from the history instead of retyping it.
Where to put your data
Your home directory has a 75 GB quota. For large datasets, transfer into your group's project
storage (/ix, /ix1, /vast) instead — see
Storage Tiers and File Systems.