Transferring Files with Globus
Globus is a research data-transfer service that moves files reliably and quickly between collections (endpoints) — for example, between CRCD storage and another institution, a colleague's system, or your own computer. Transfers run in the background, restart automatically after interruptions, and can be scheduled, which makes Globus the best choice for large datasets, cross-institution transfers, and unattended moves.
CRCD's storage is exposed as the Globus collection pitt#dtn (the CRCD Data Transfer
Node), which reaches your /ihome, /ix, /ix1, and /vast paths.
No VPN required
Globus transfers go through the CRCD Data Transfer Node, so — unlike SSH or FileZilla — you do not need the PittNet VPN to move data with Globus.
Log in to Globus
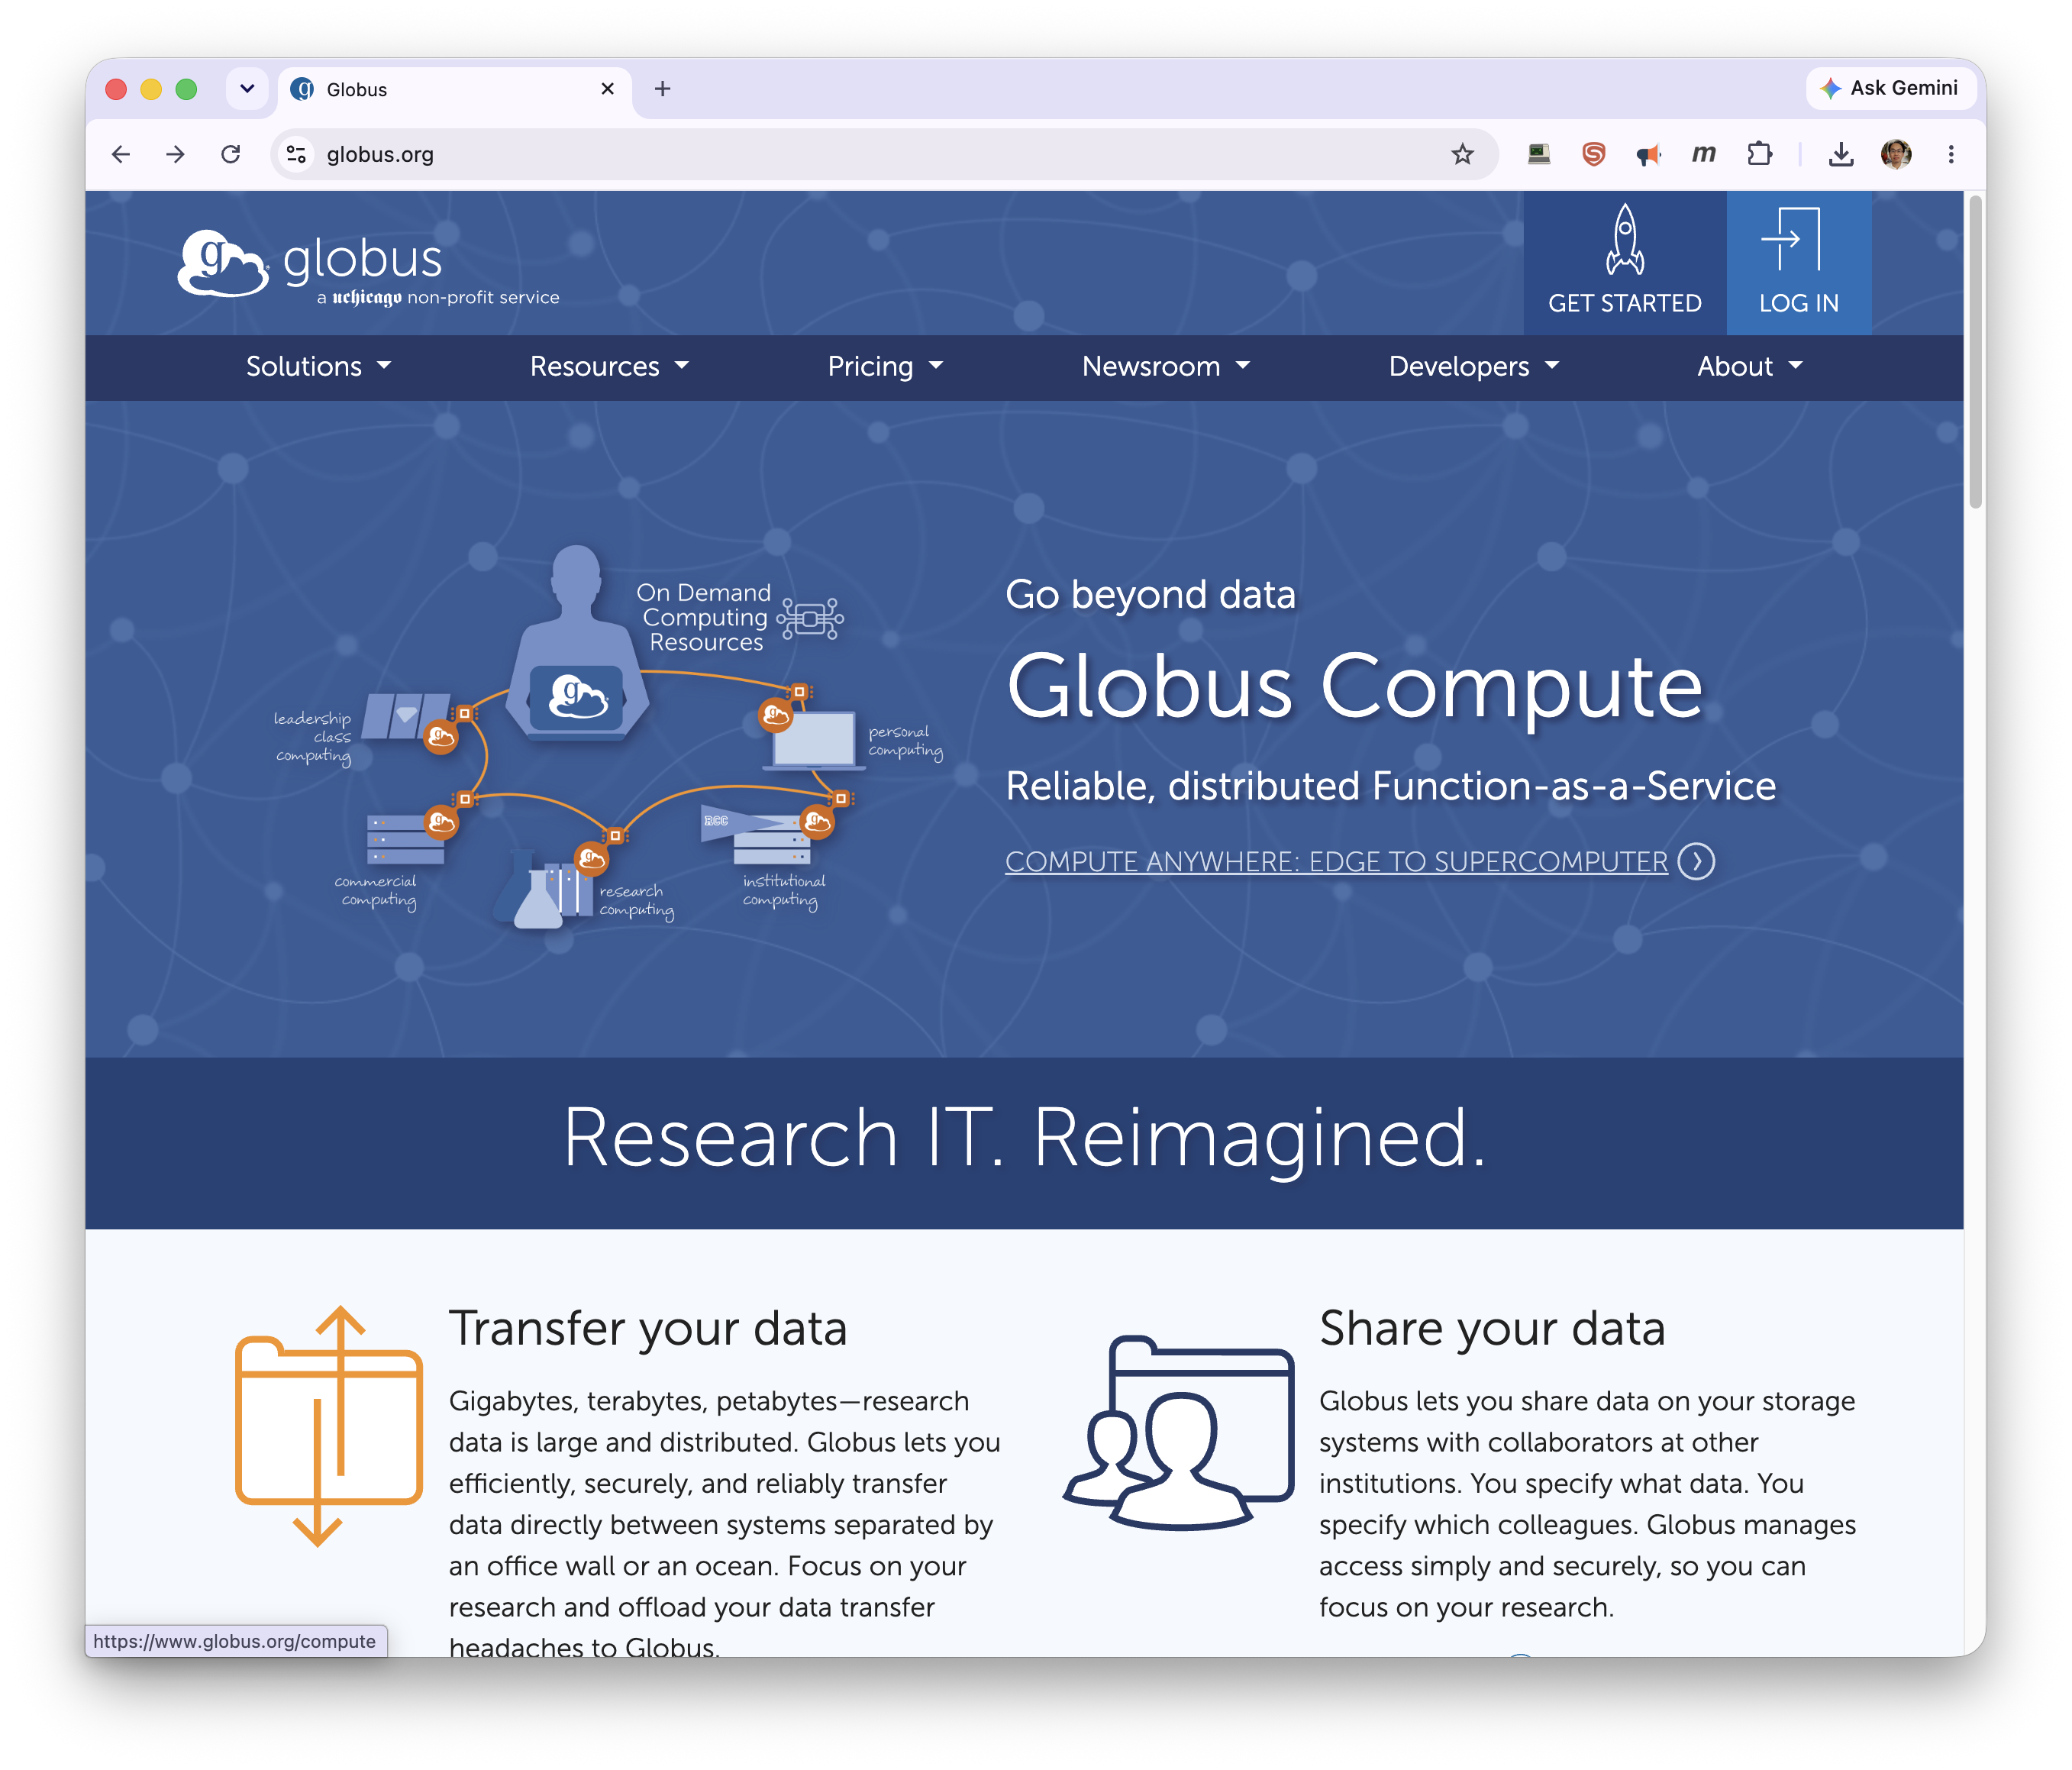
Go to globus.org and click Log In.
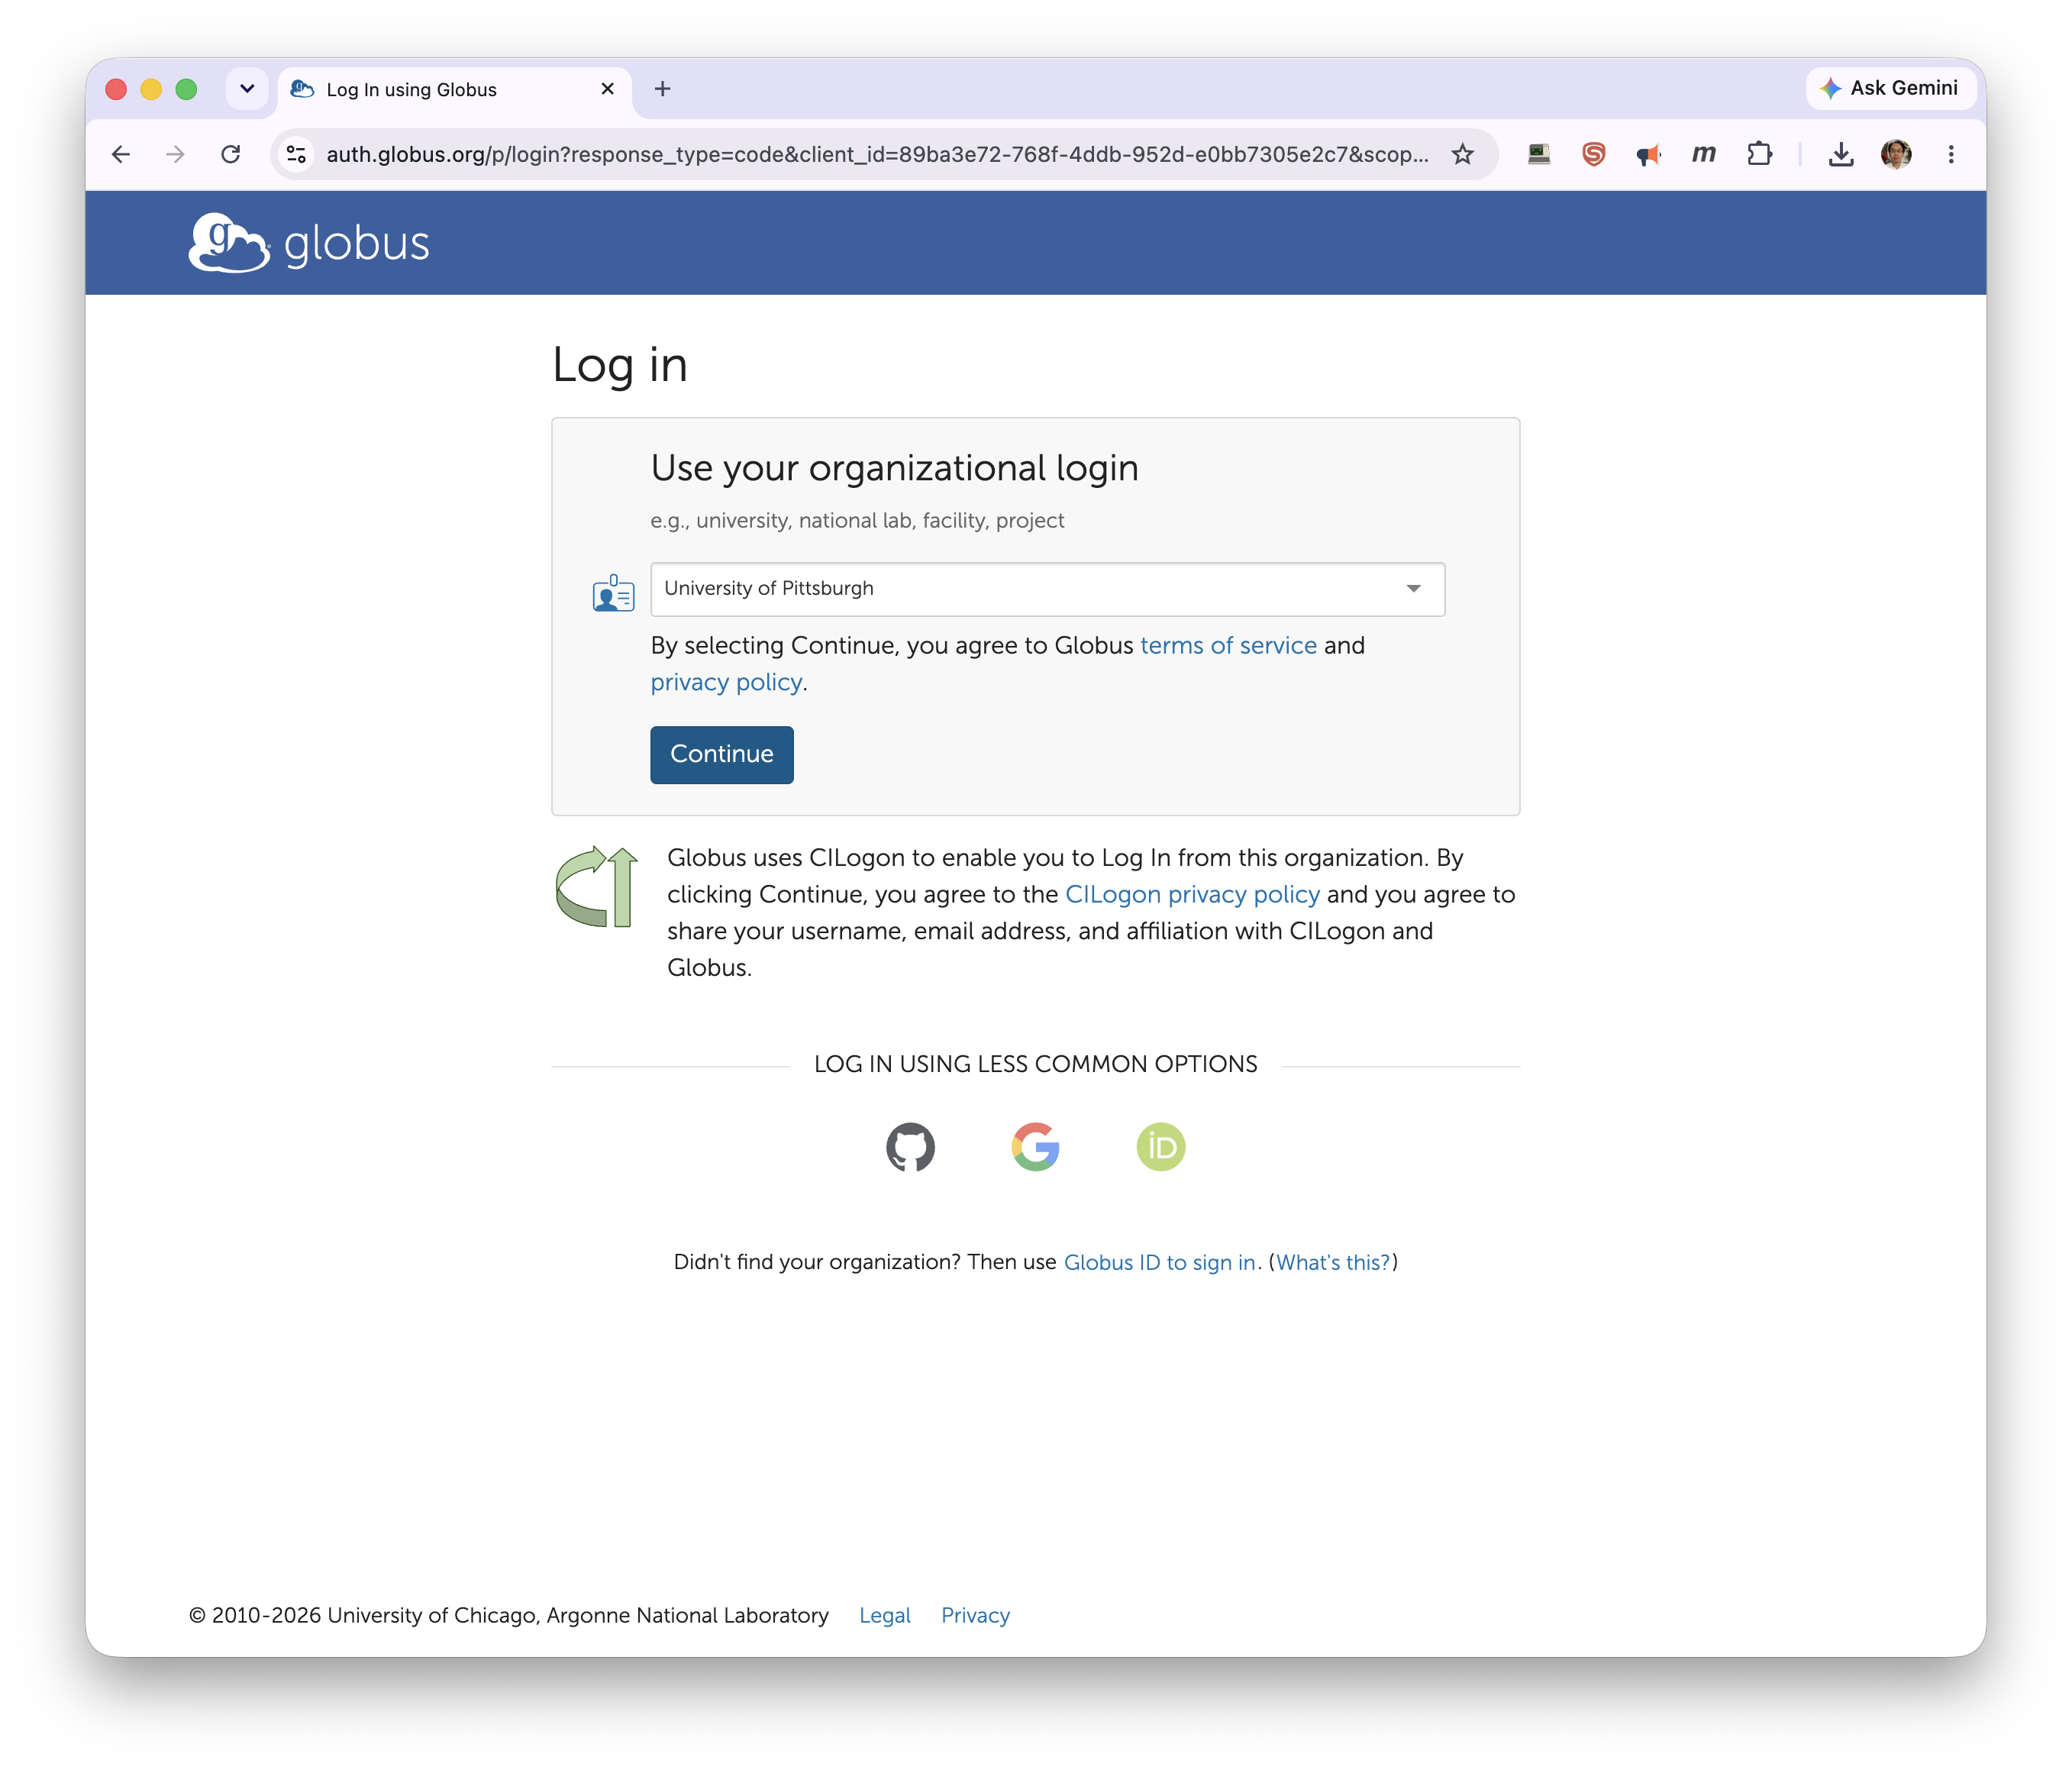
Under Use your organizational login, select University of Pittsburgh and click Continue.
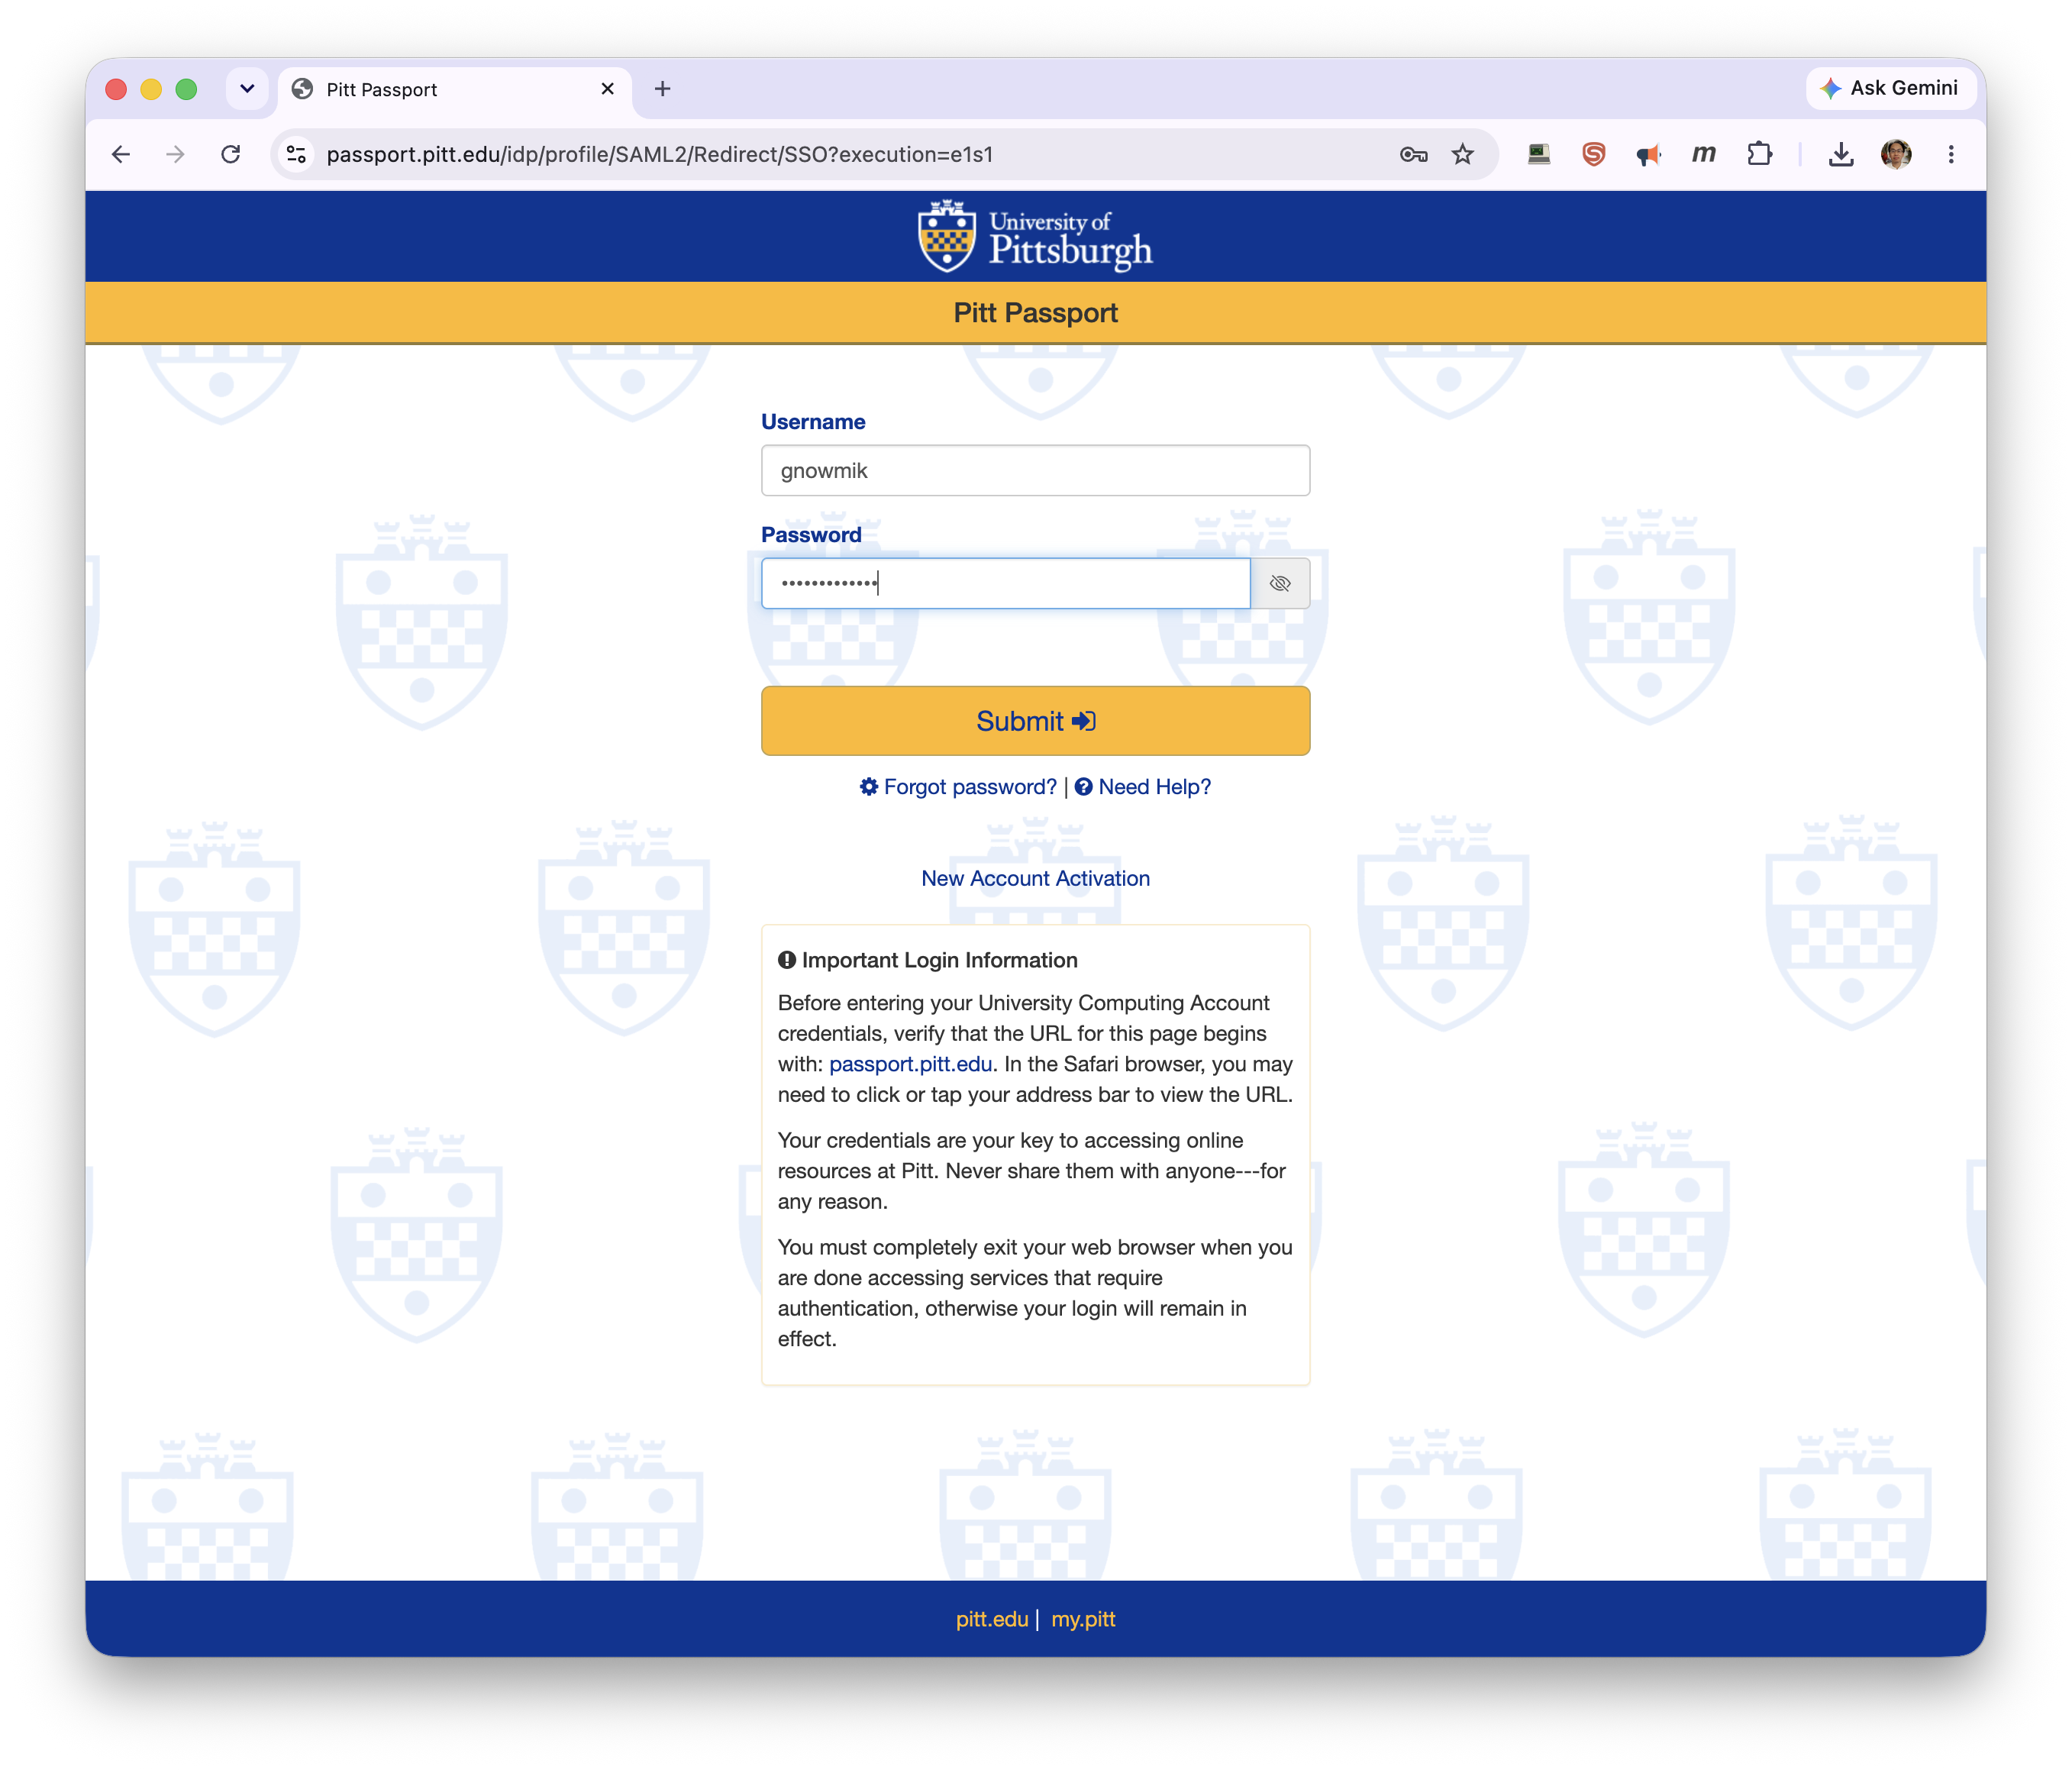
You're redirected to Pitt Passport. Sign in with your Pitt username (all lowercase) and password.
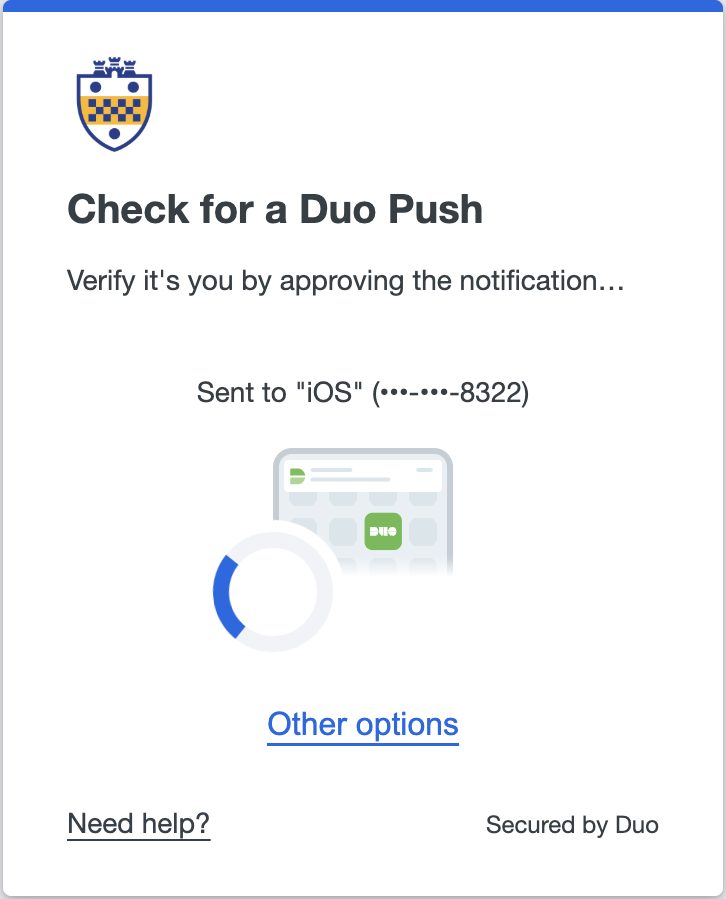
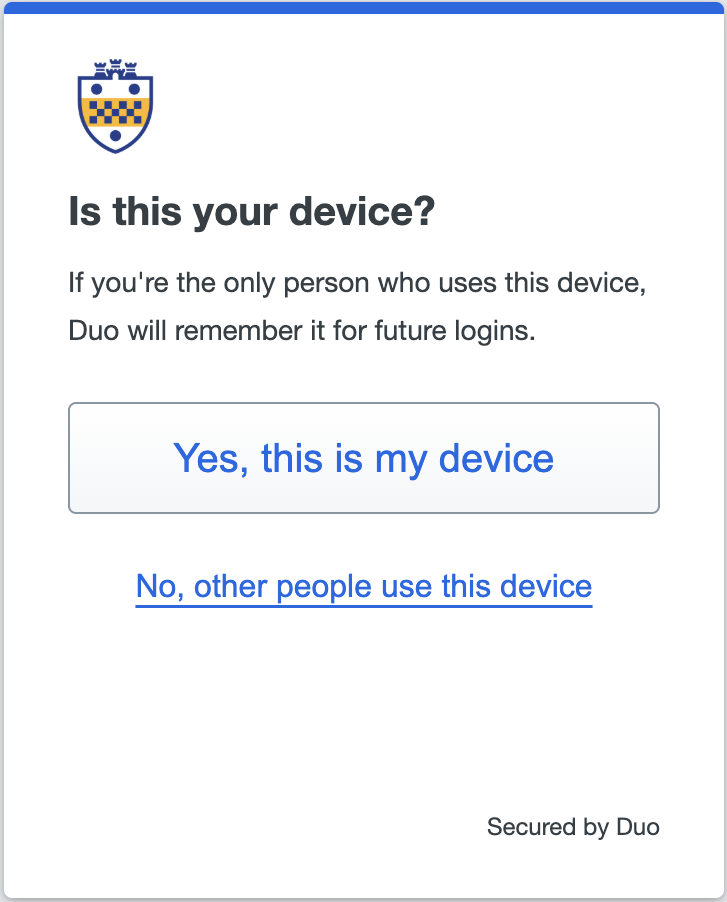
Approve the Duo push notification, then confirm whether to remember the device.
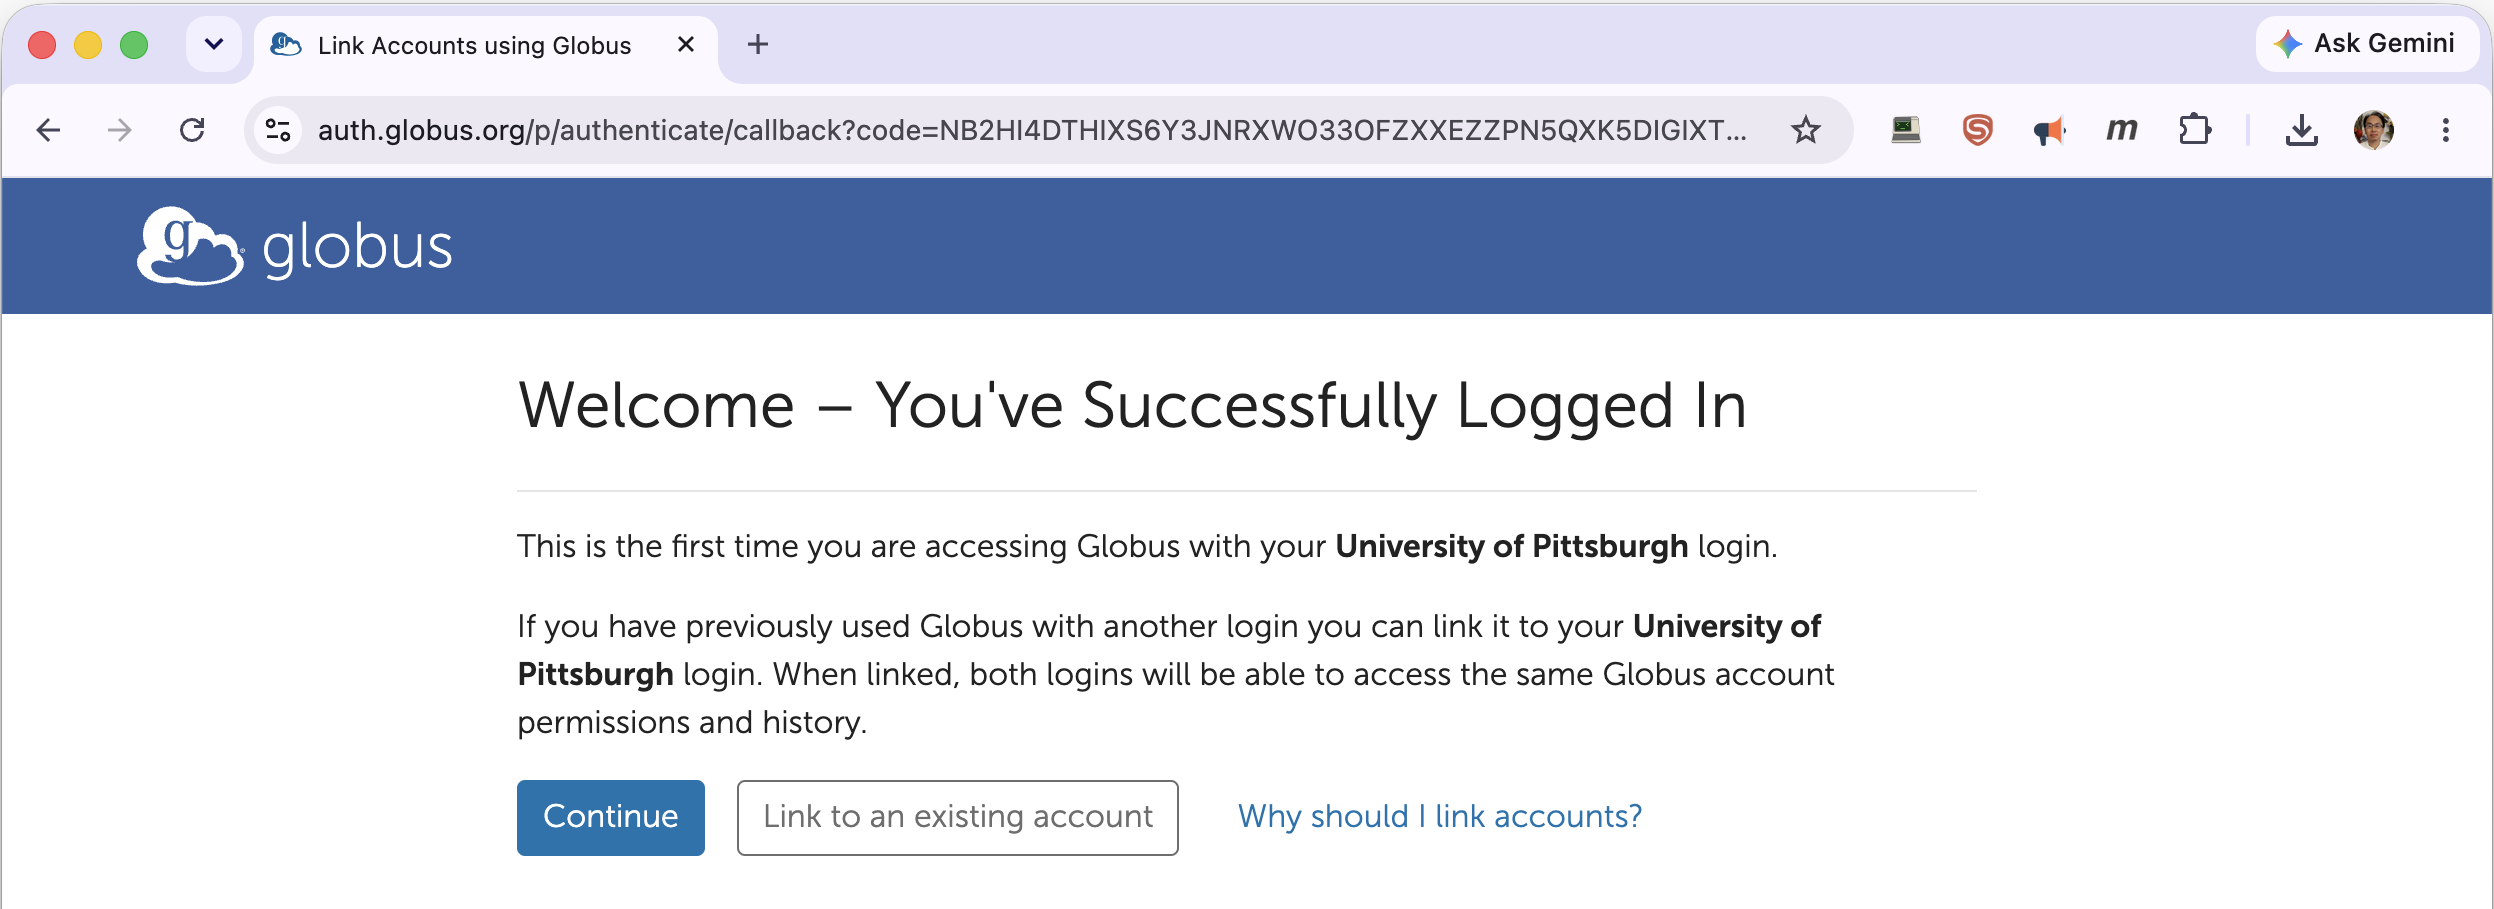
The next few screens appear only the first time you log in to Globus with your Pitt identity. Click Continue at the welcome screen (or link an existing Globus account if you have one)…
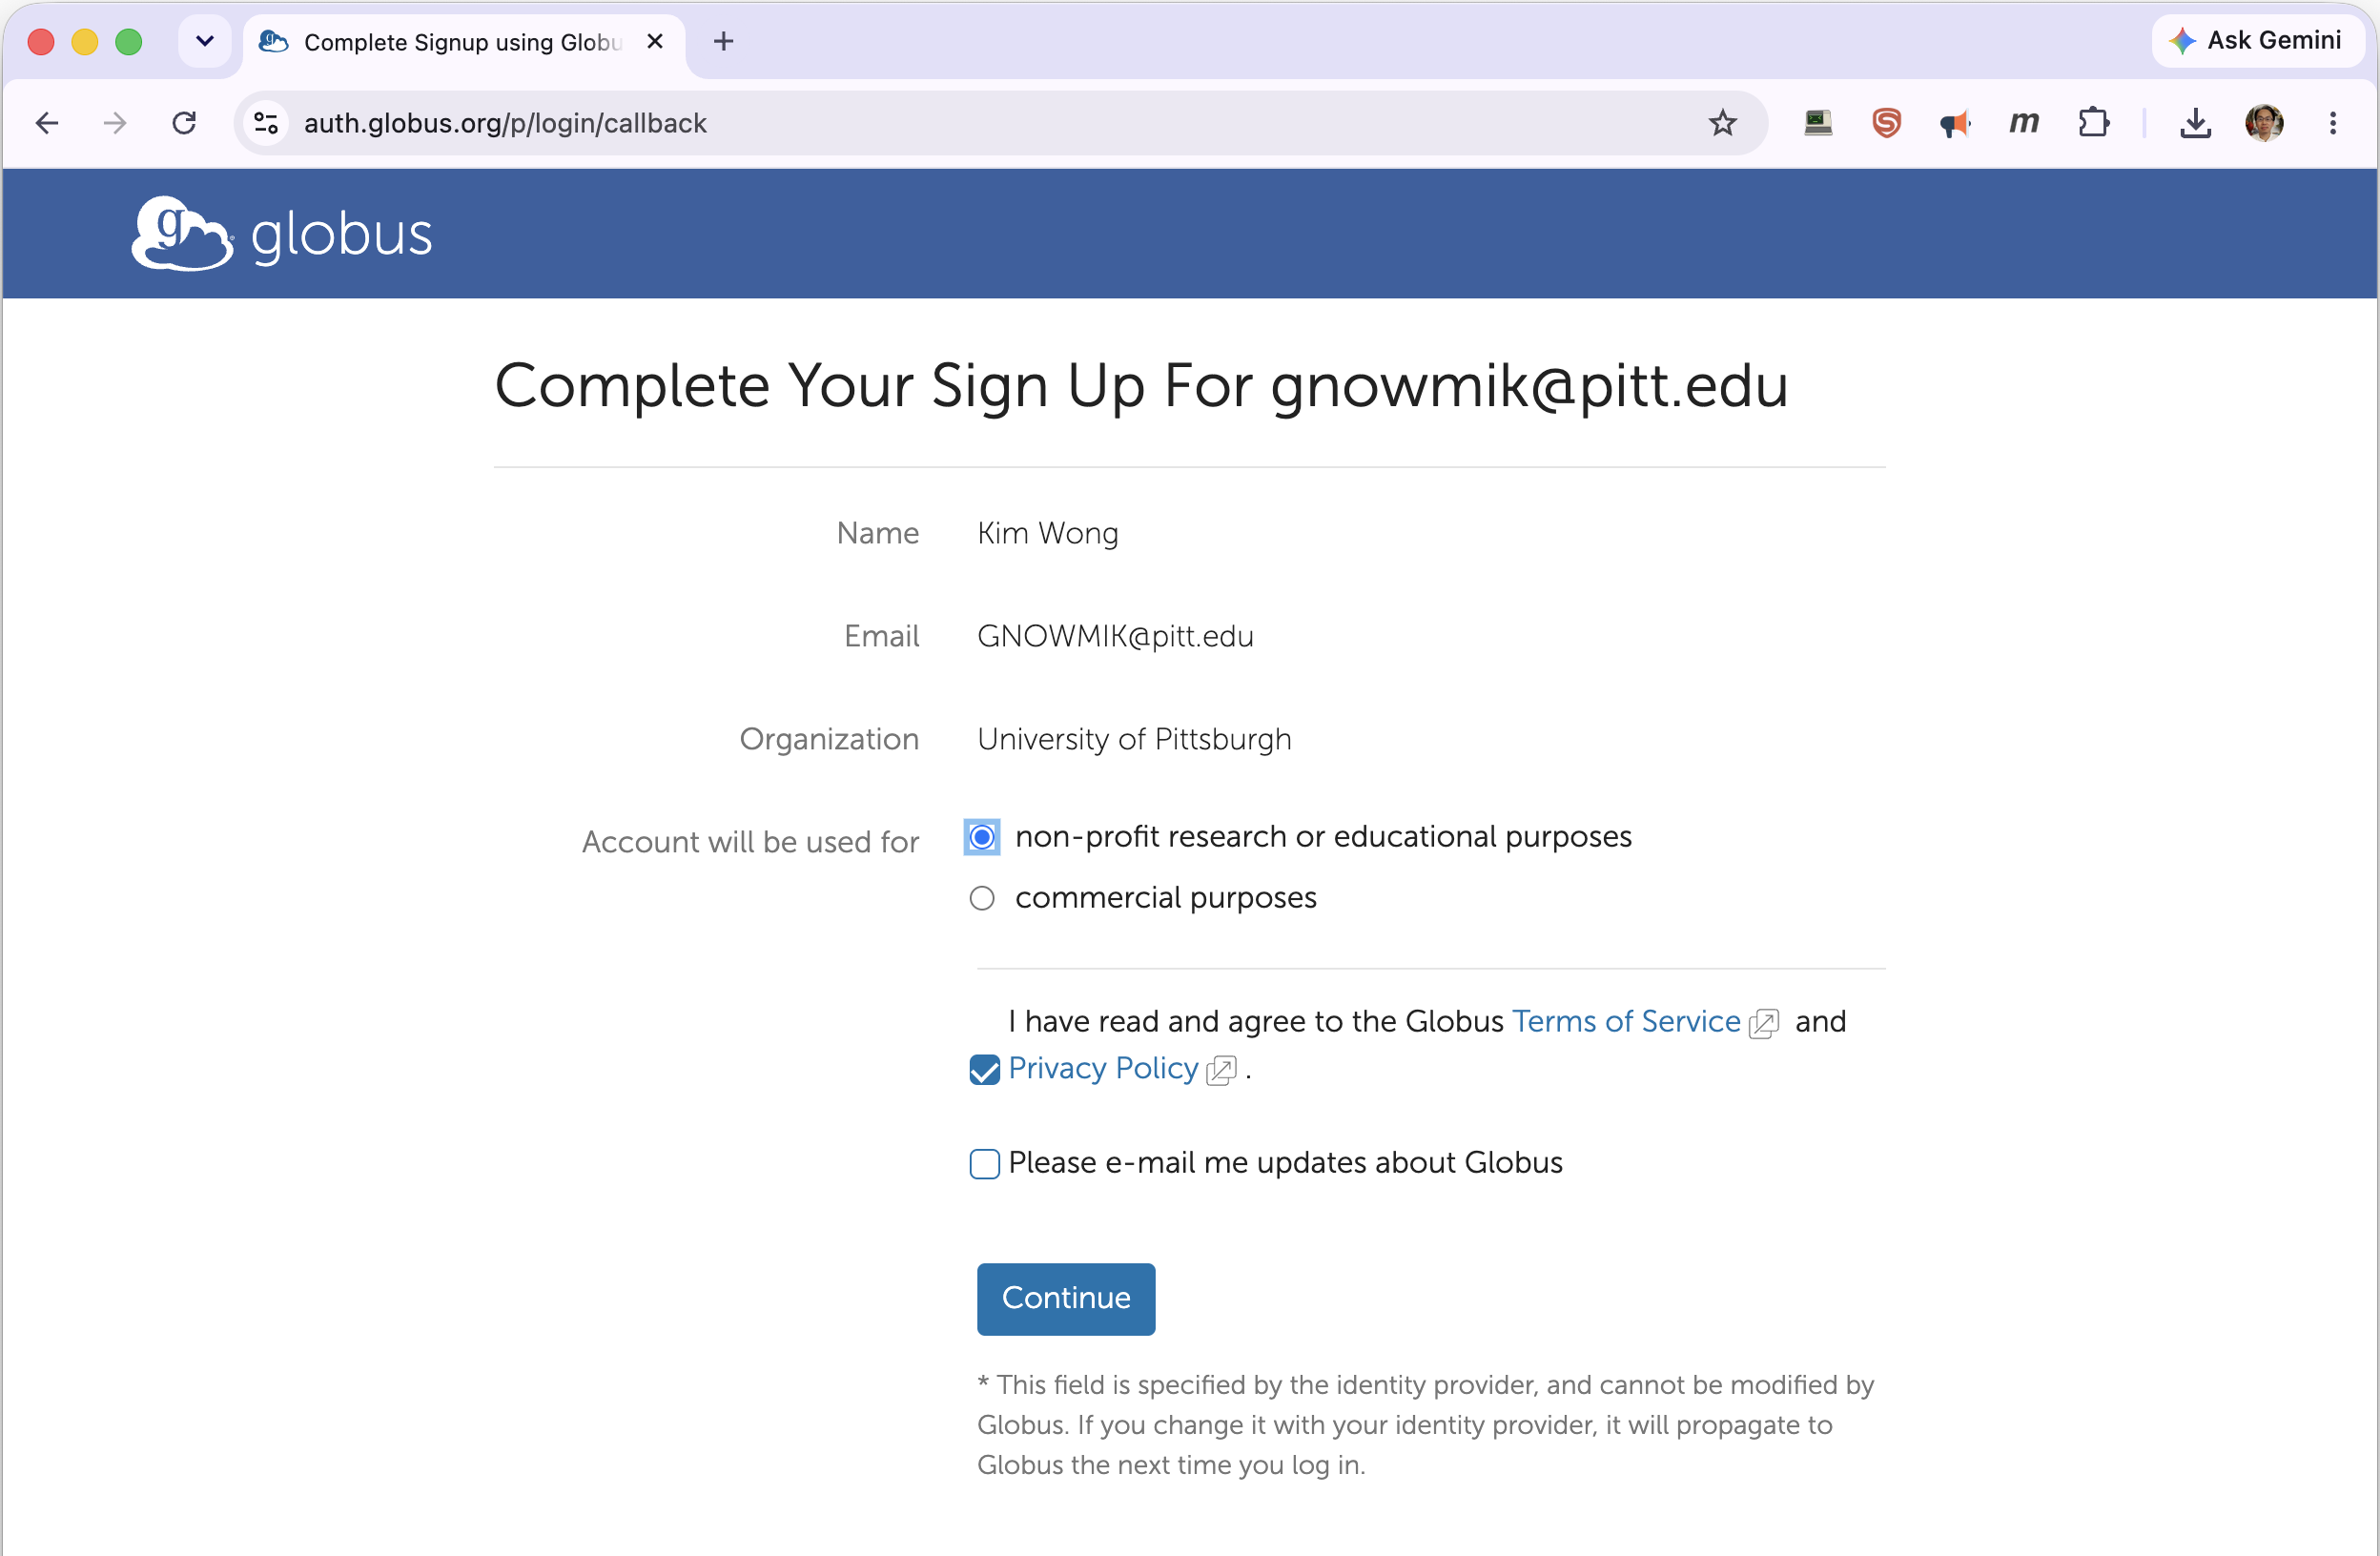
…complete the sign-up (choose non-profit research or educational purposes and accept the terms), and click Continue…
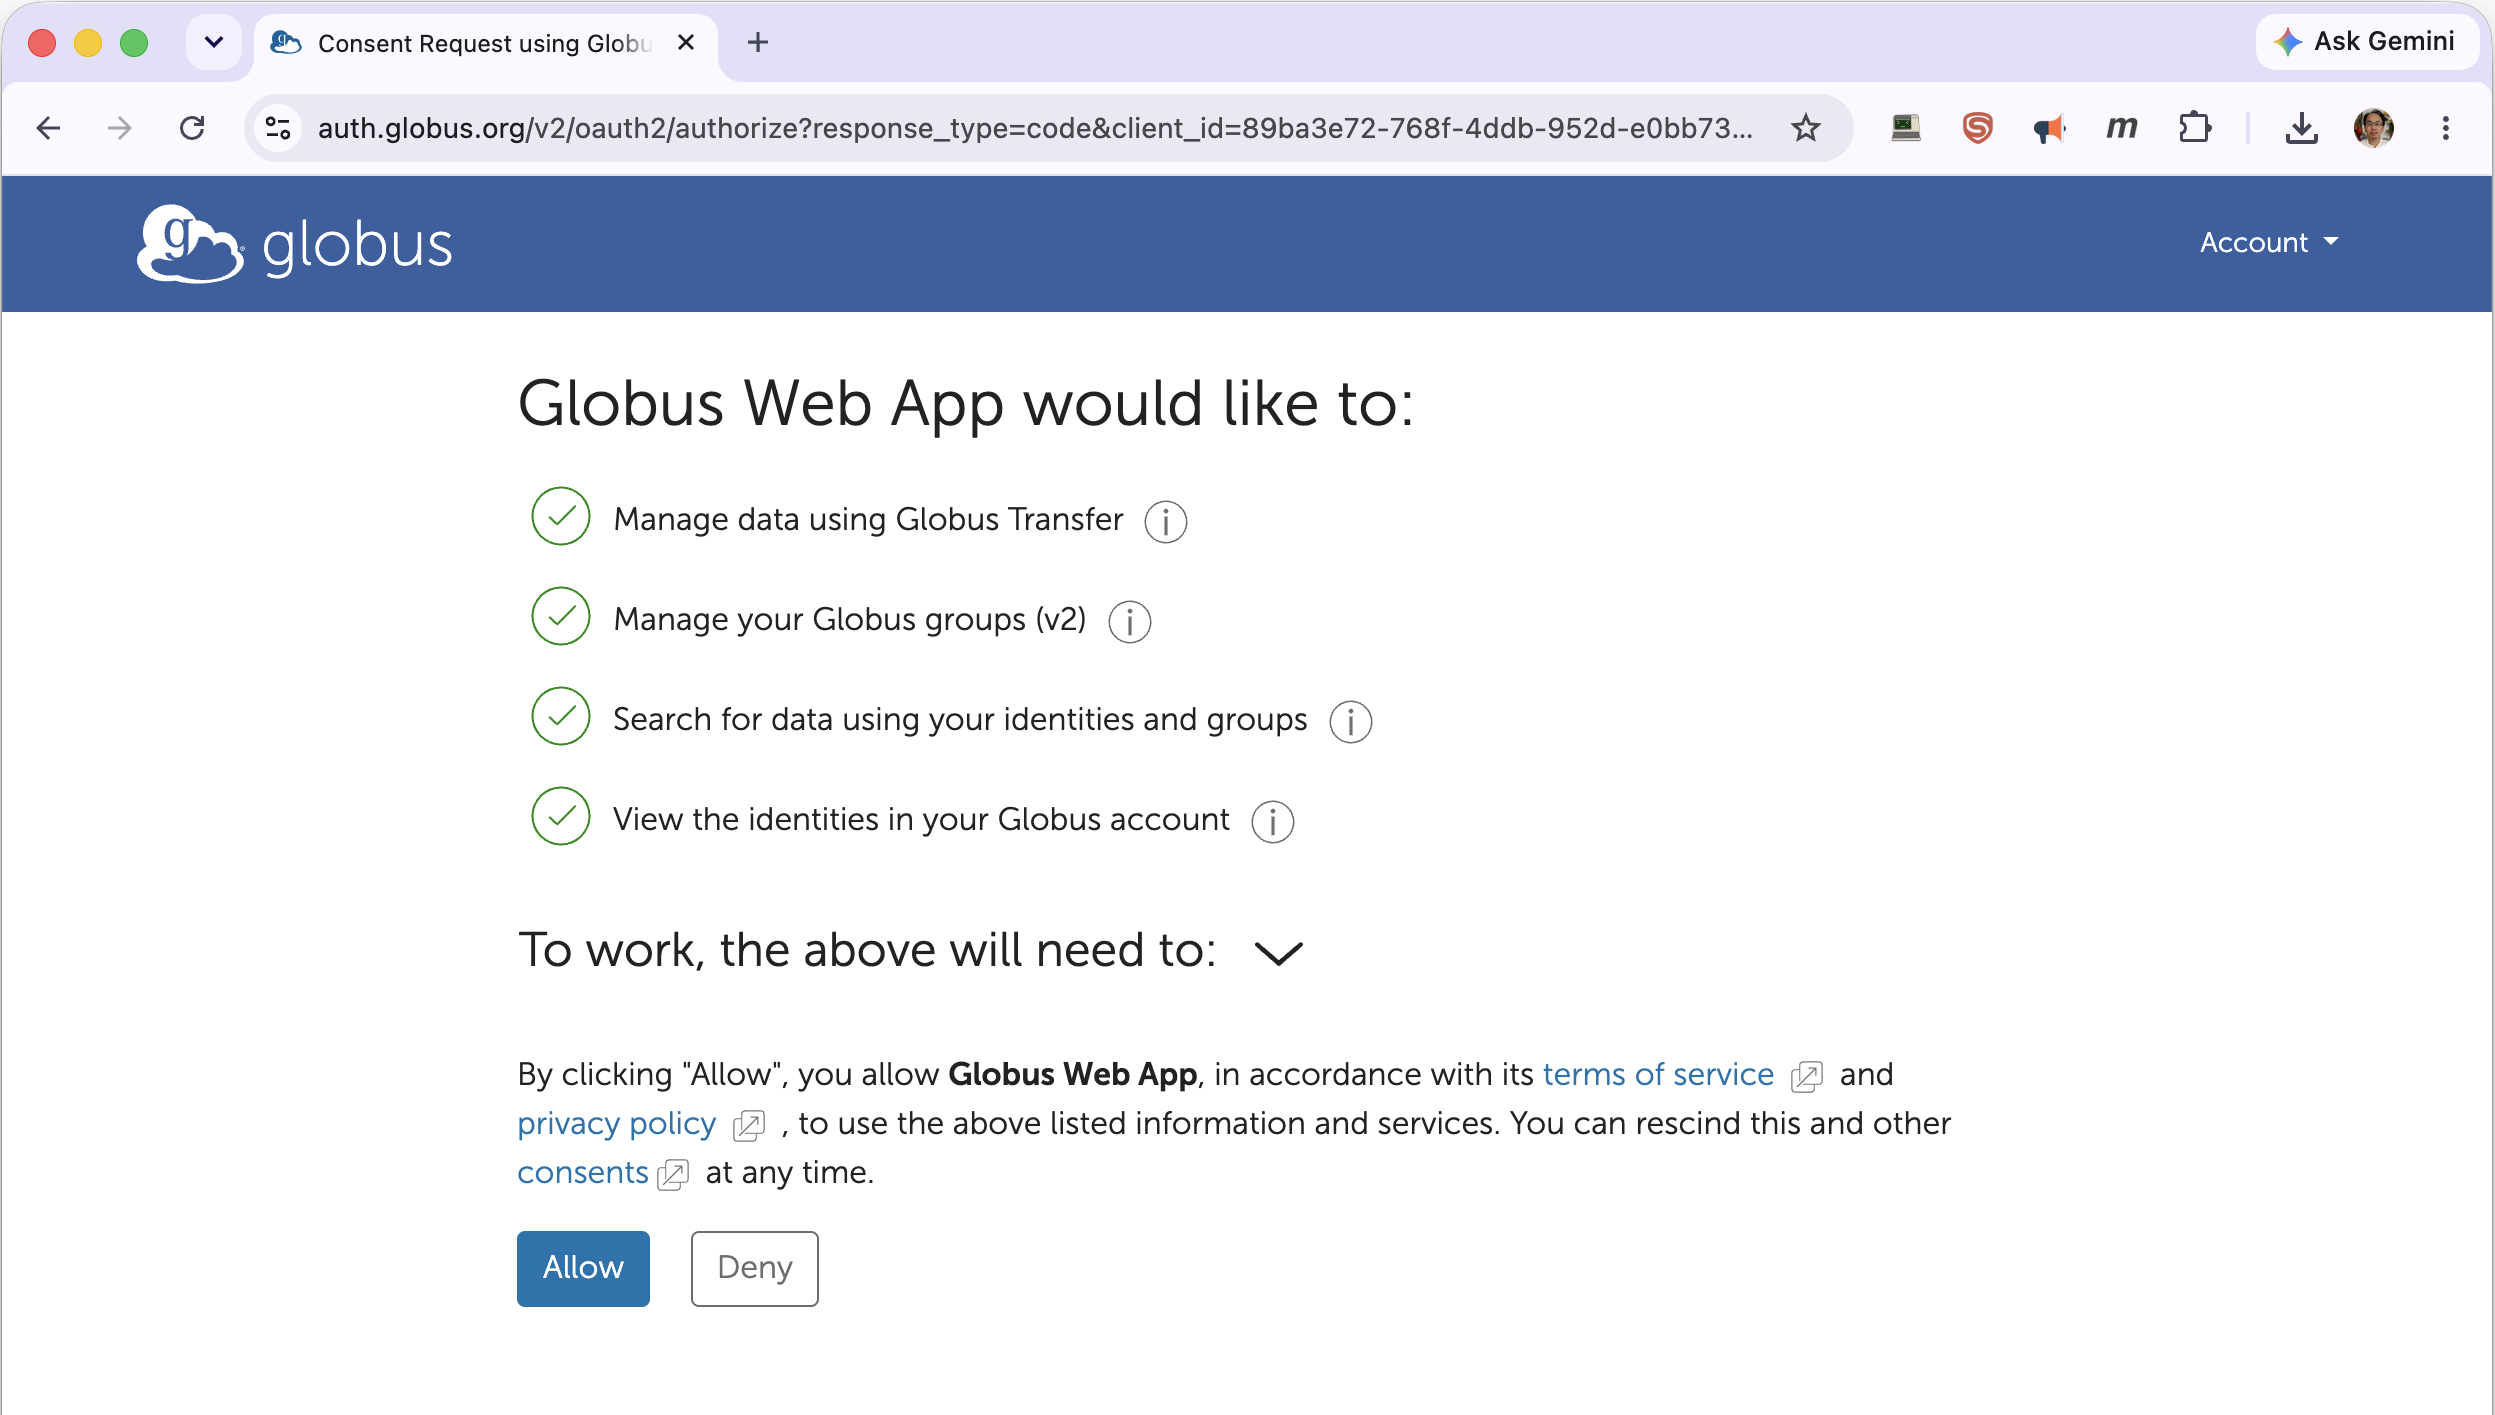
…and Allow the Globus Web App the access it needs to manage your transfers.
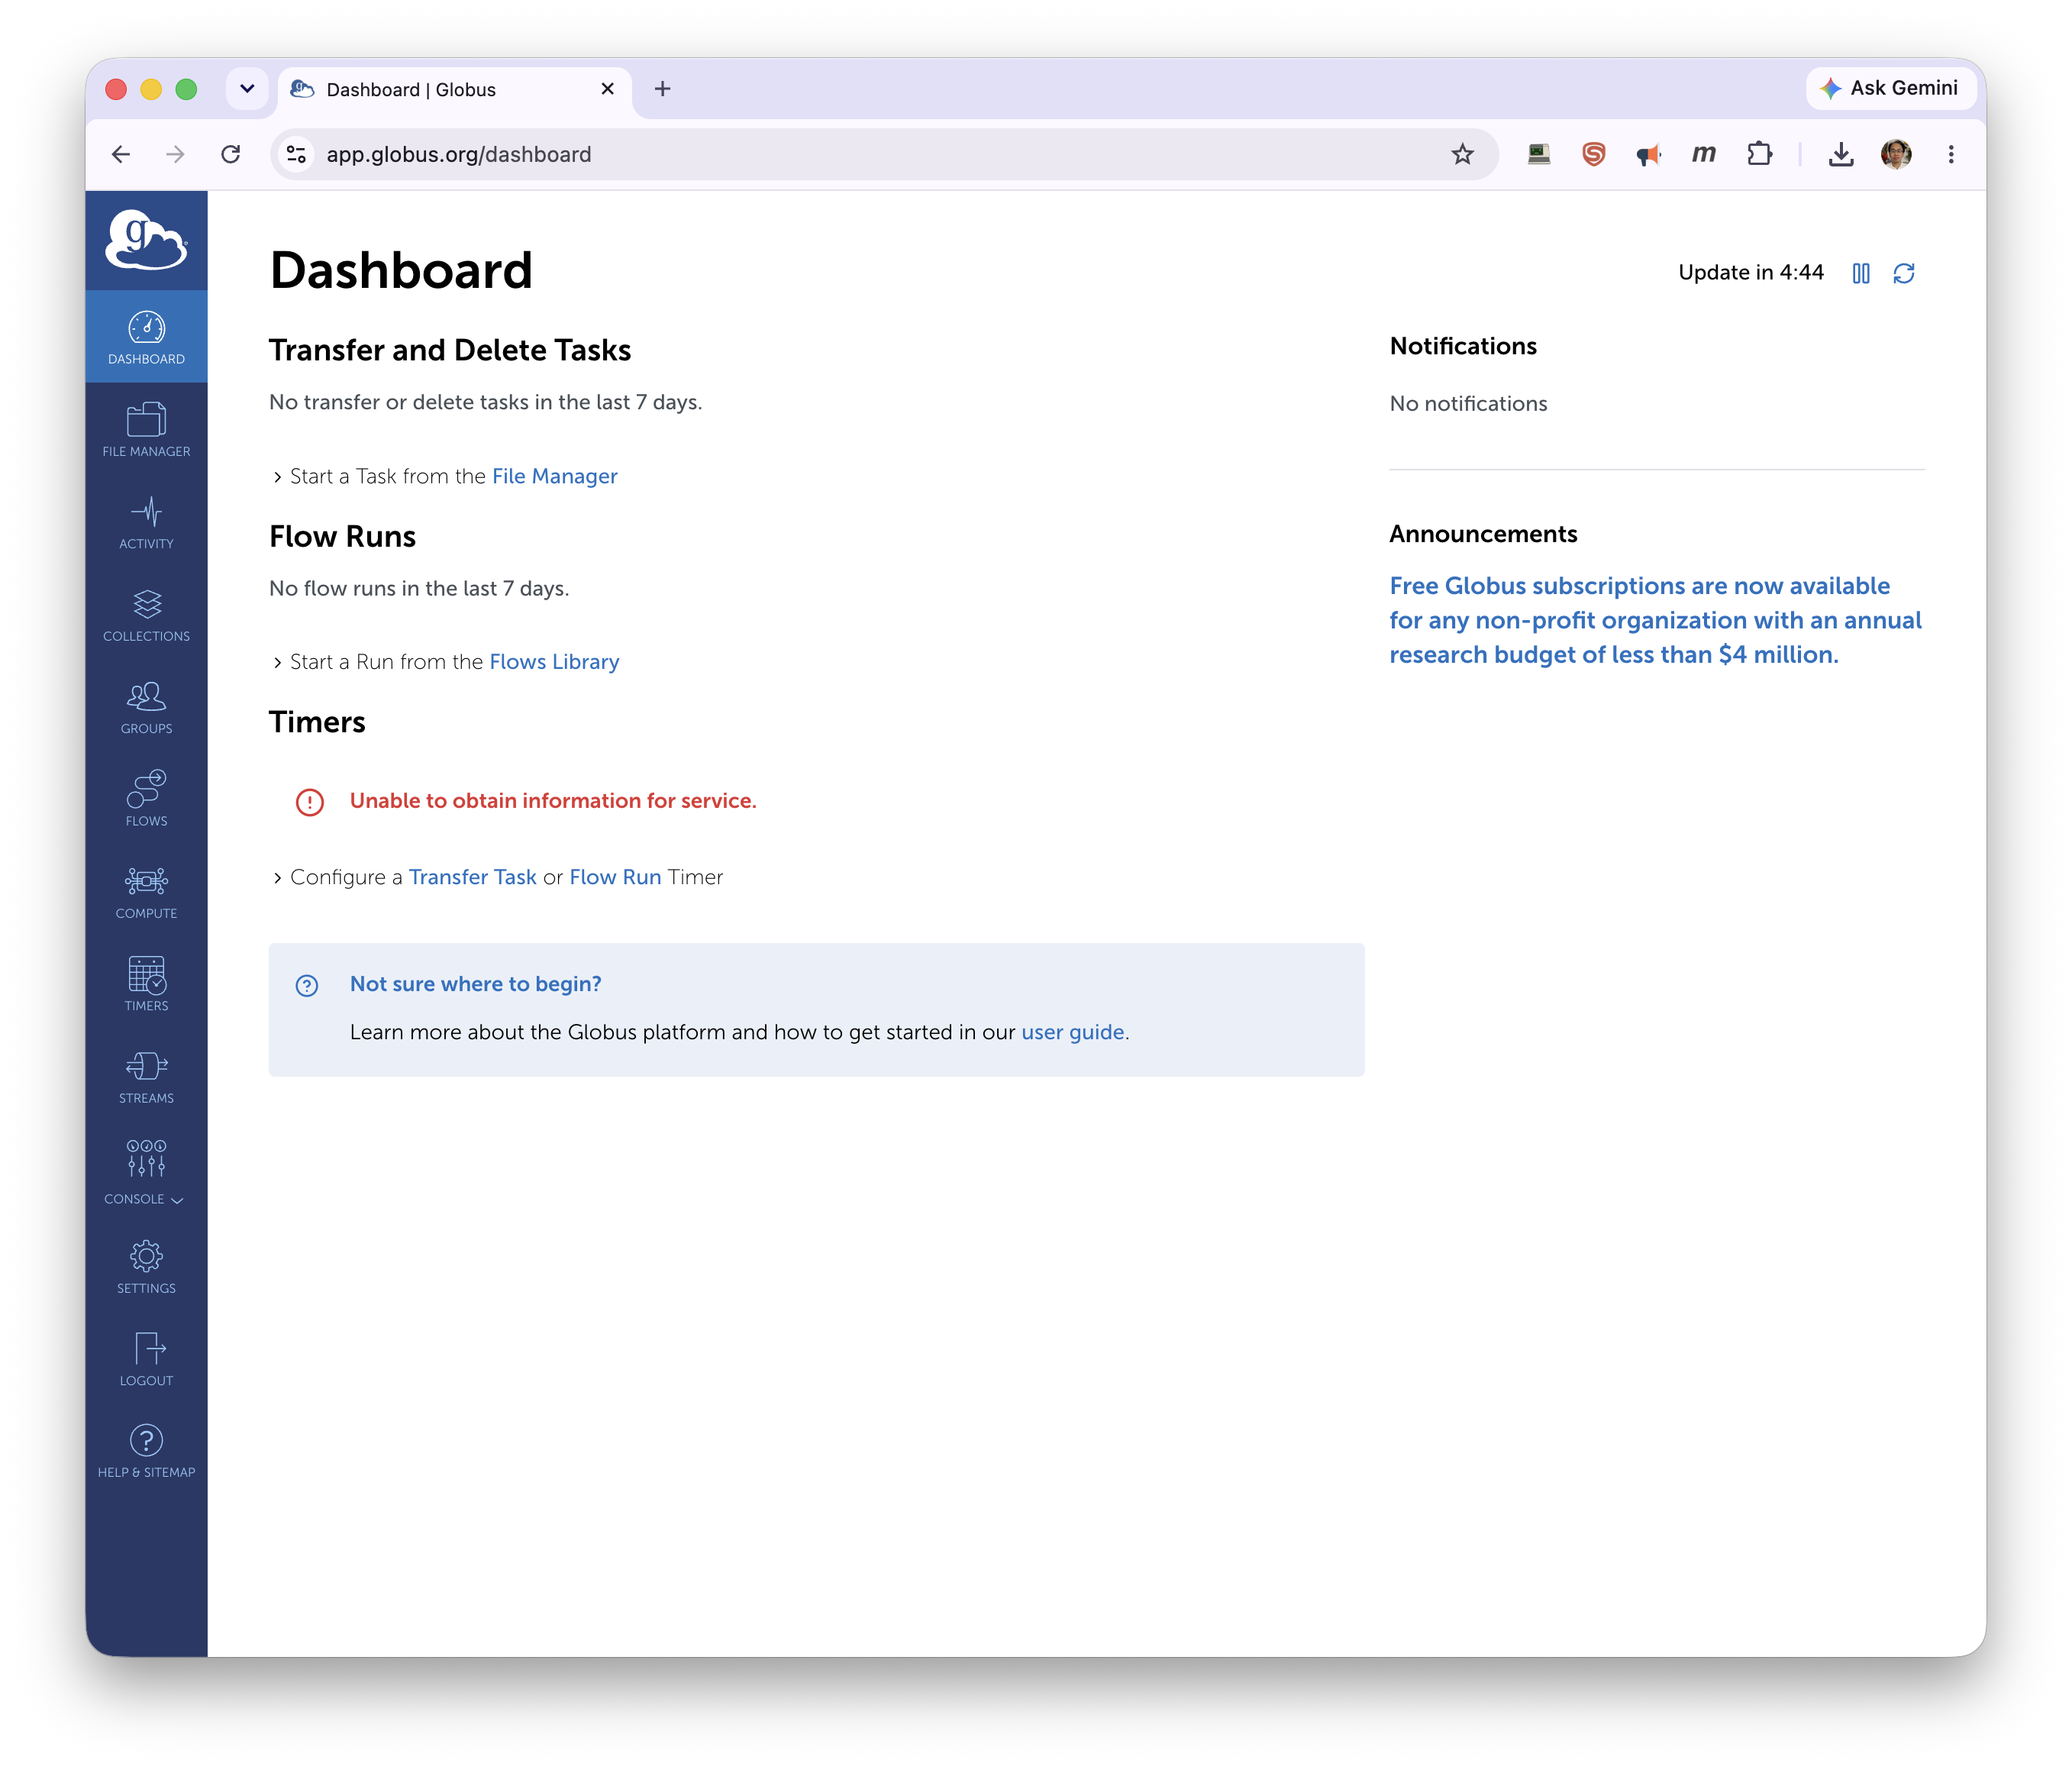
You land on the Globus Dashboard.
Connect to the CRCD collection
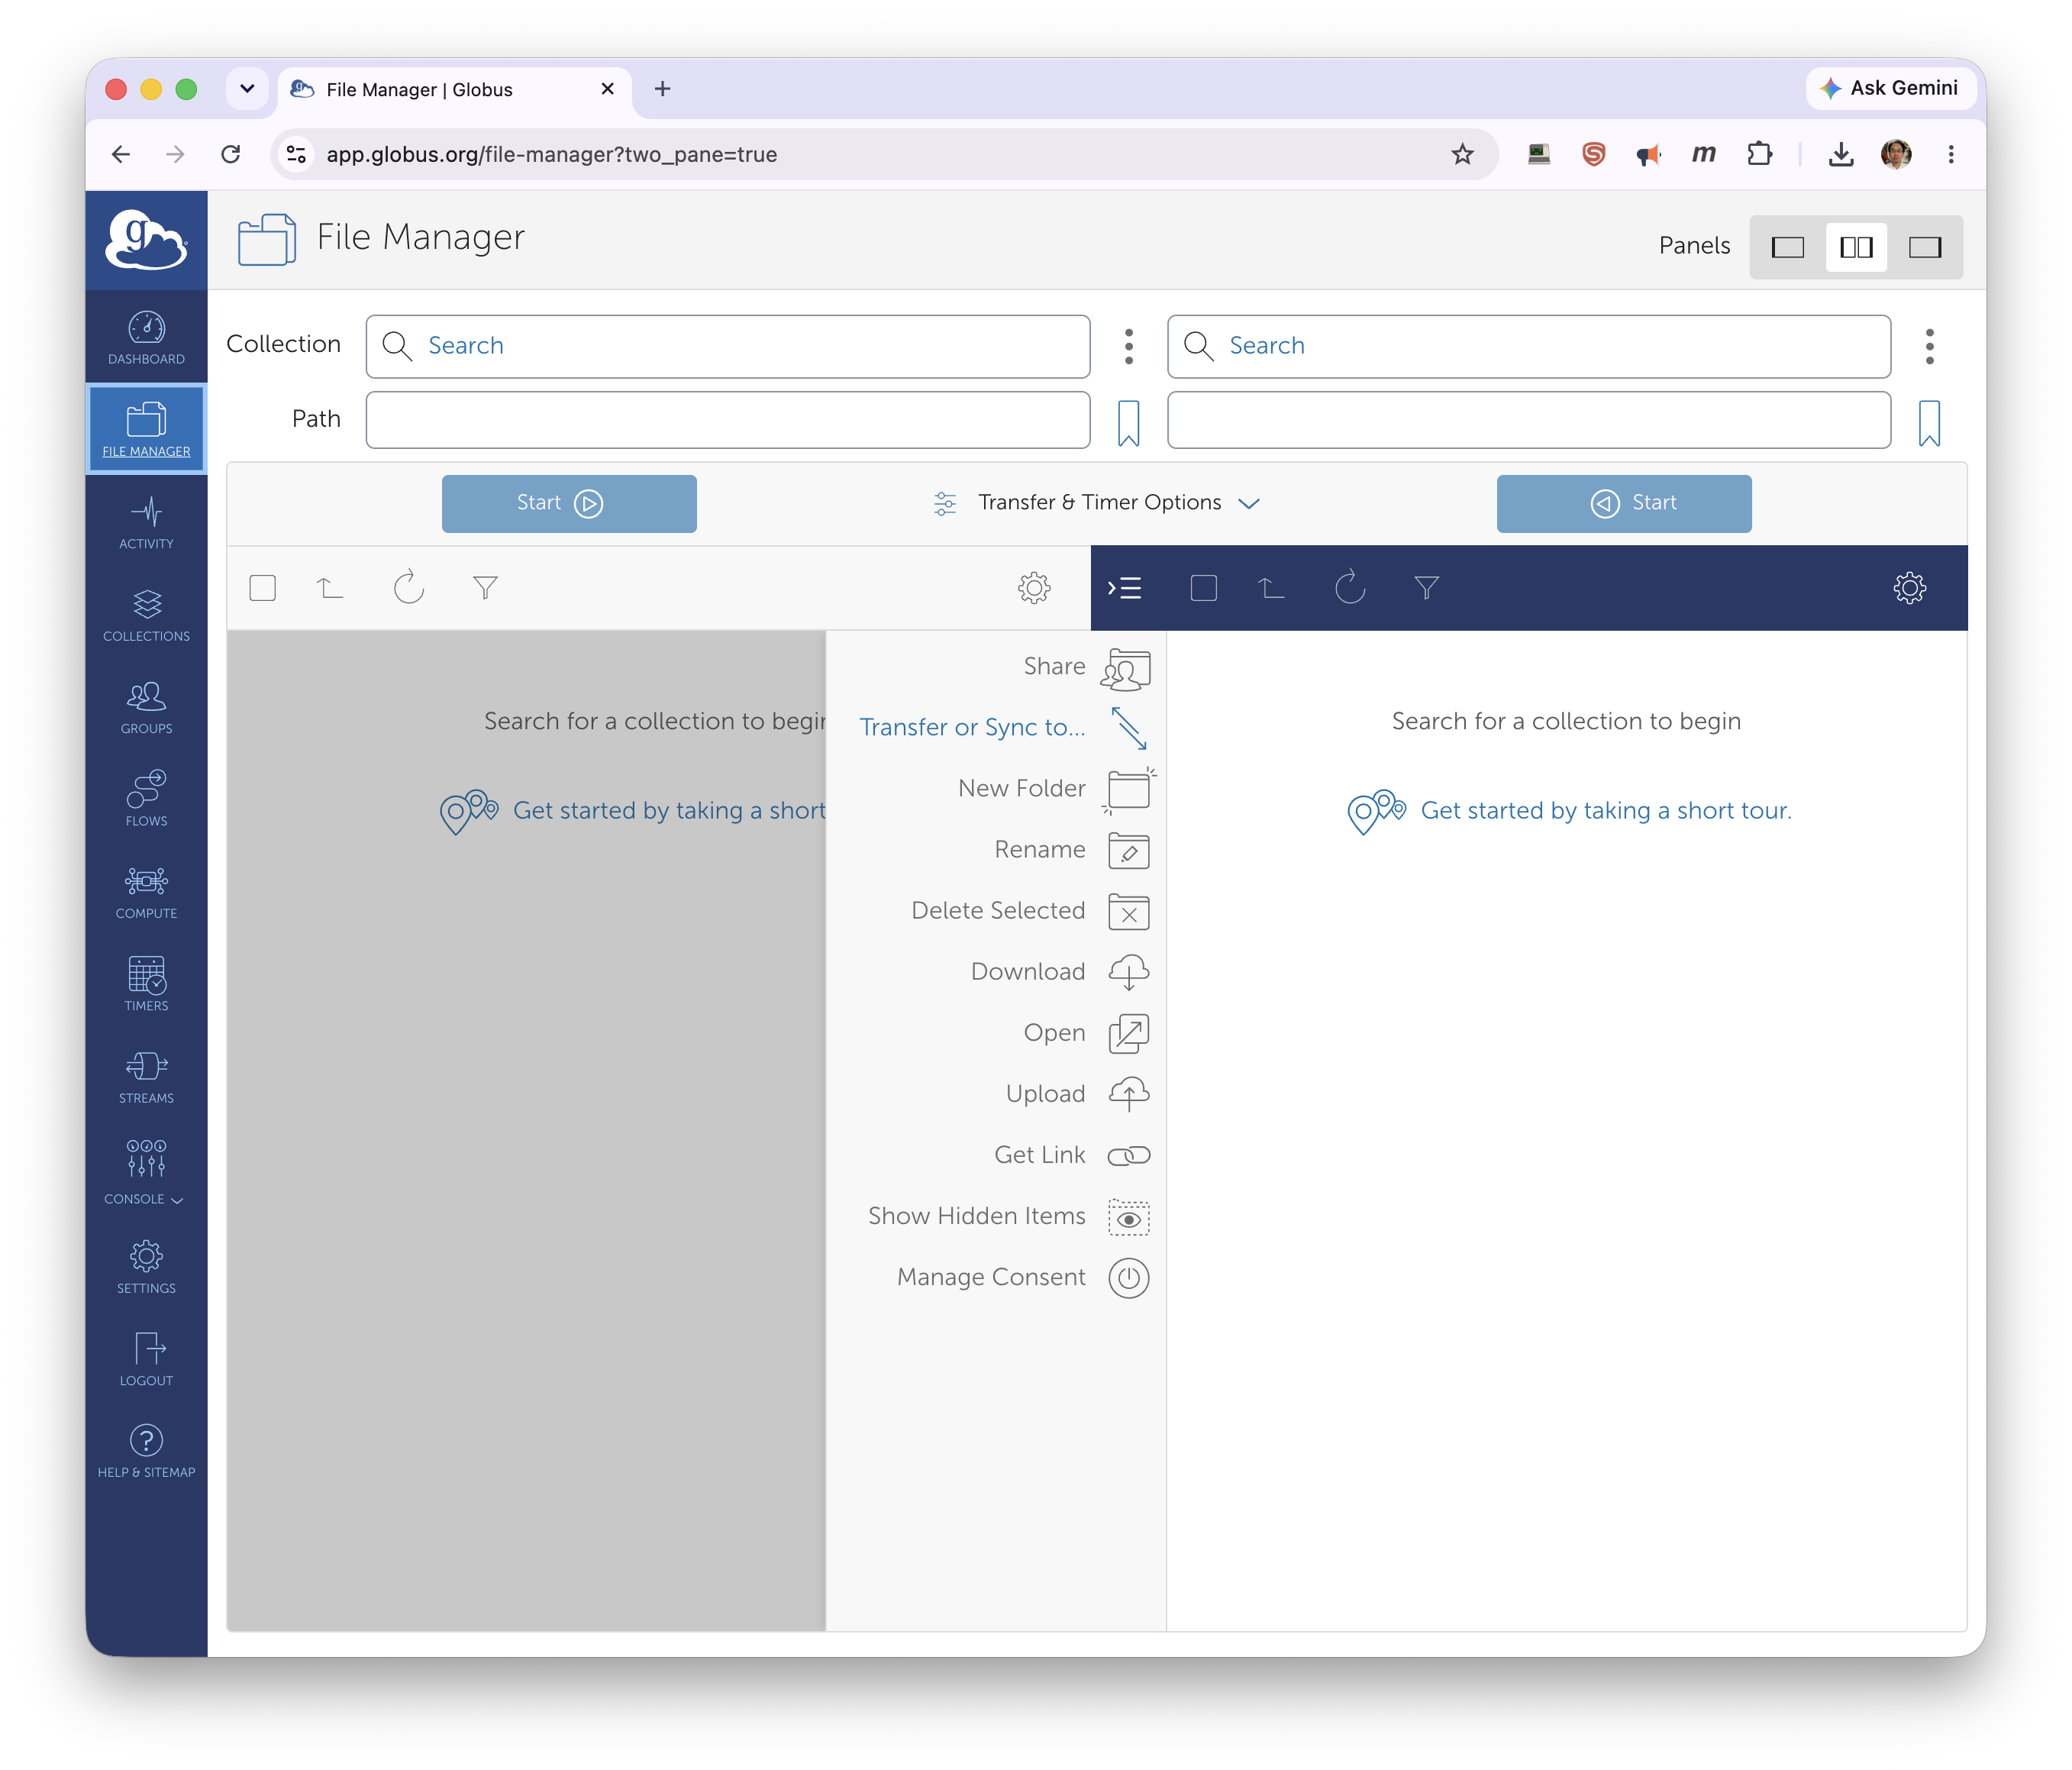
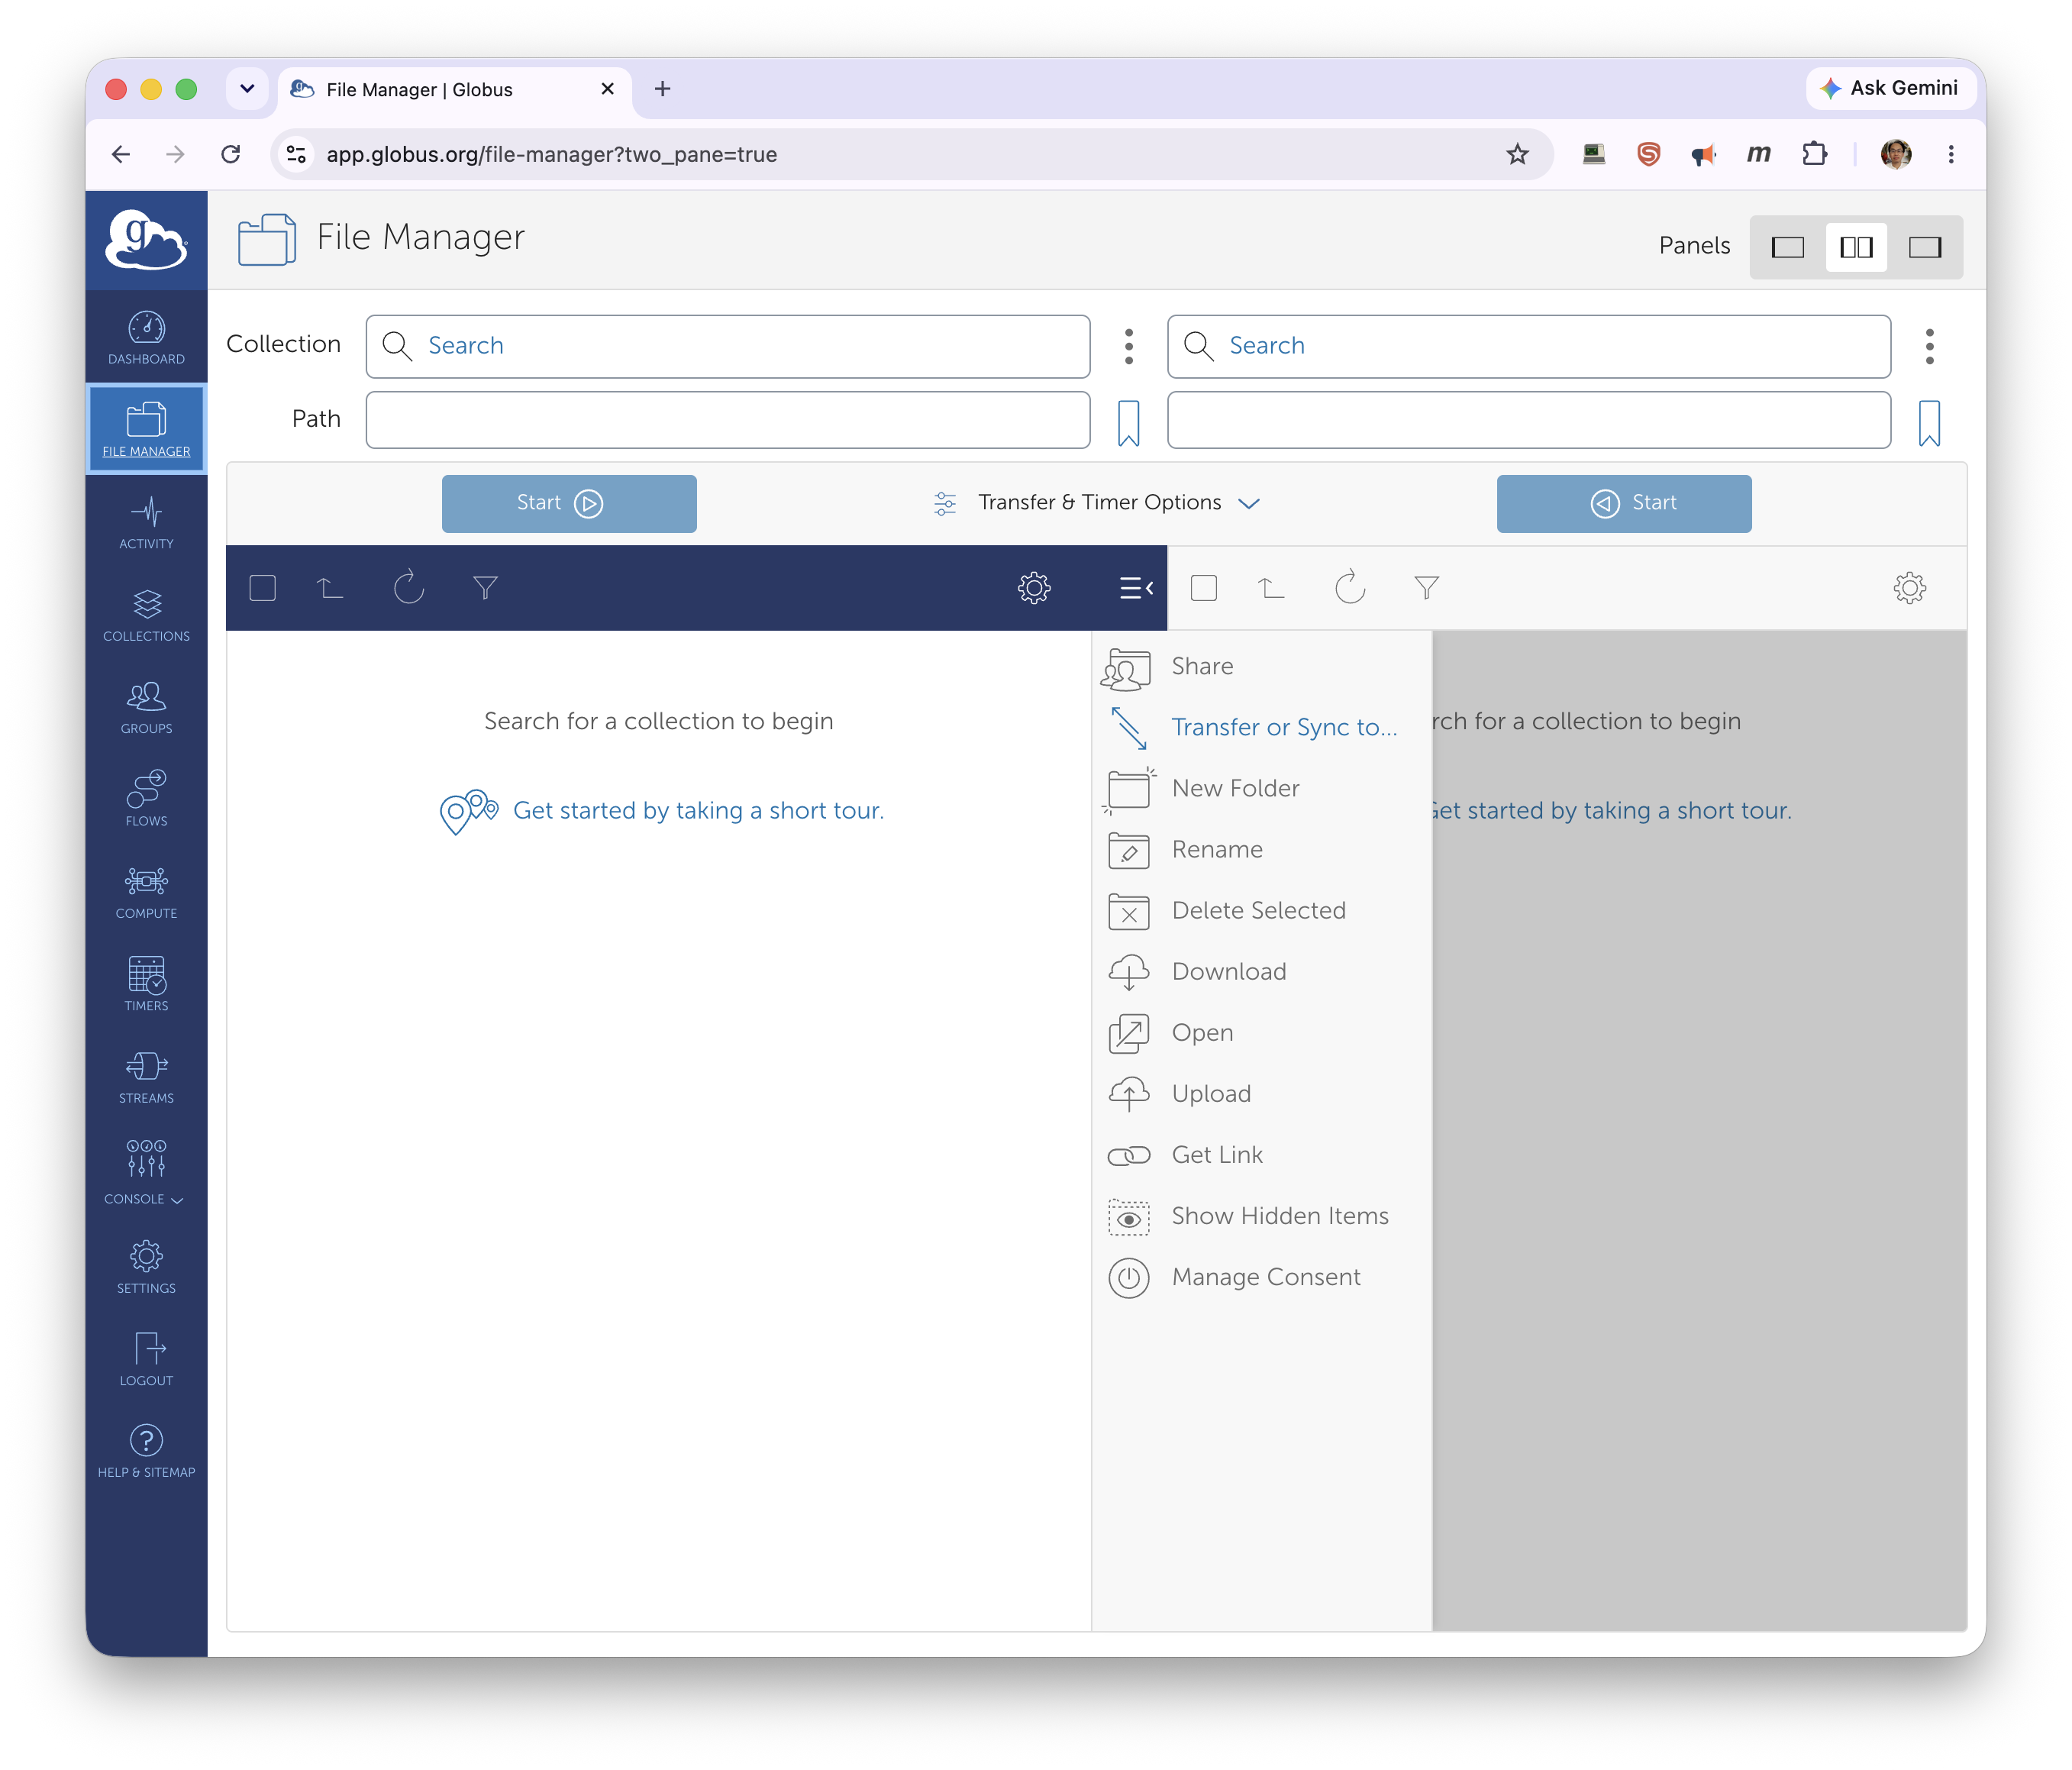
Open the File Manager from the left sidebar. It shows two panels — a source and a destination — each of which needs a collection.
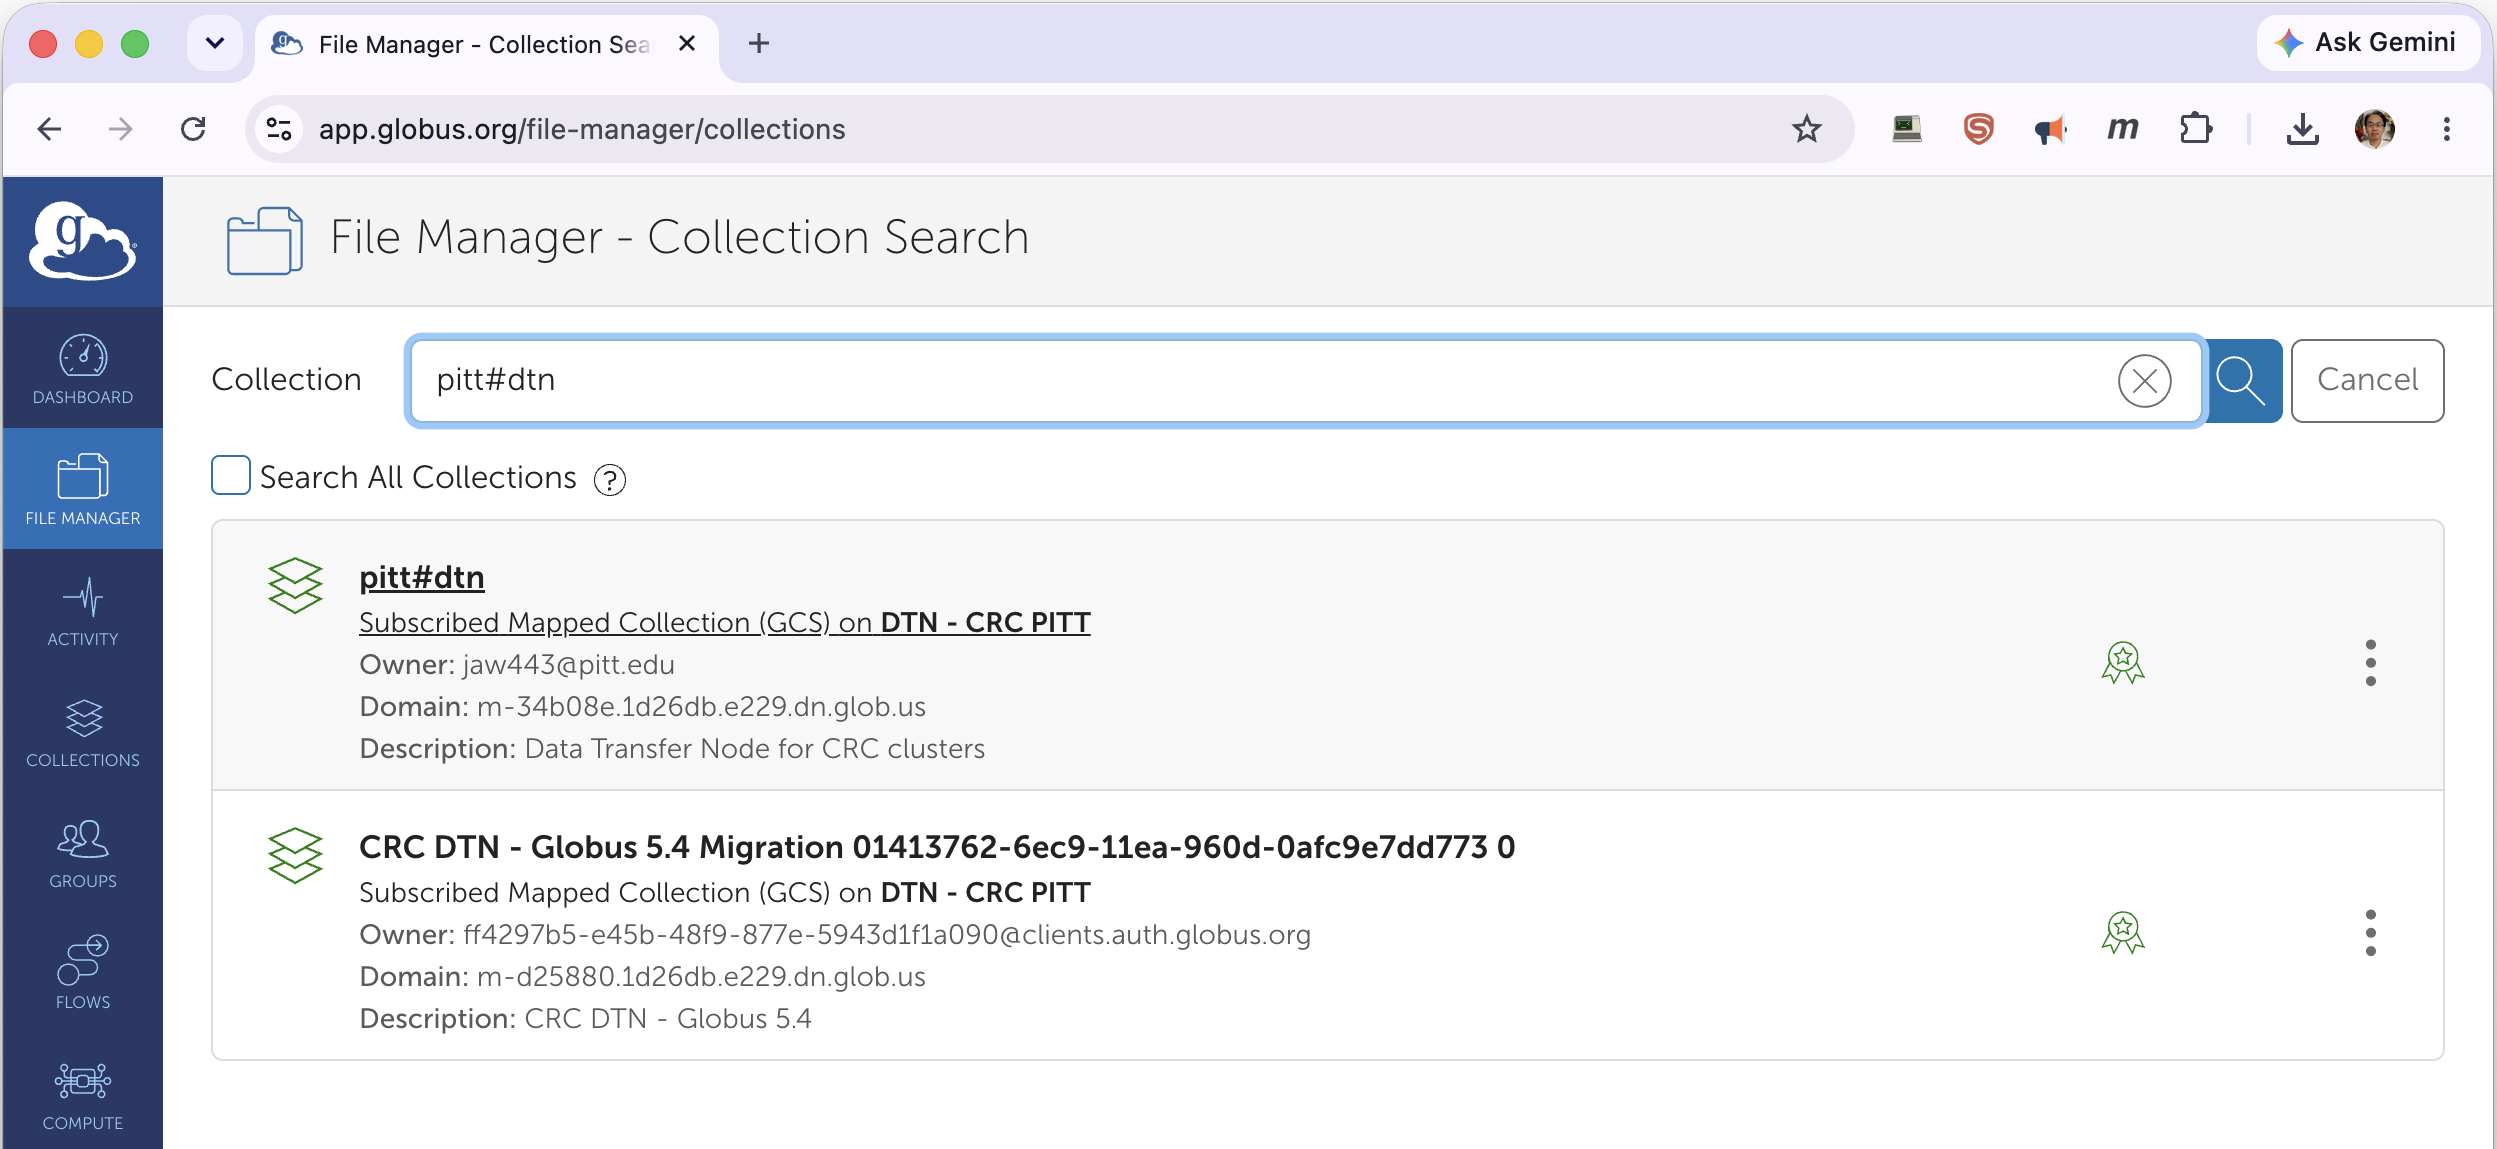
Click in a Collection search box, type pitt#dtn, and select the pitt#dtn collection
("DTN - CRC PITT").
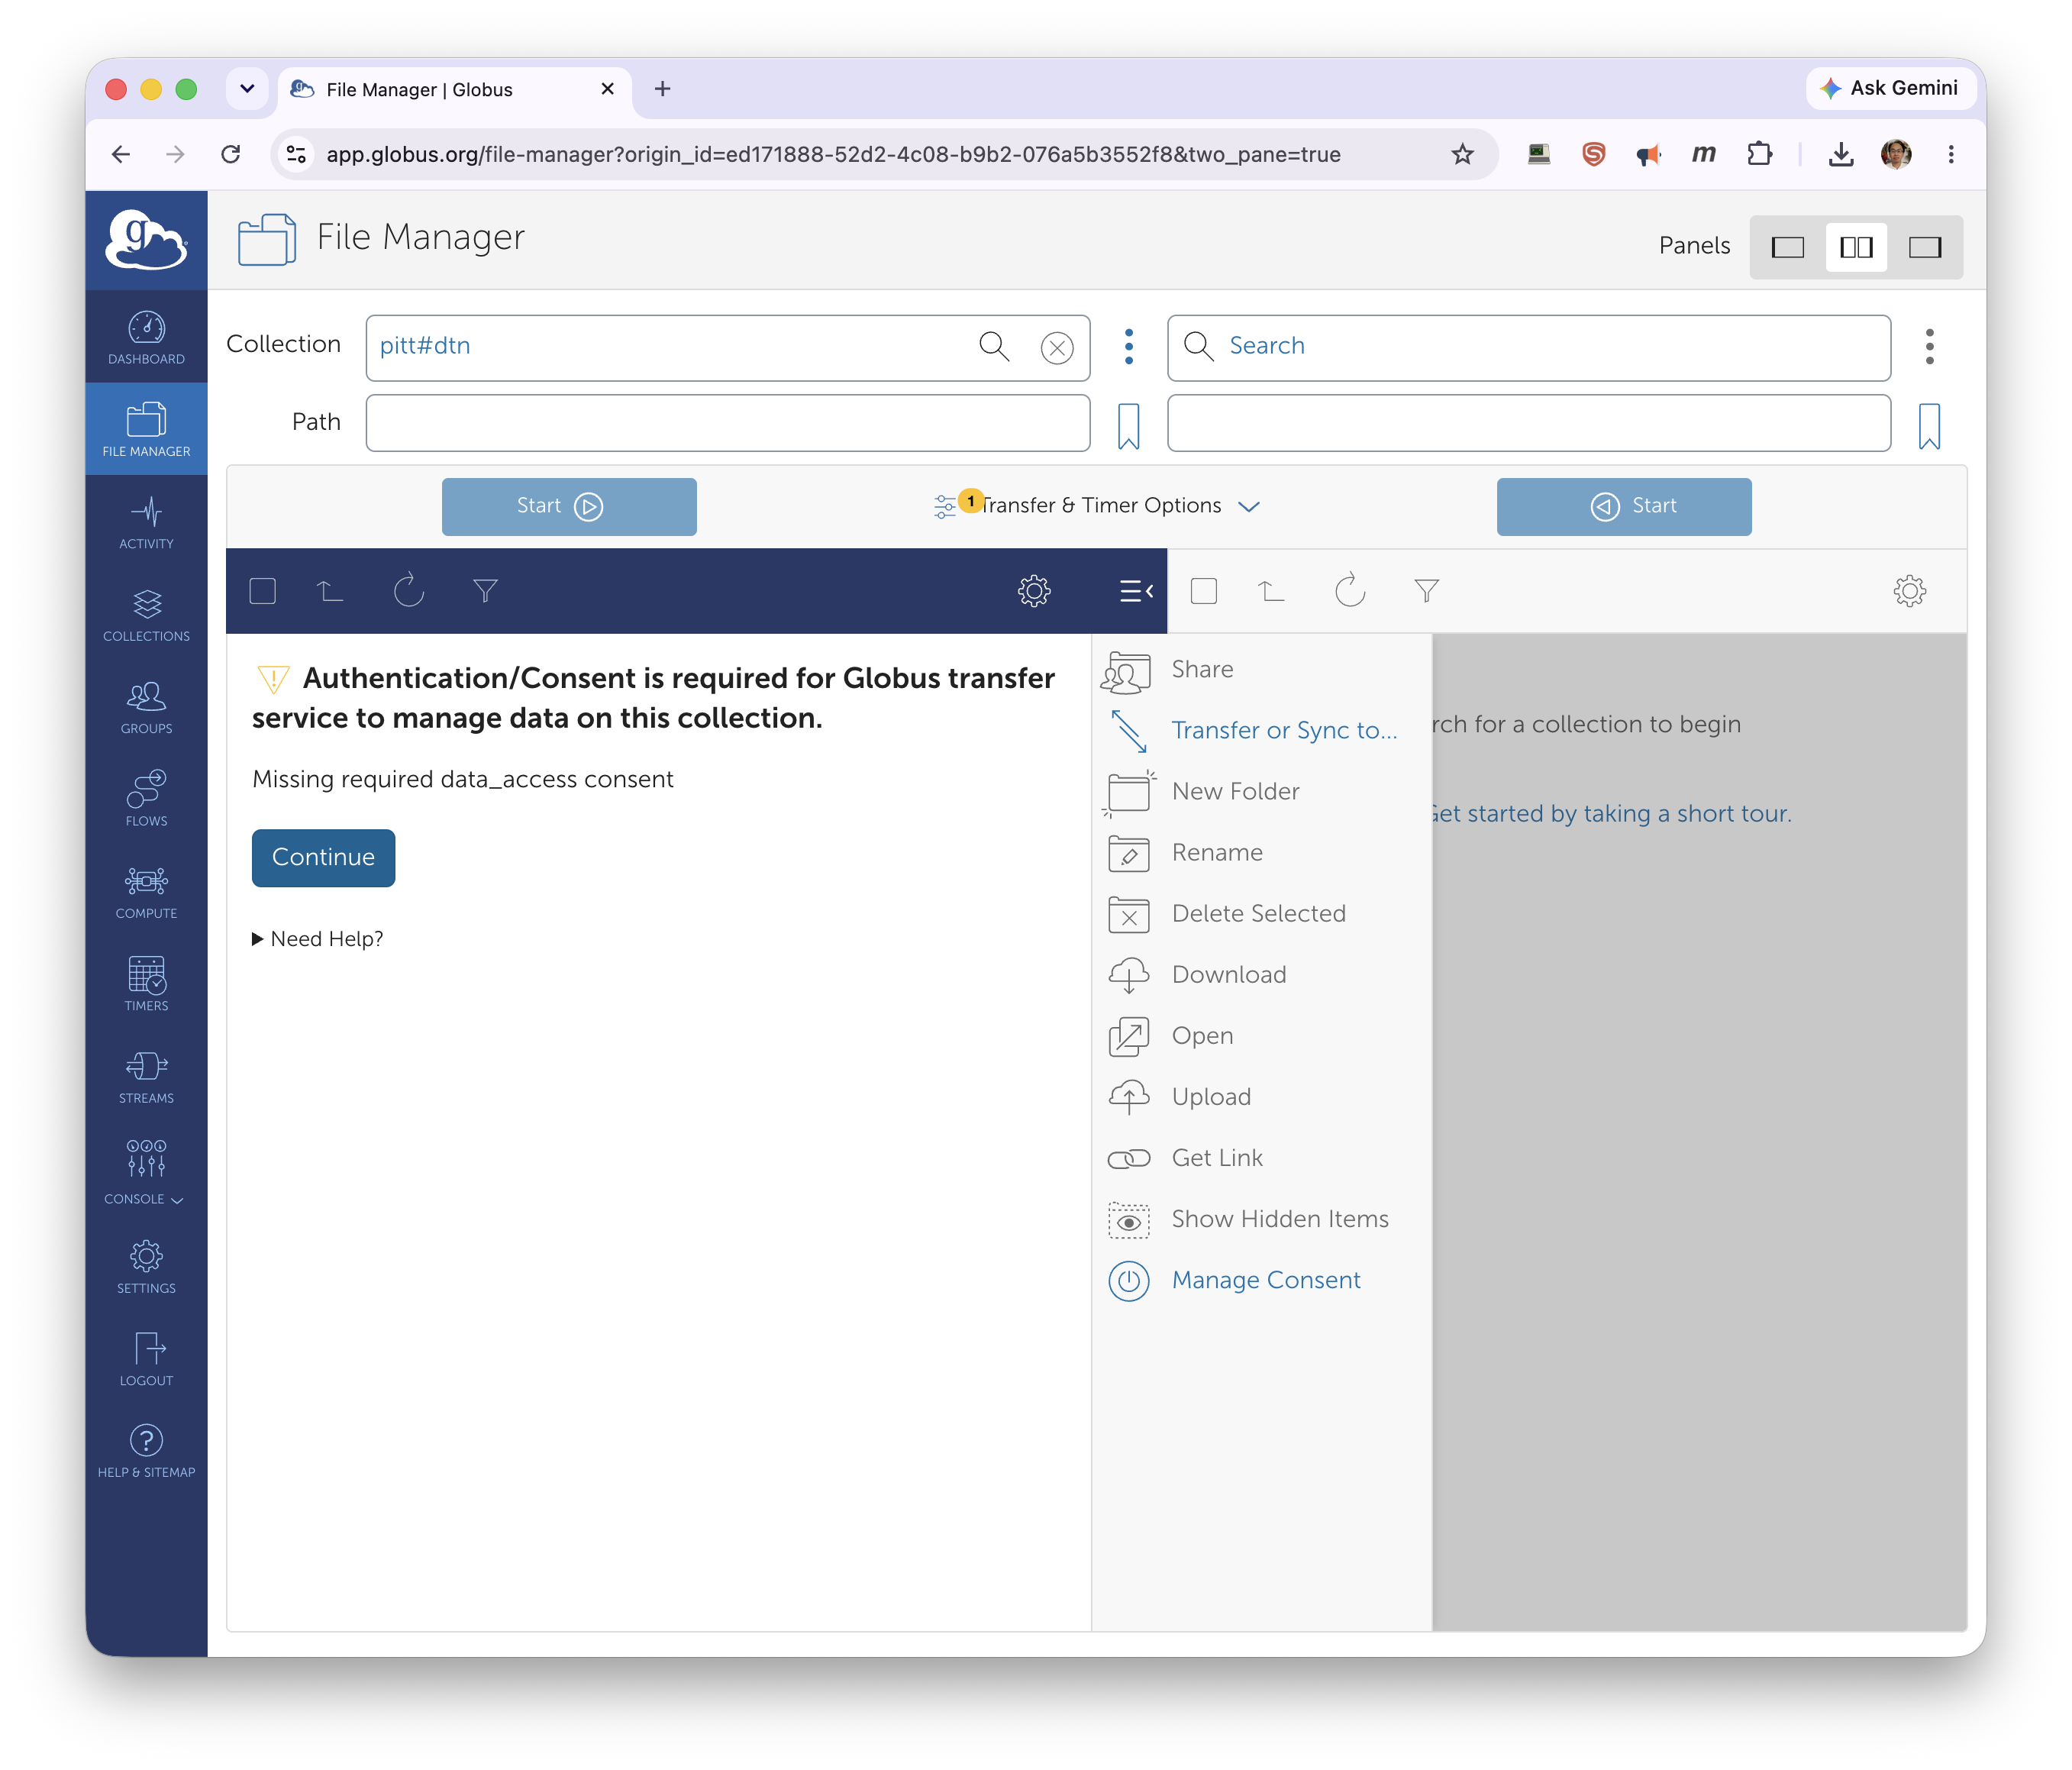
The first time you use a CRCD collection, Globus needs your consent to access it. Click Continue on the "Authentication/Consent is required… Missing required data_access consent" message…
…authenticate with your University of Pittsburgh identity…
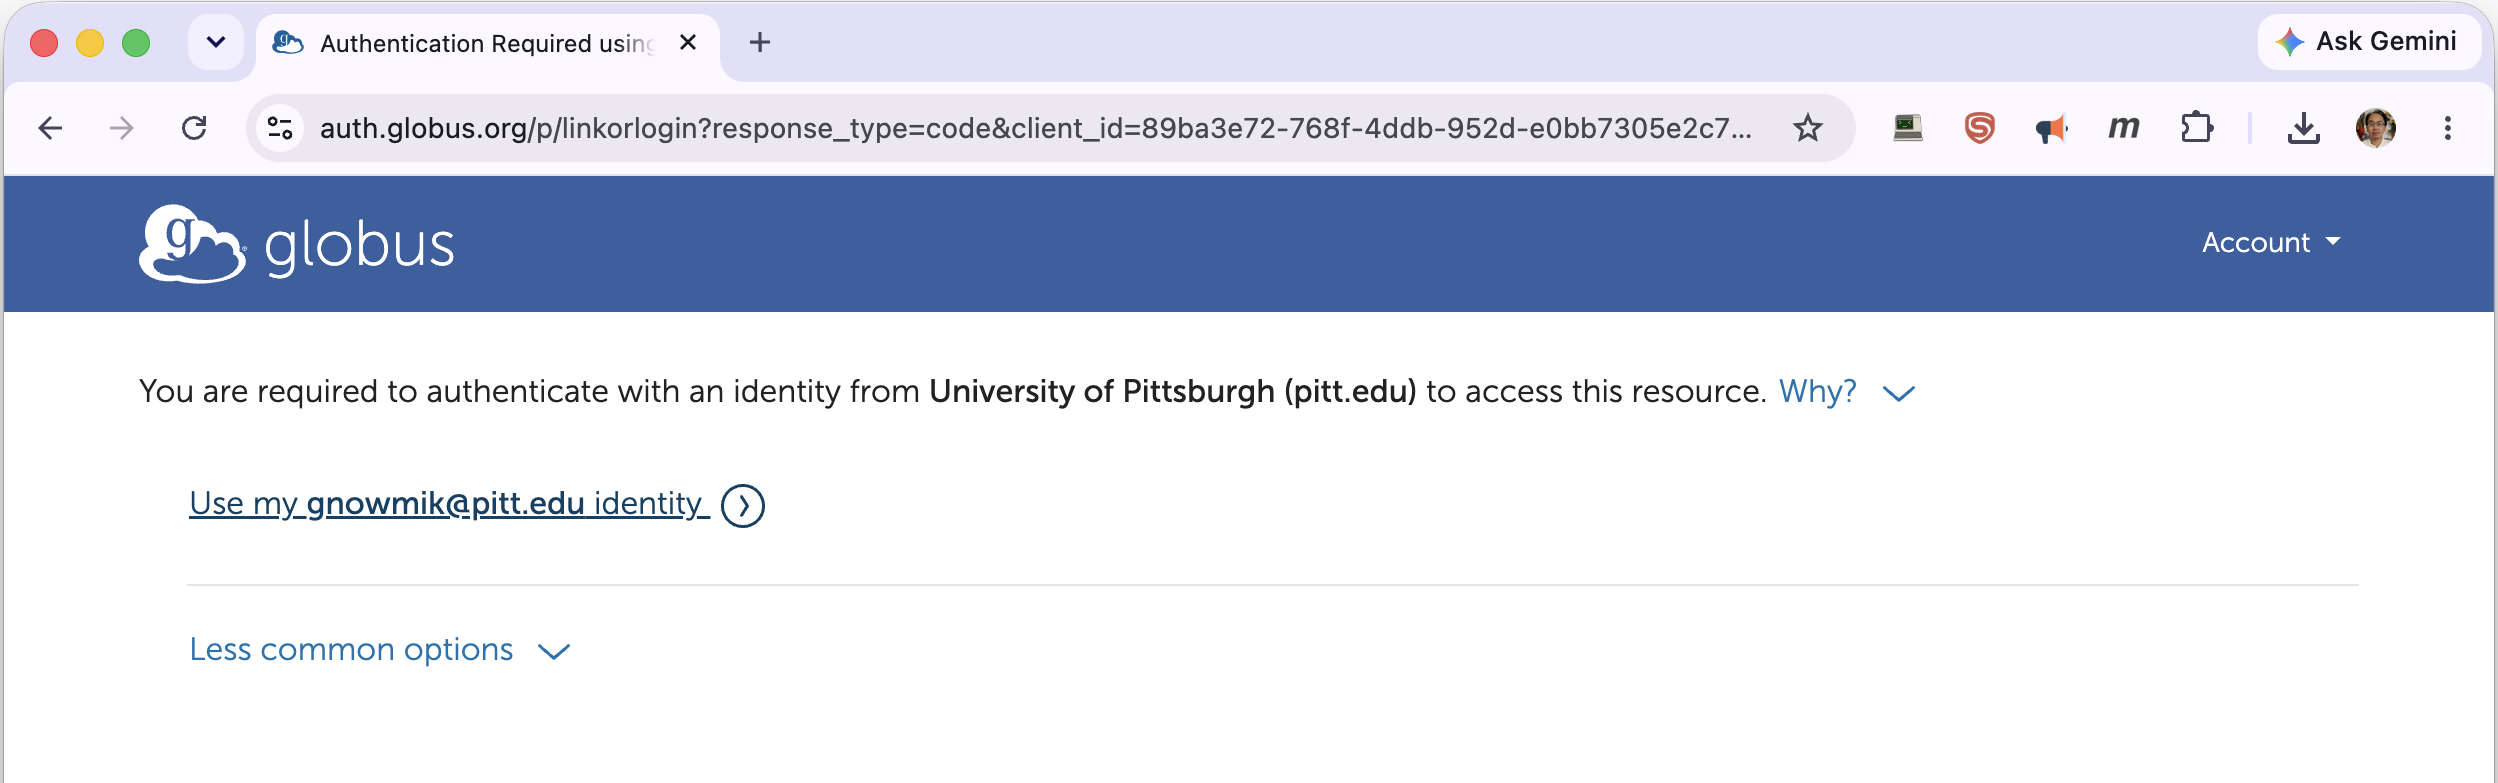
…and Allow Globus Transfer to manage data on the collection.
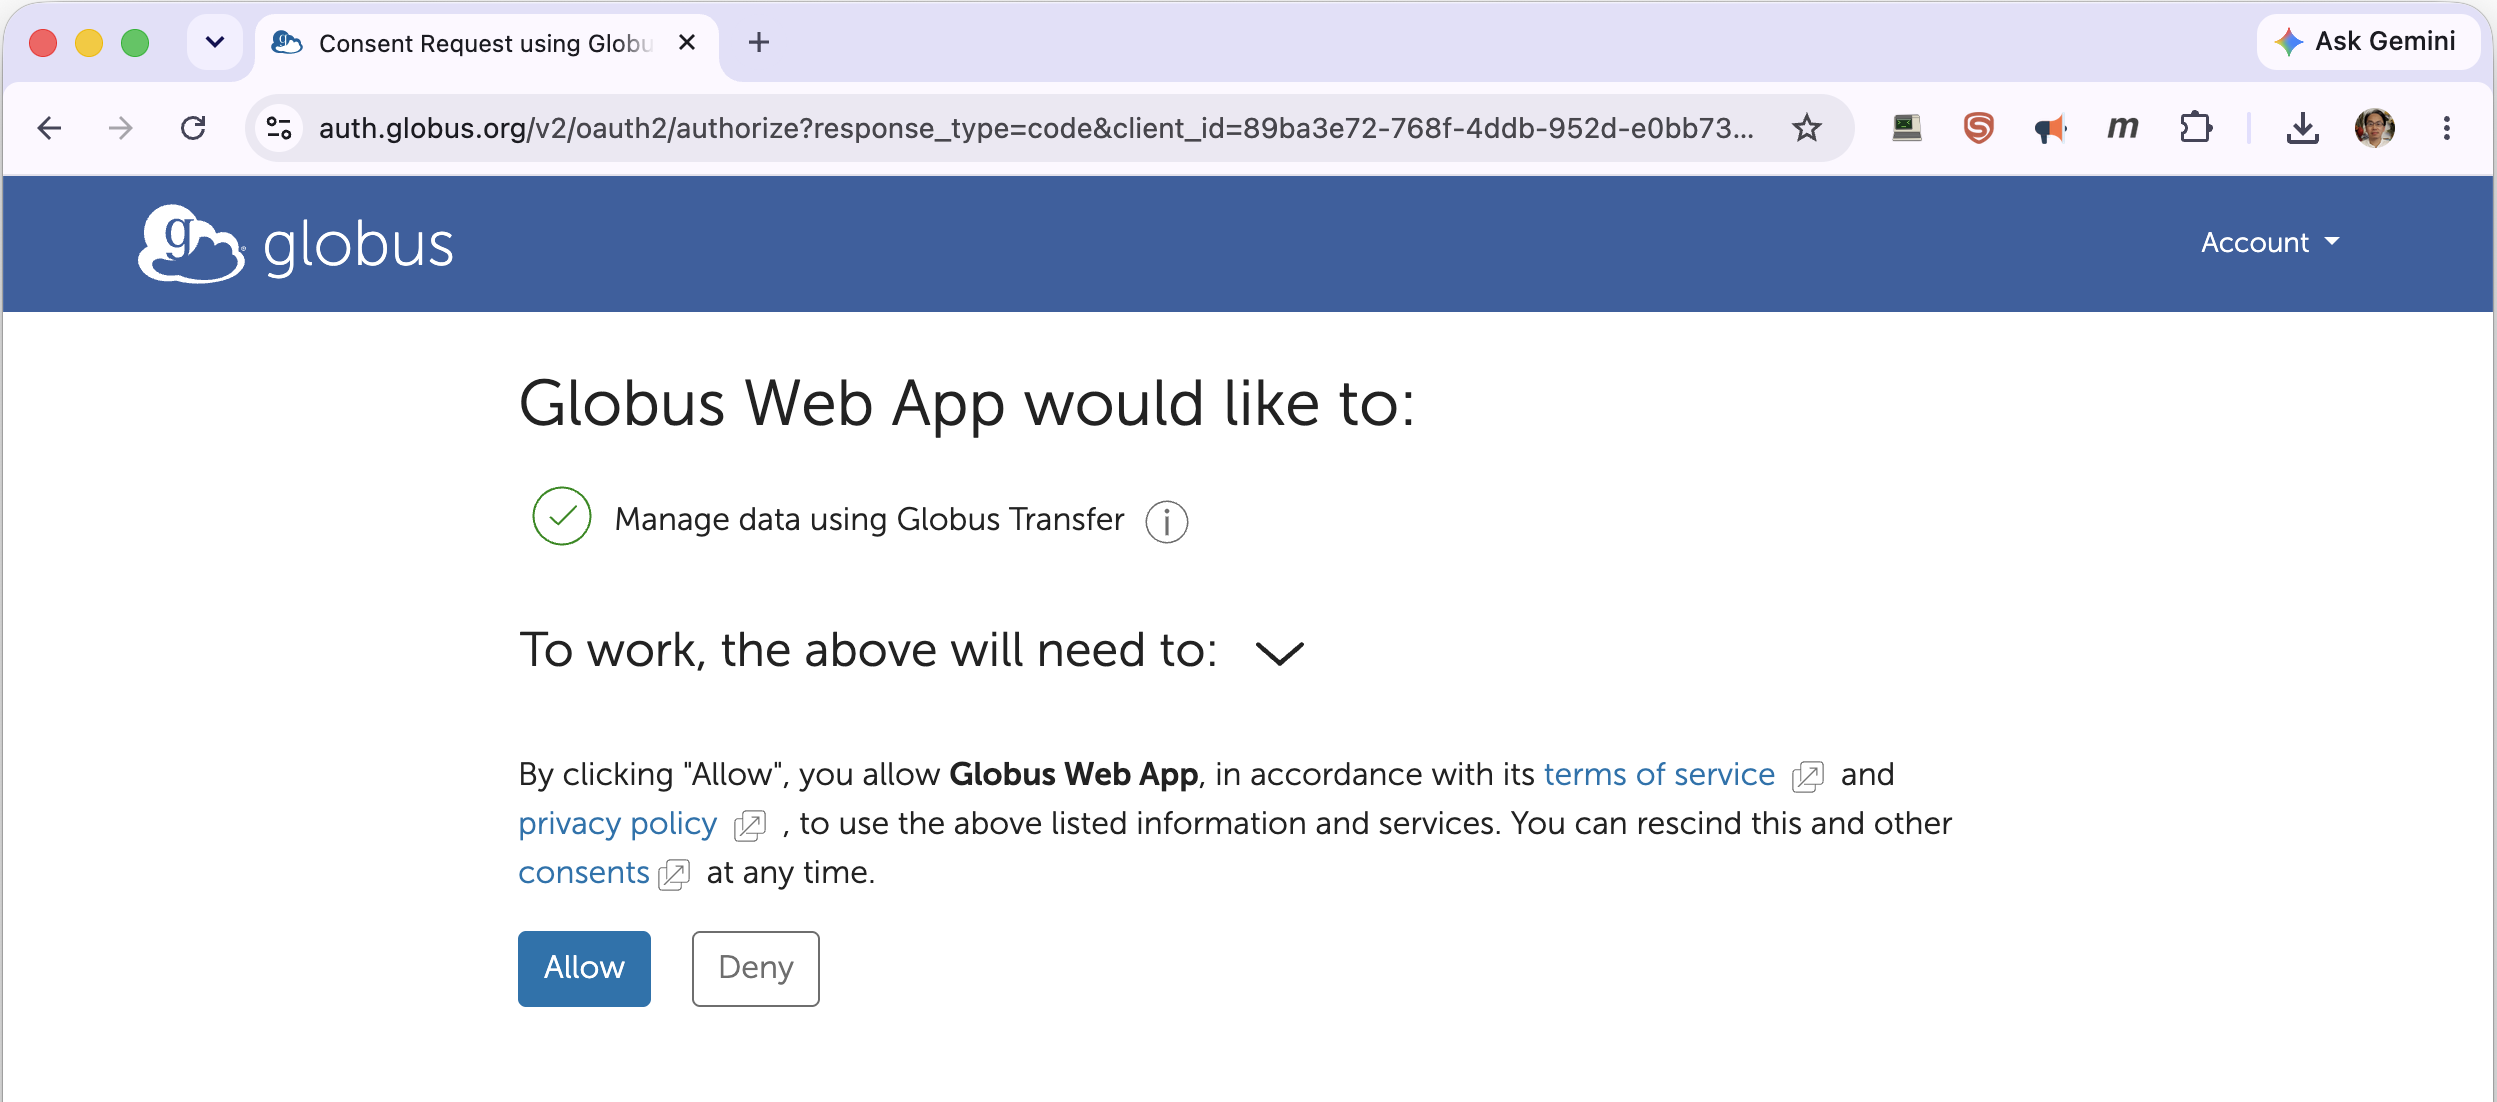
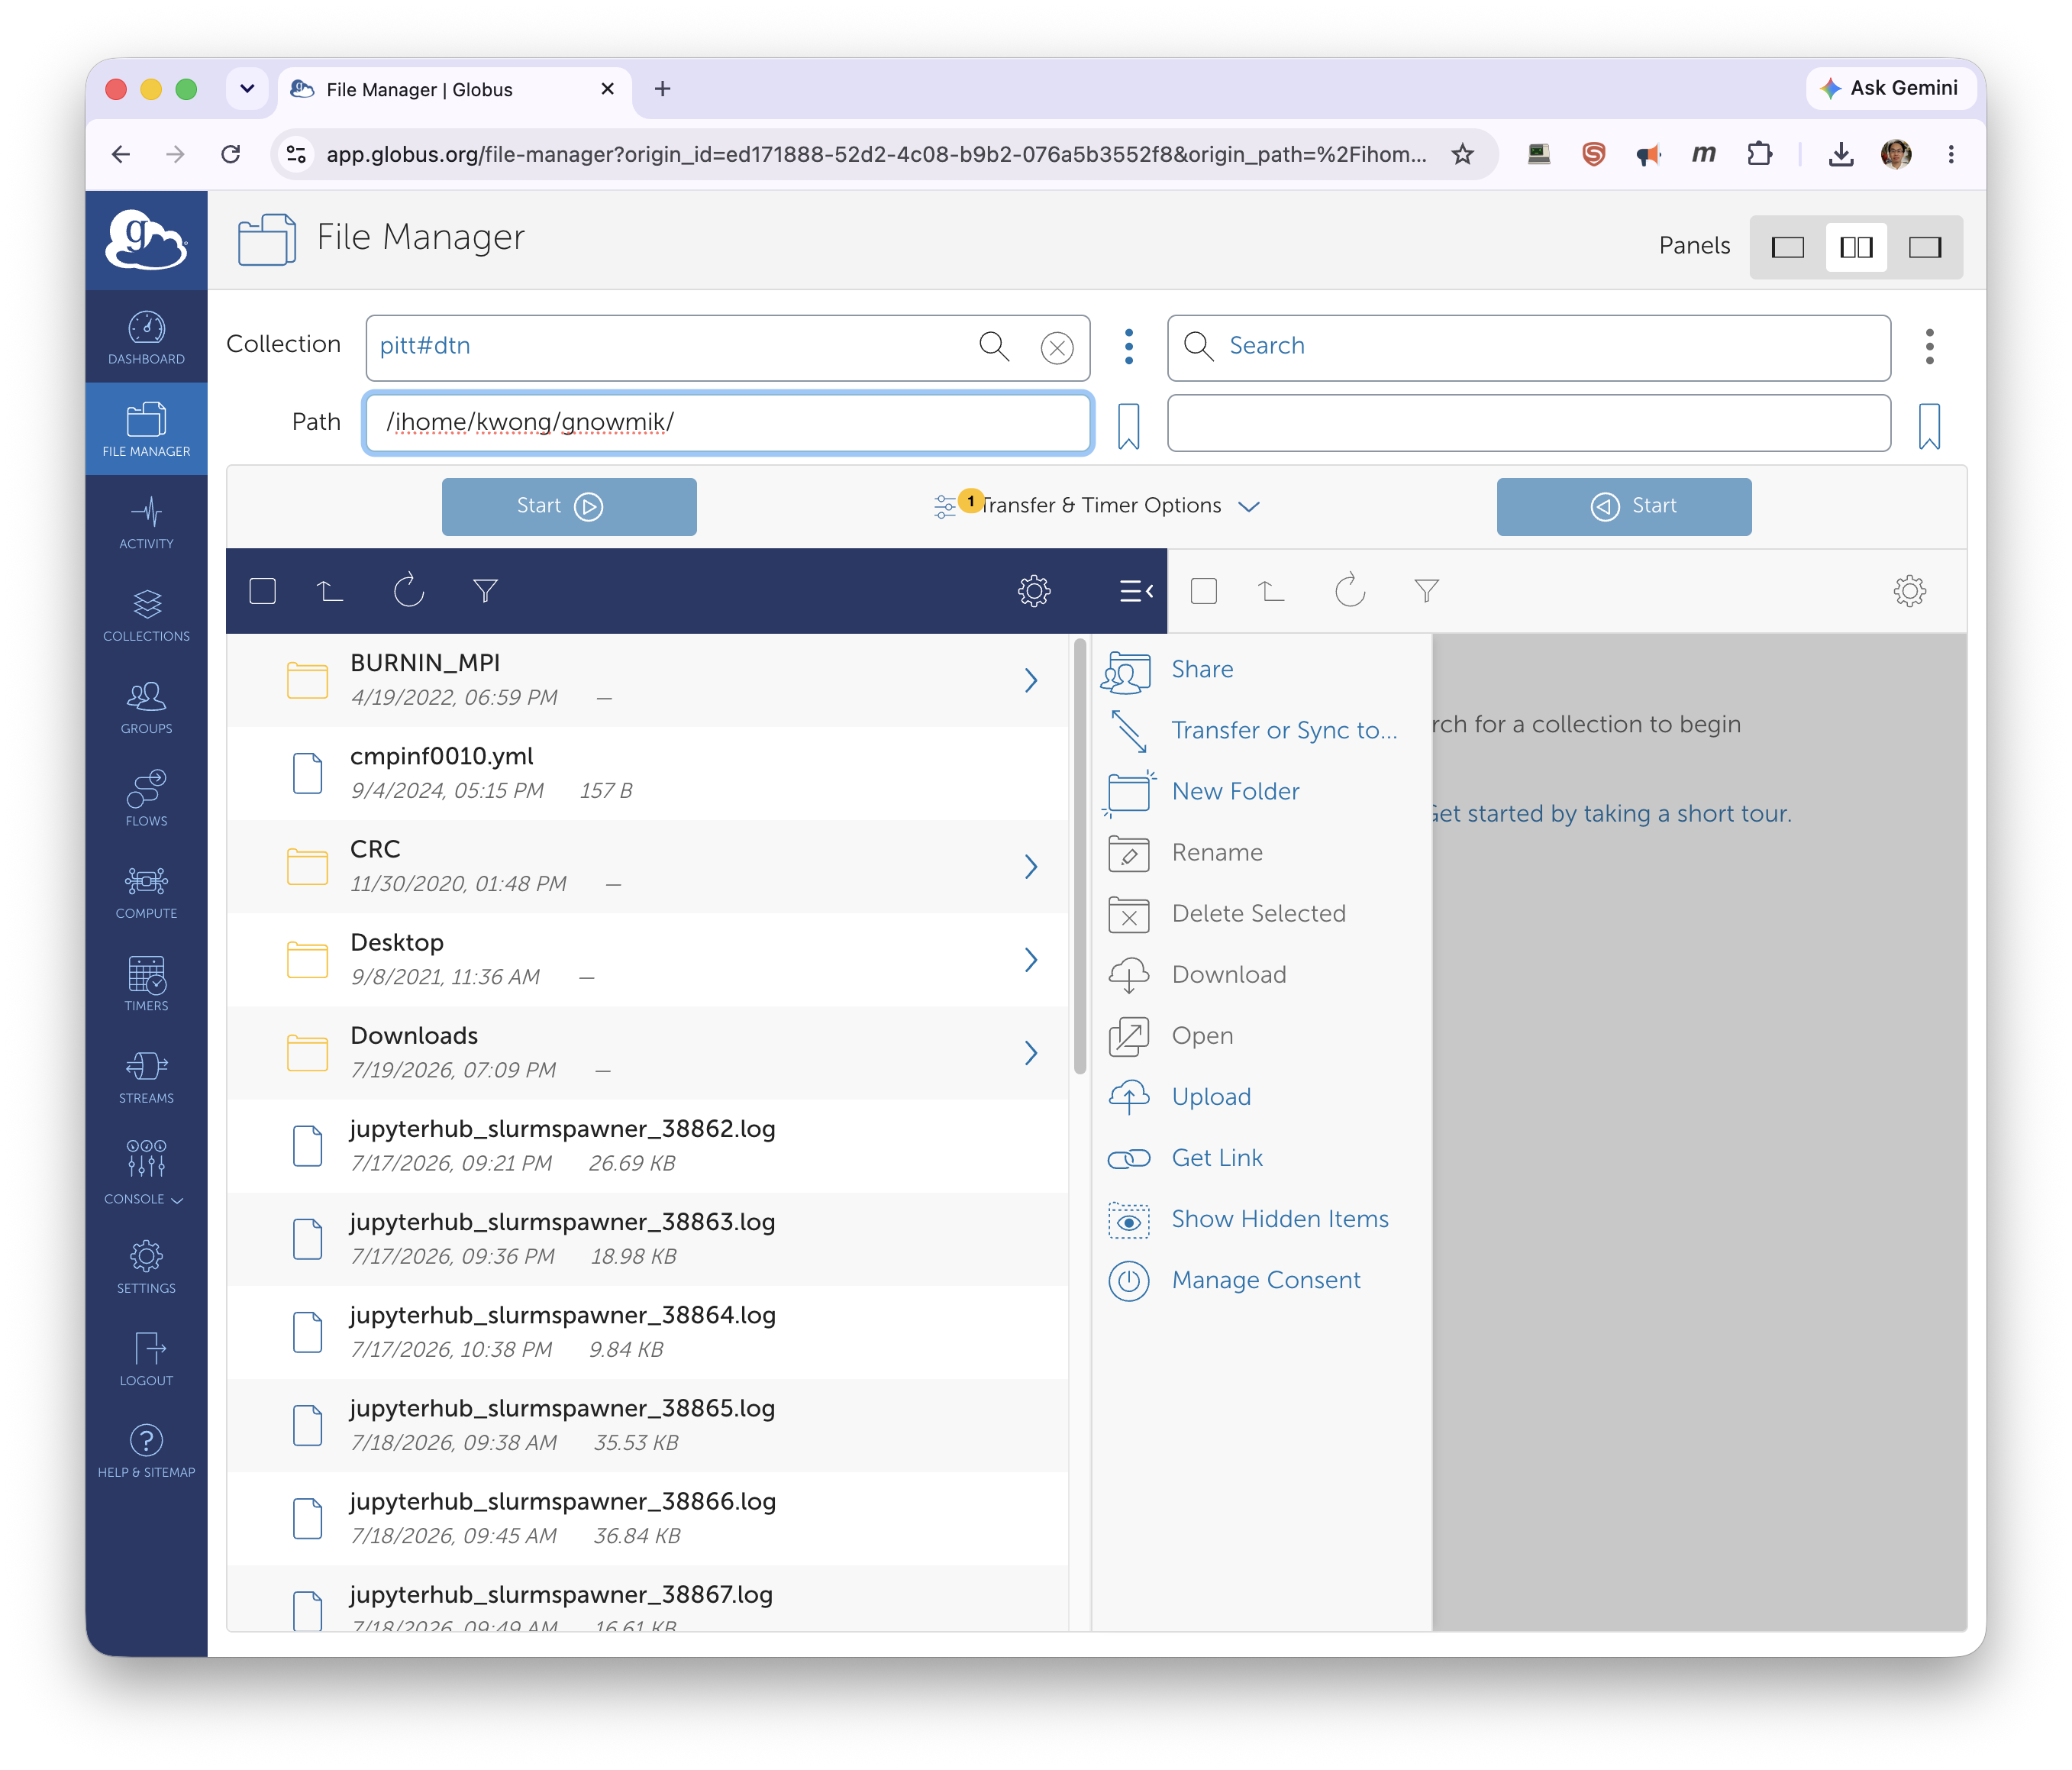
The panel now lists your CRCD files at your path (for example, /ihome/<group>/<username>).
Set the Path to the folder you want, or point it at /ix, /ix1, or /vast for project
storage.
Transfer files
With one panel on pitt#dtn and the other panel on your destination collection, select the
files or folders to move and click Start on the side you're transferring from — the arrow
on the Start button shows the direction. Use Transfer & Timer Options to enable sync
(only transfer new or changed files) or to schedule a recurring transfer. Globus emails you when
the transfer finishes, and you can watch progress under Activity.
Move data to and from your own computer
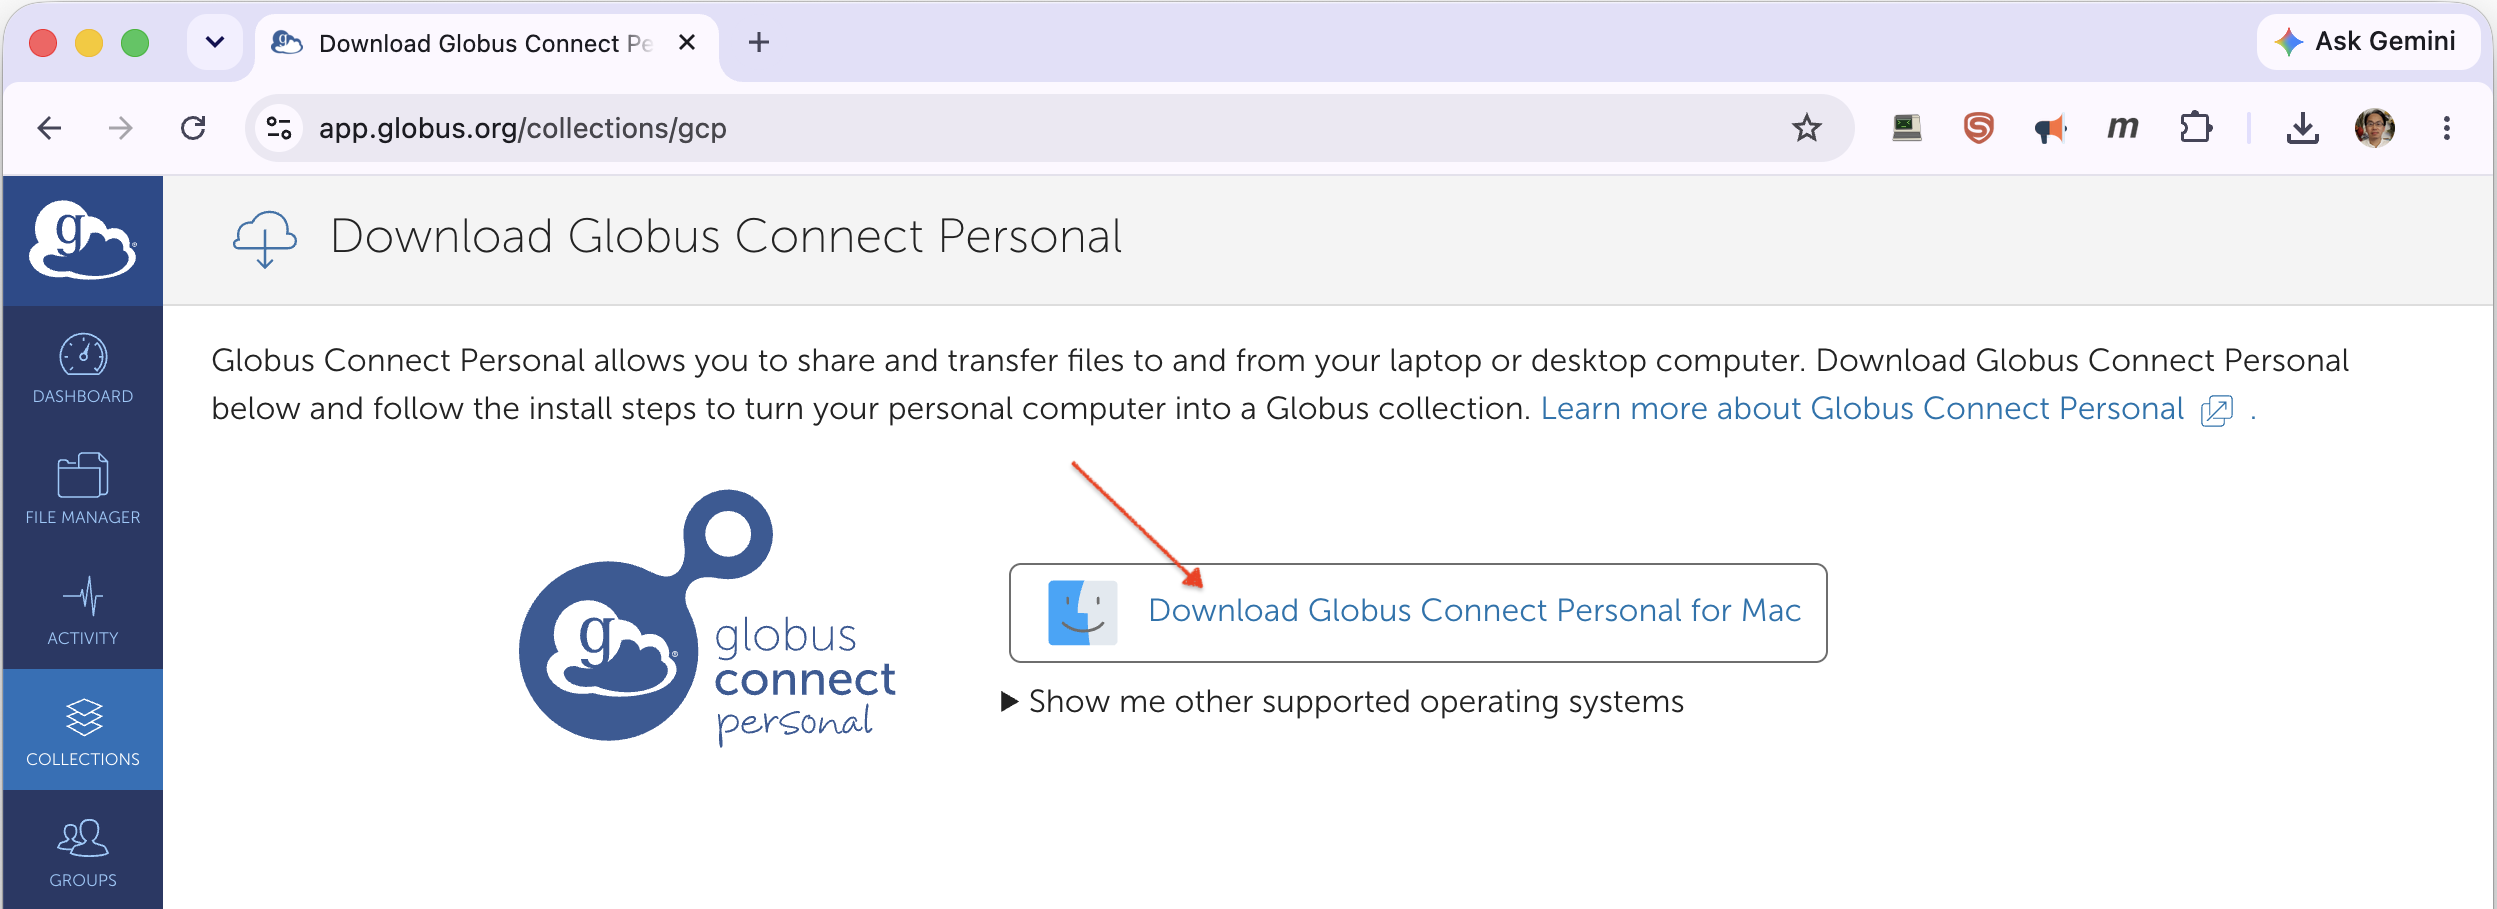
To transfer to or from your laptop or desktop, install Globus Connect Personal, which turns your computer into a Globus collection. In the collection search, choose Get Globus Connect Personal.
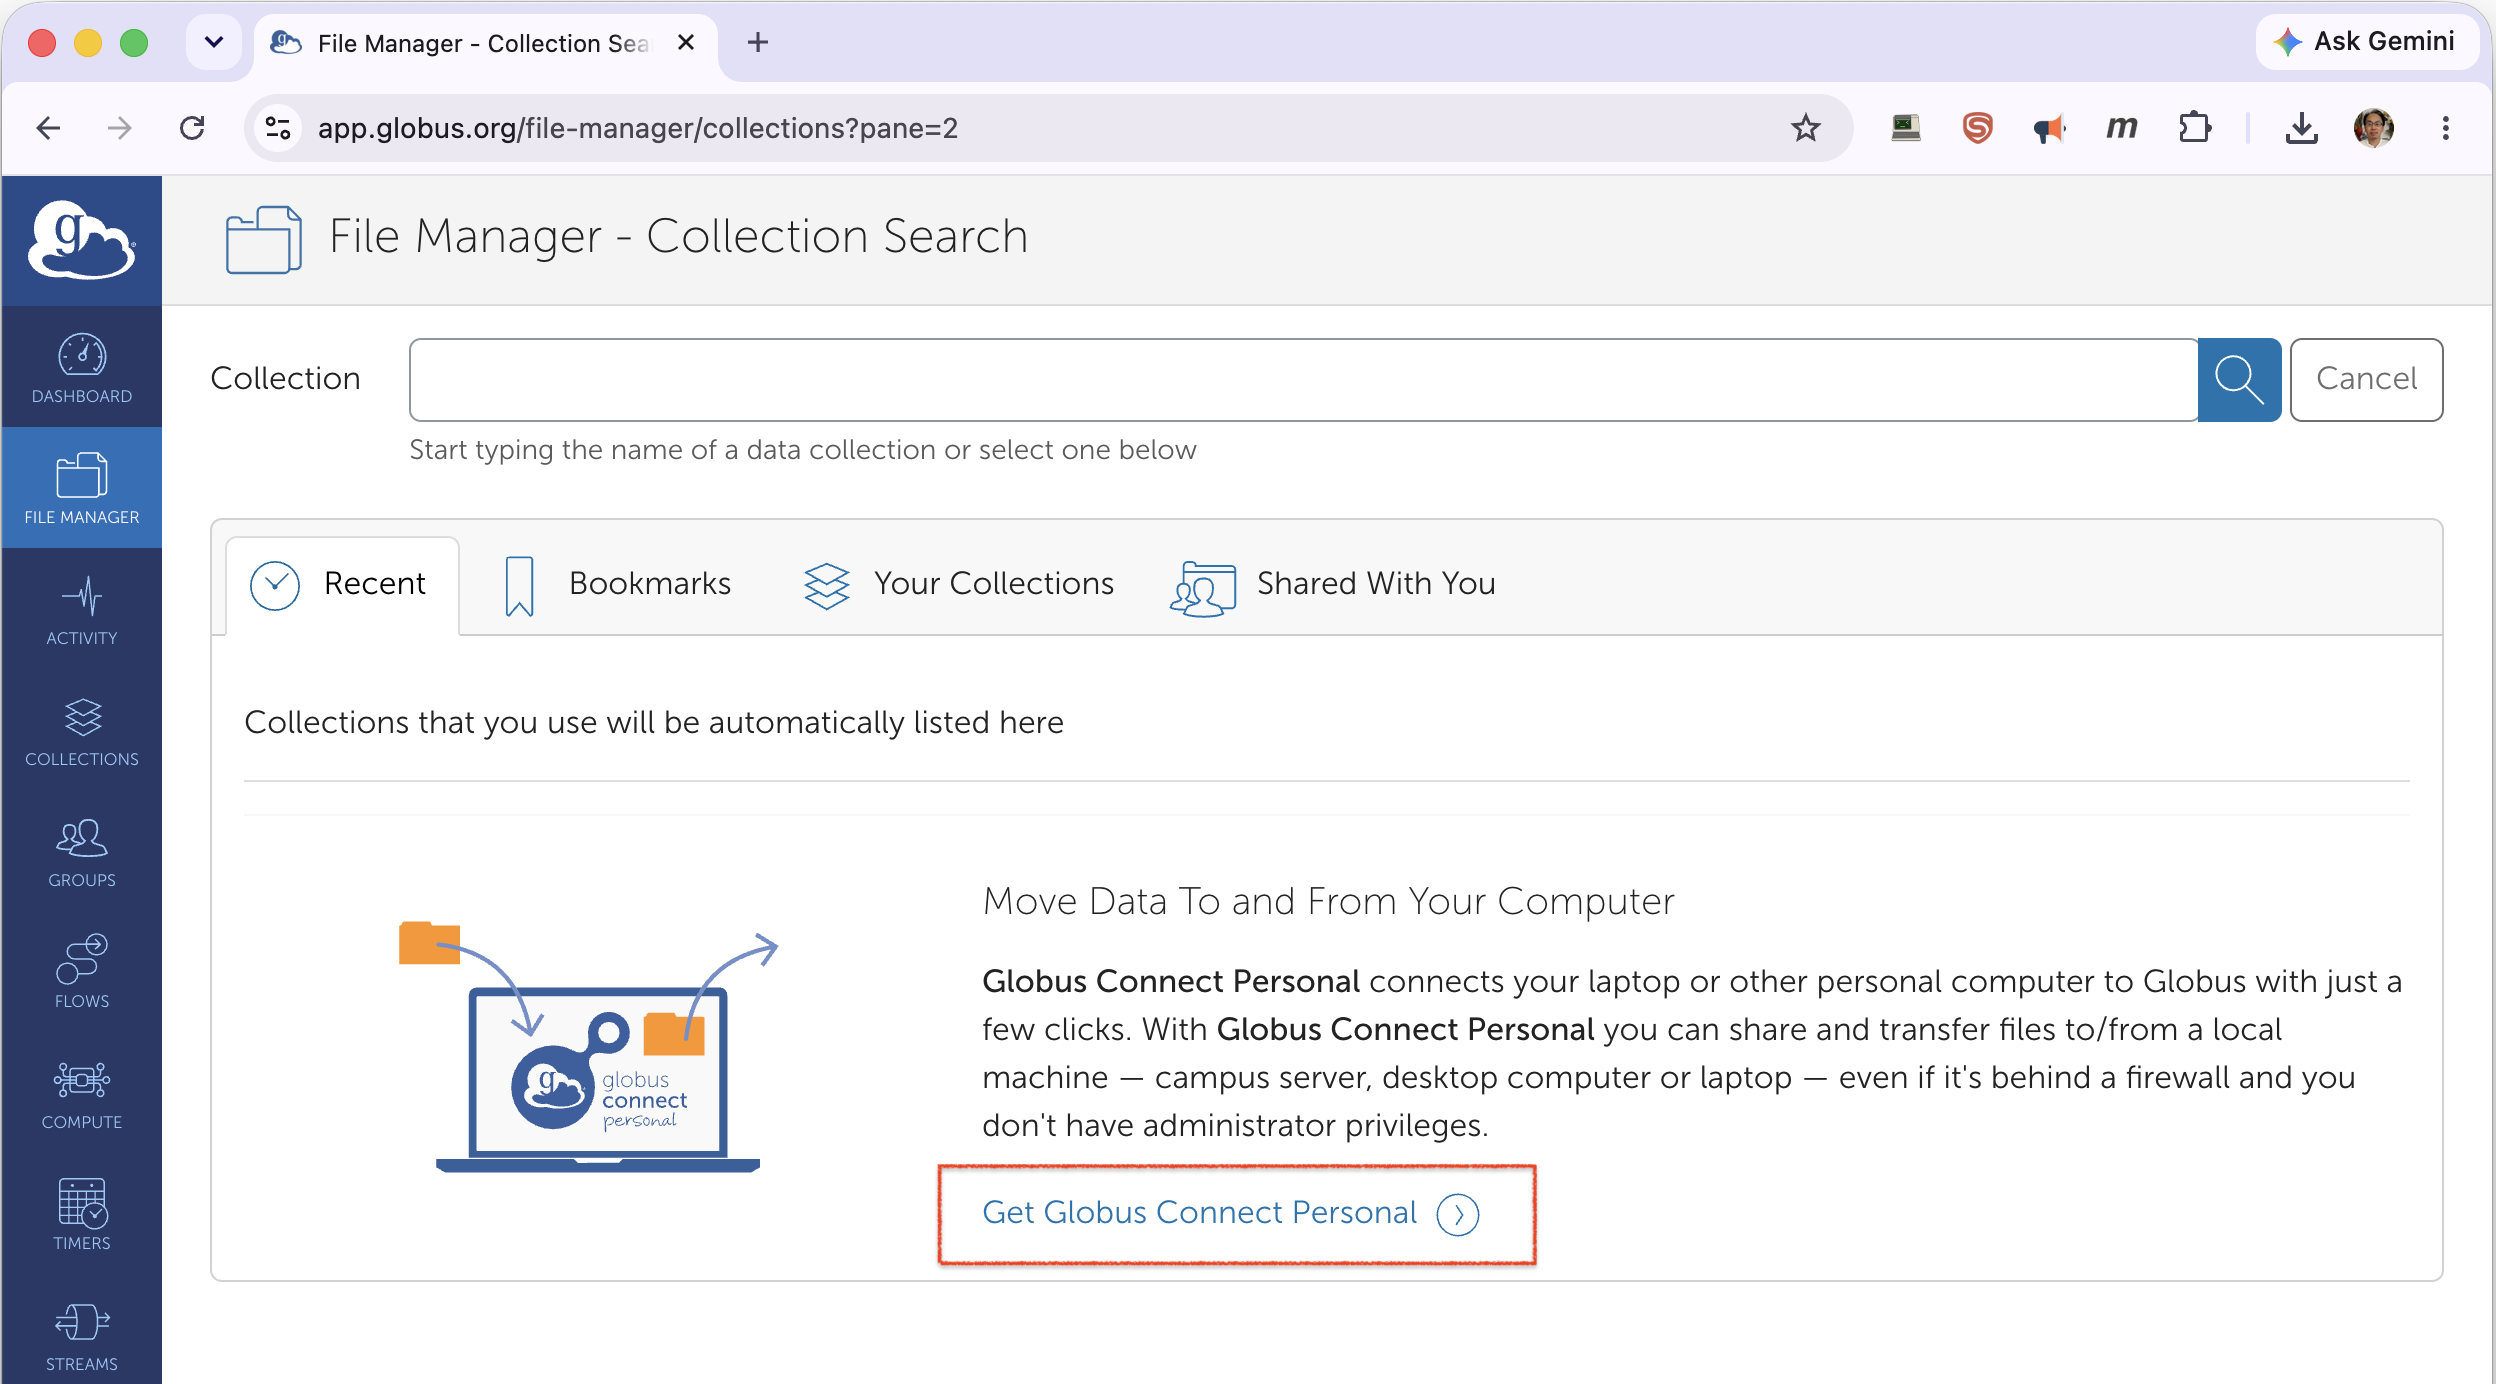
Download the version for your operating system.
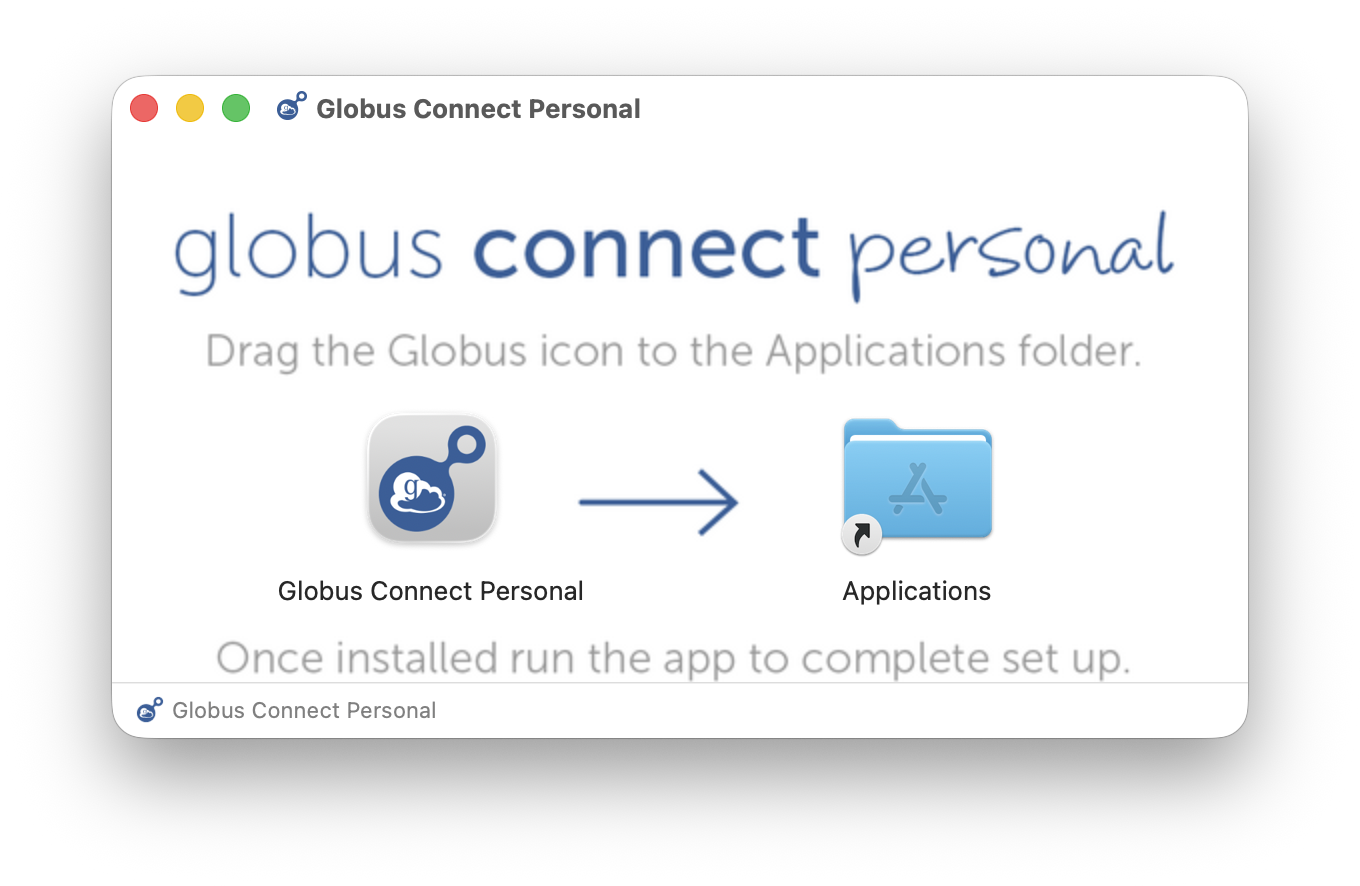
Install it — on macOS, drag the Globus icon into the Applications folder.
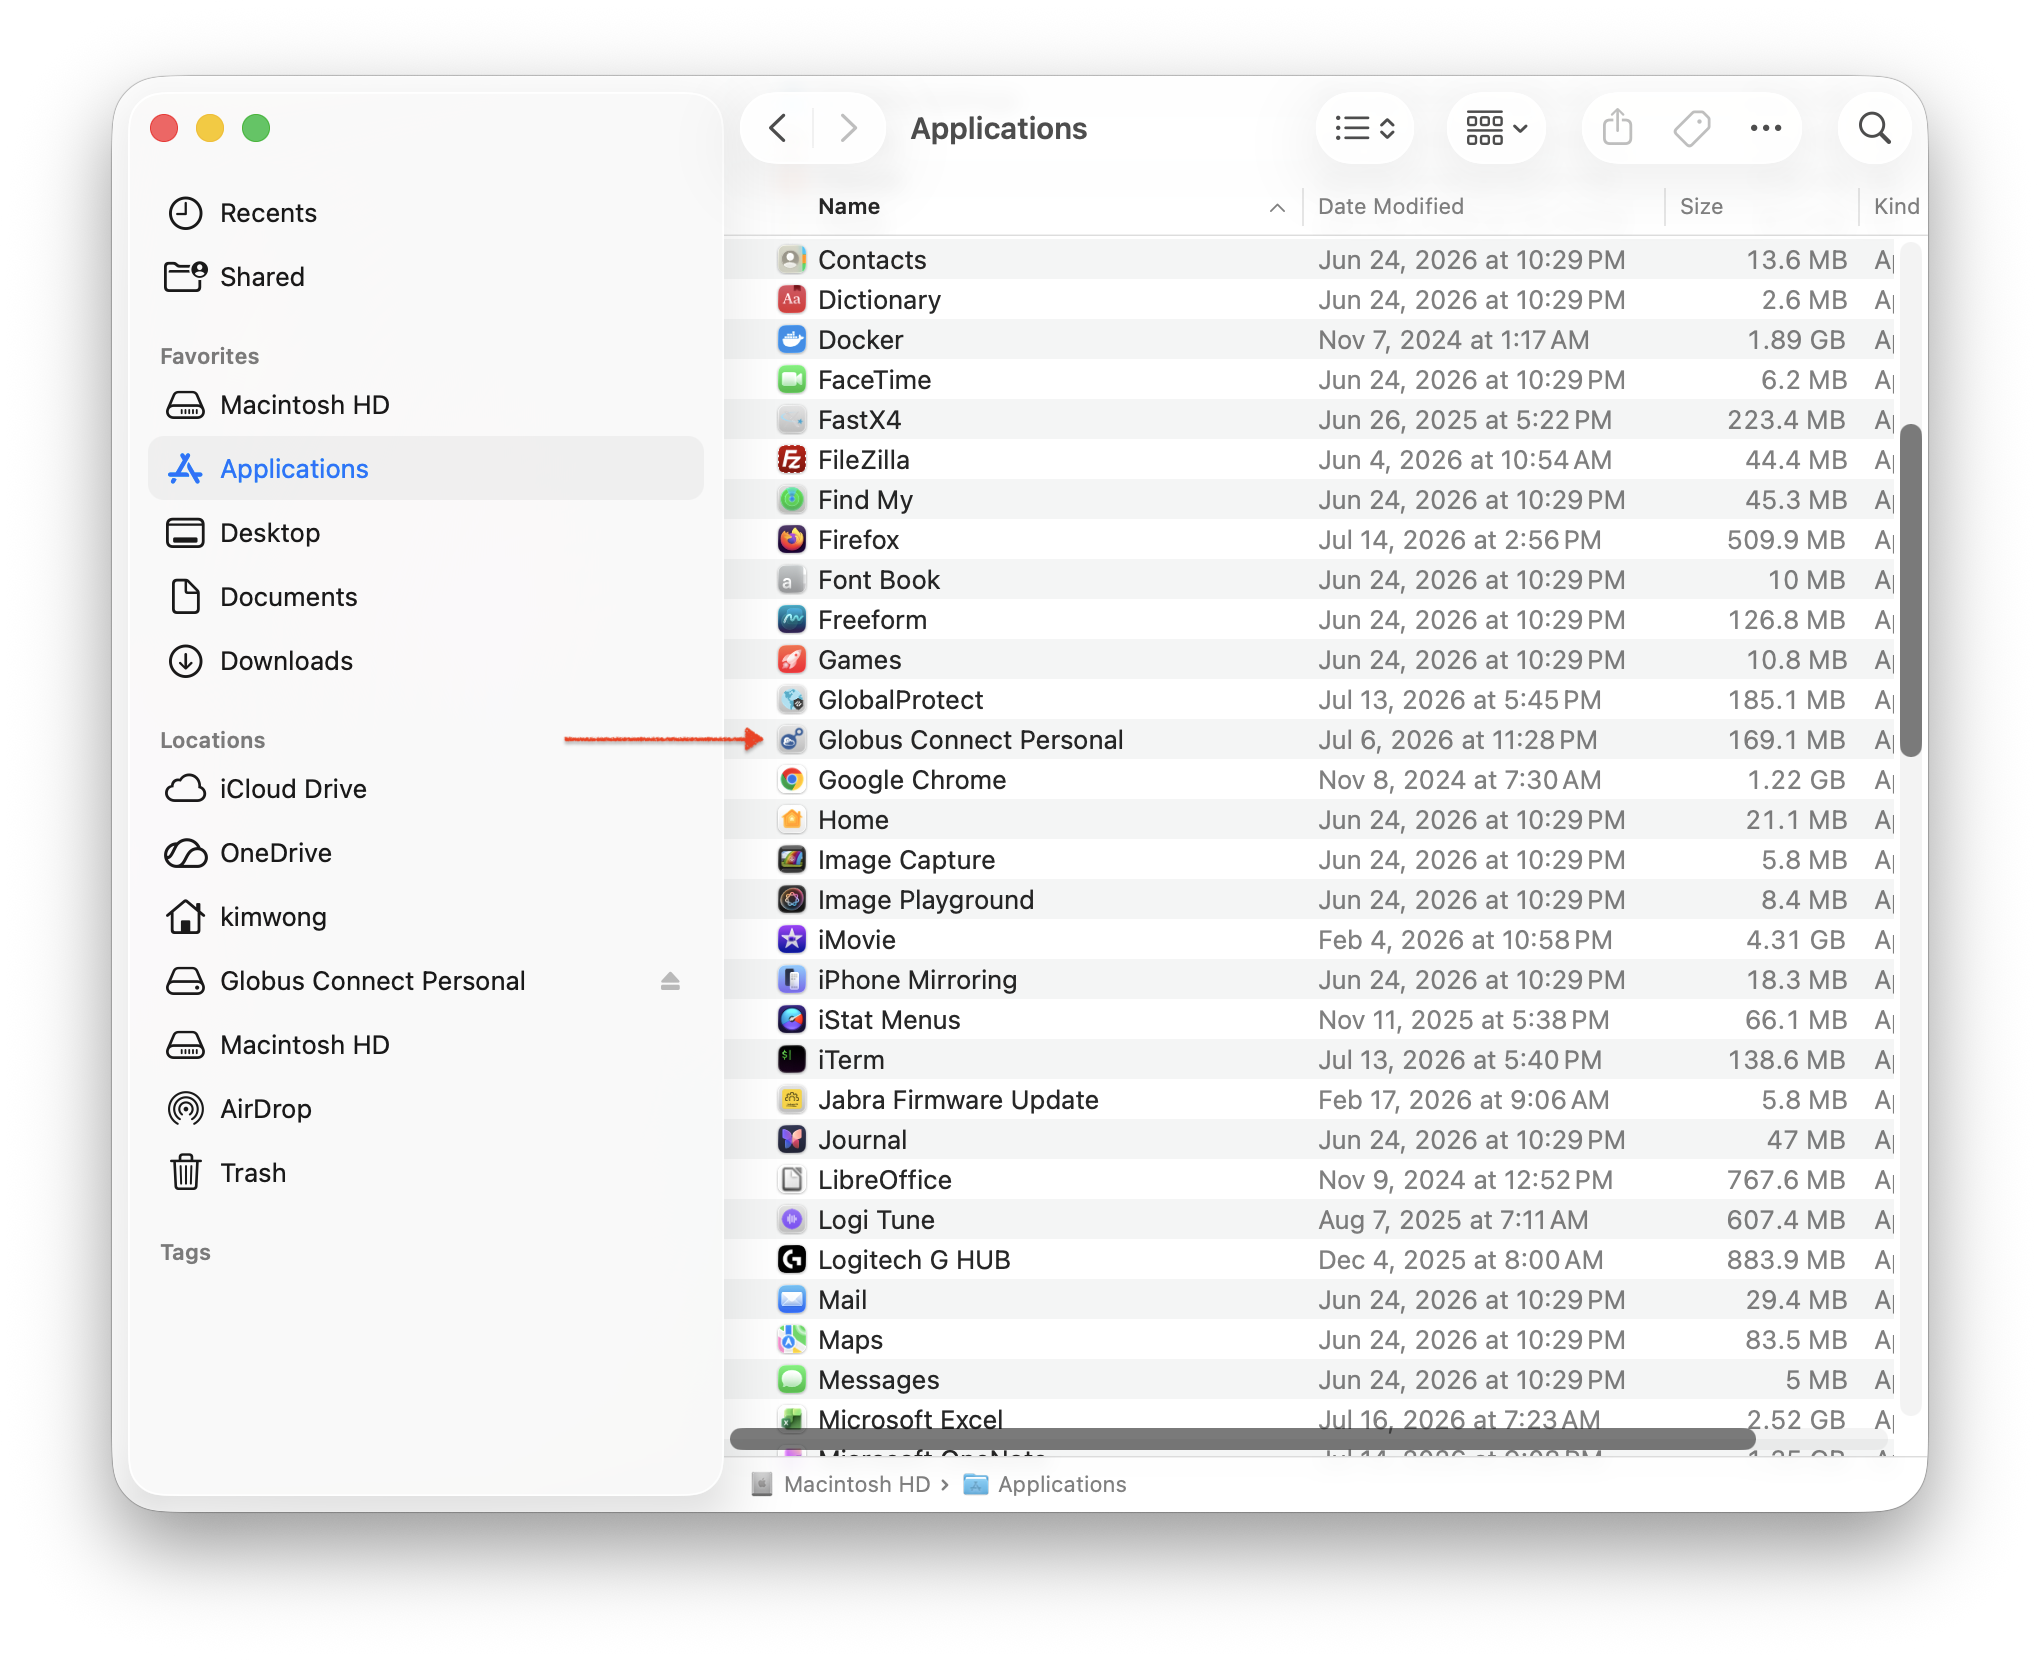
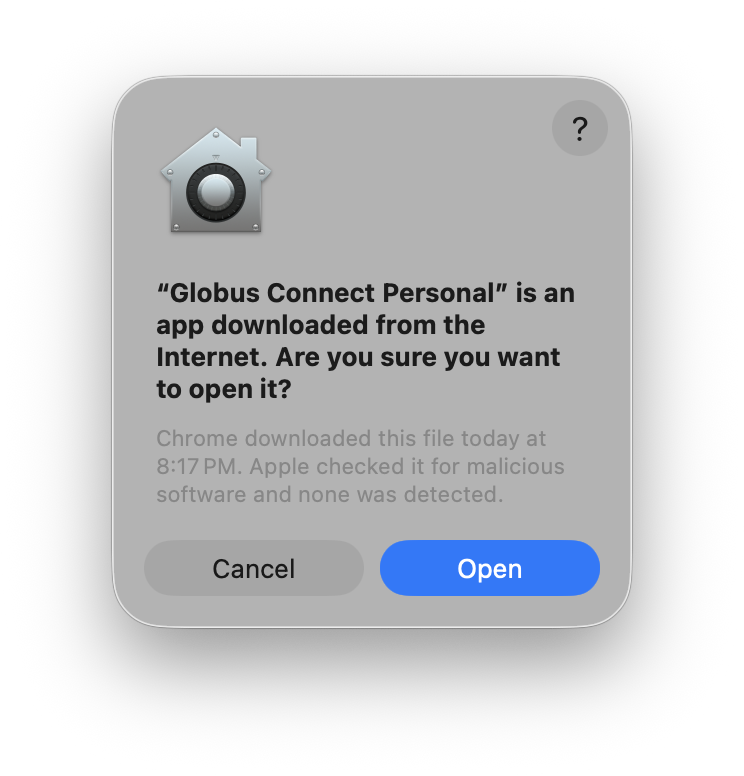
Launch it. The first time, confirm that you want to open an app downloaded from the internet.
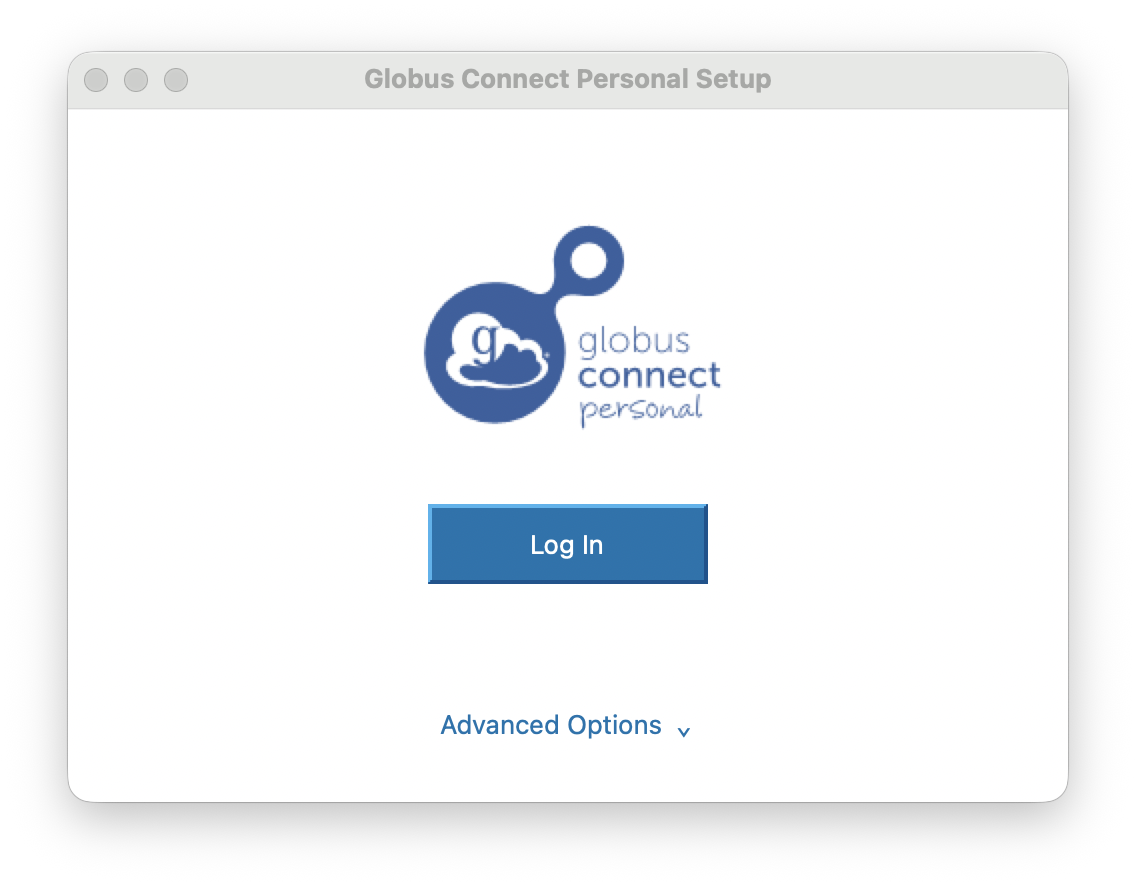
Globus Connect Personal then opens its setup. Click Log In and sign in with your Globus (Pitt) account.
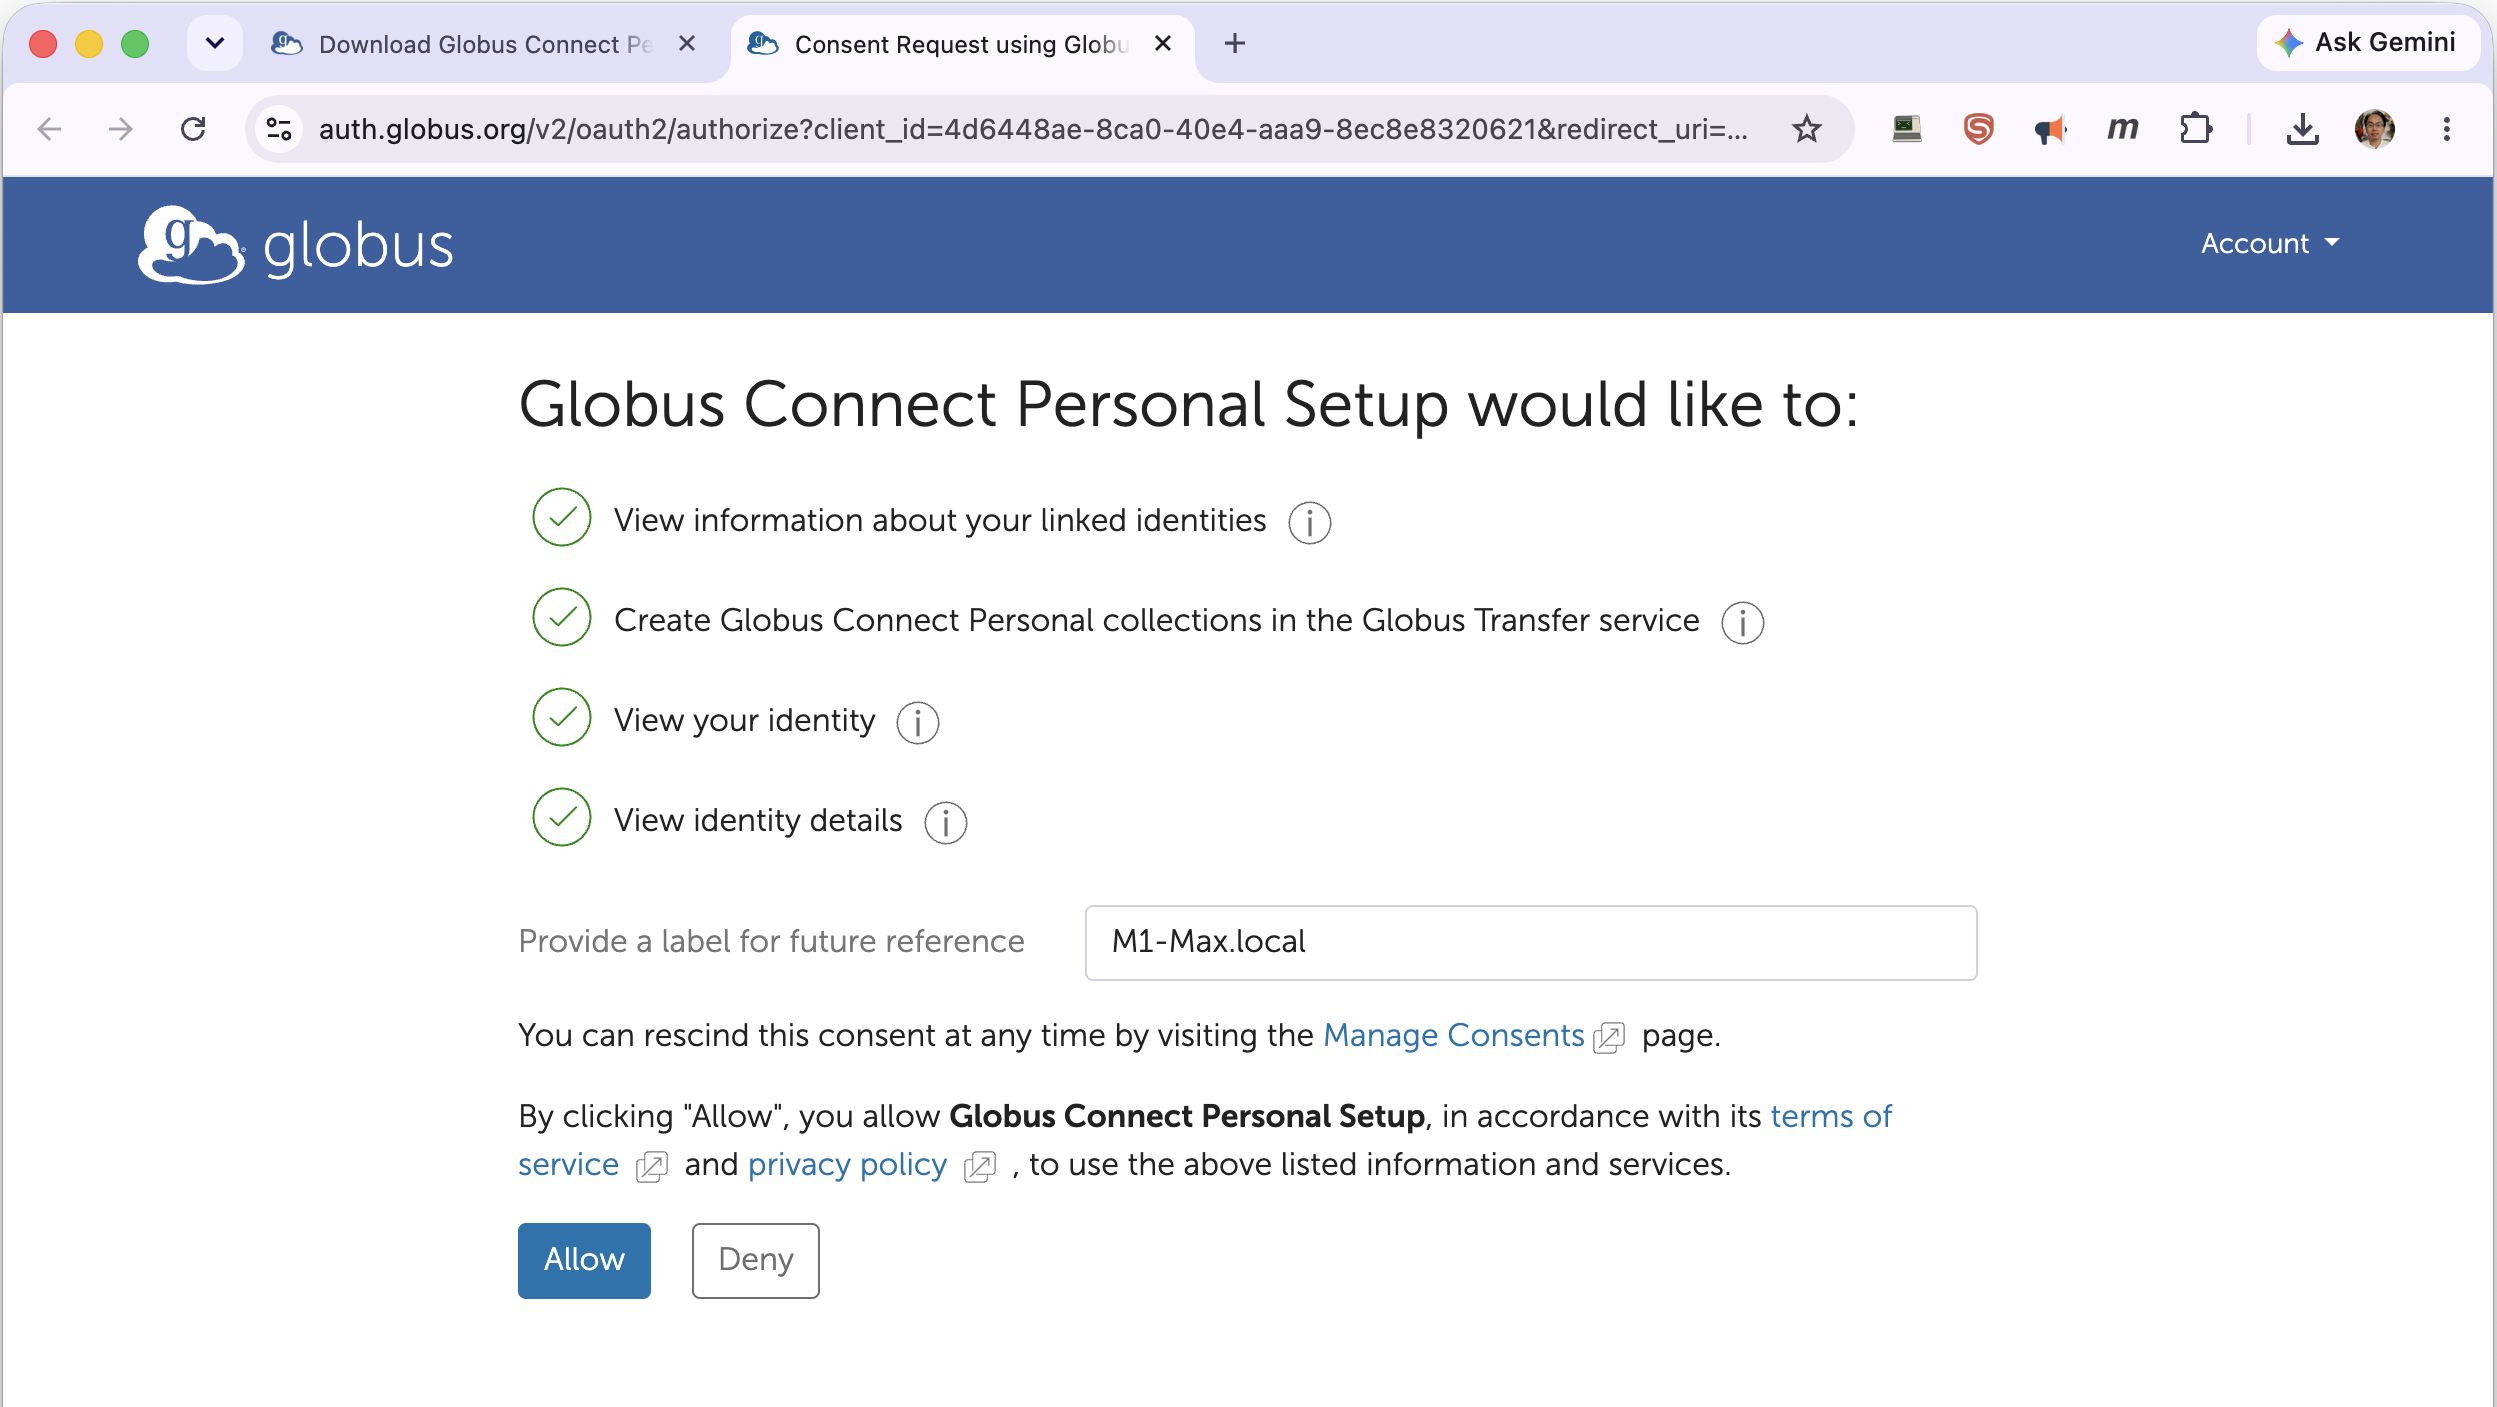
Allow the setup the access it requests; you can give this computer a label for future reference.
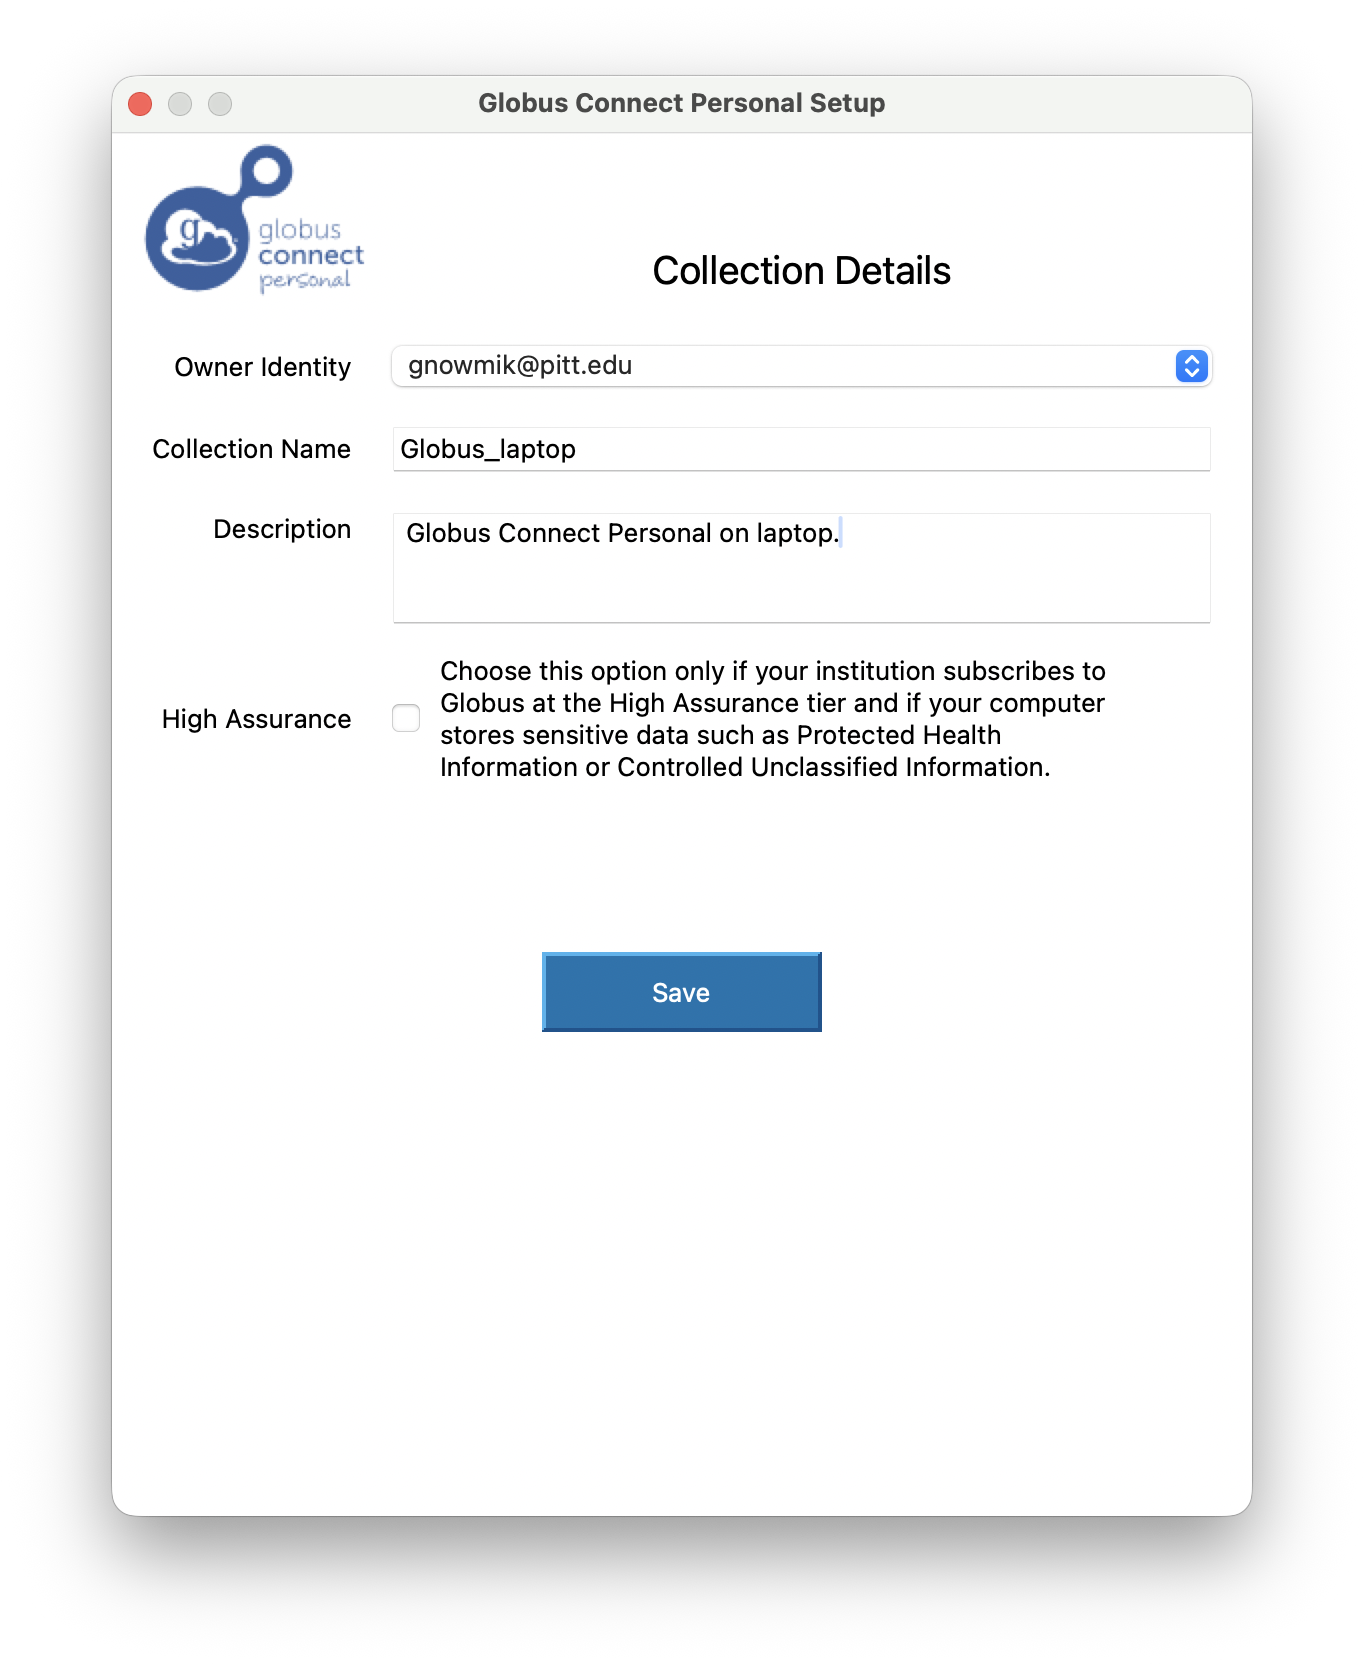
Give the collection a Collection Name and description. Leave High Assurance unchecked unless your institution subscribes to Globus at the High Assurance tier and your computer stores sensitive data (PHI or Controlled Unclassified Information). Click Save.
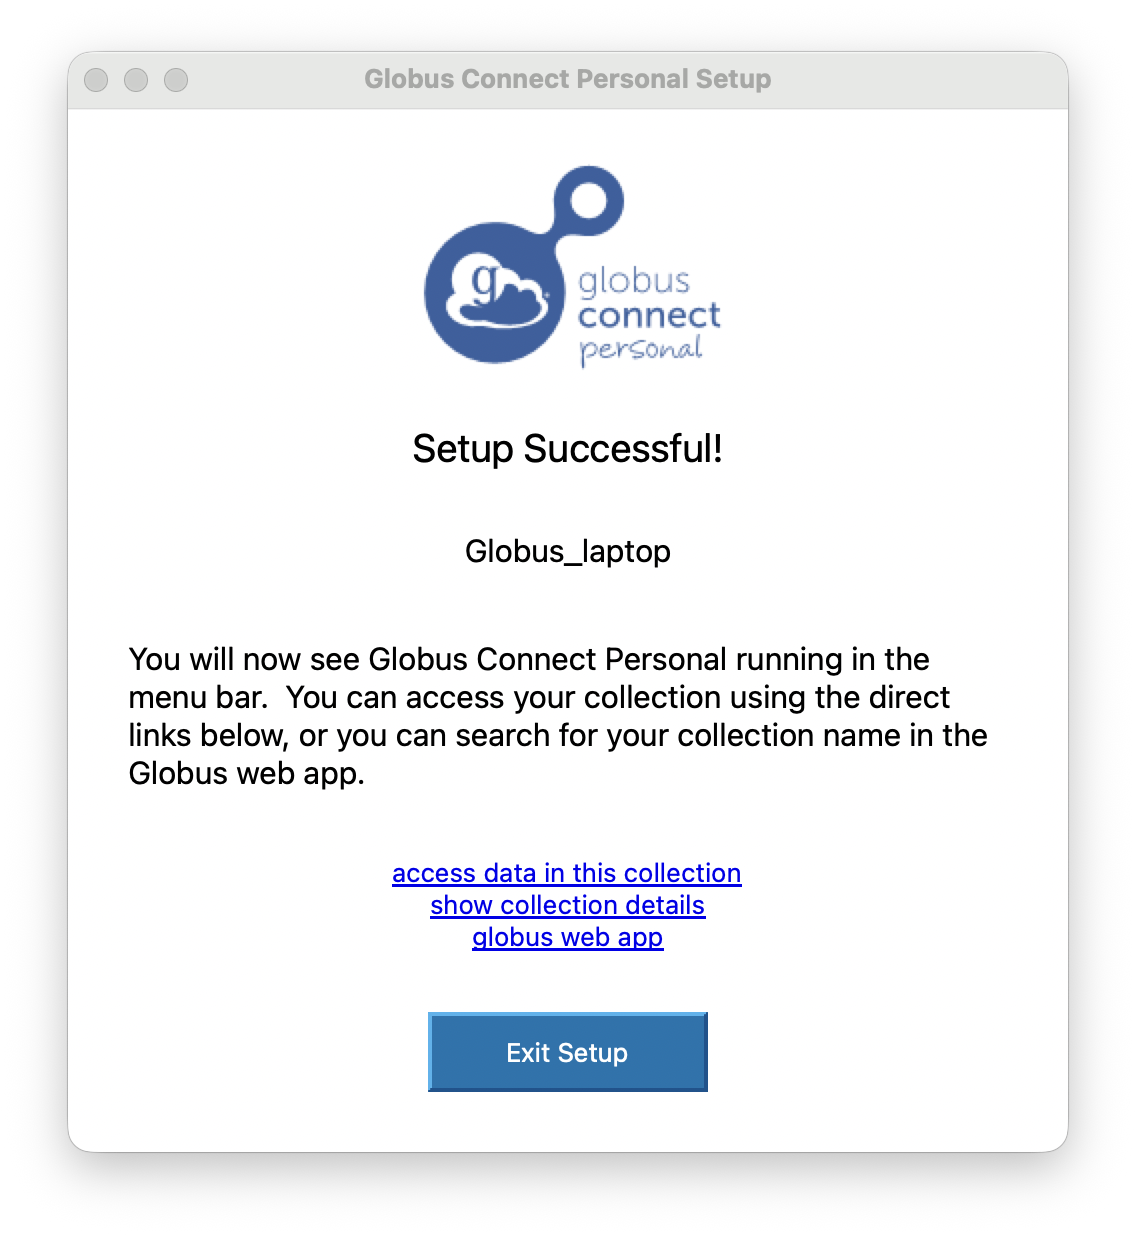
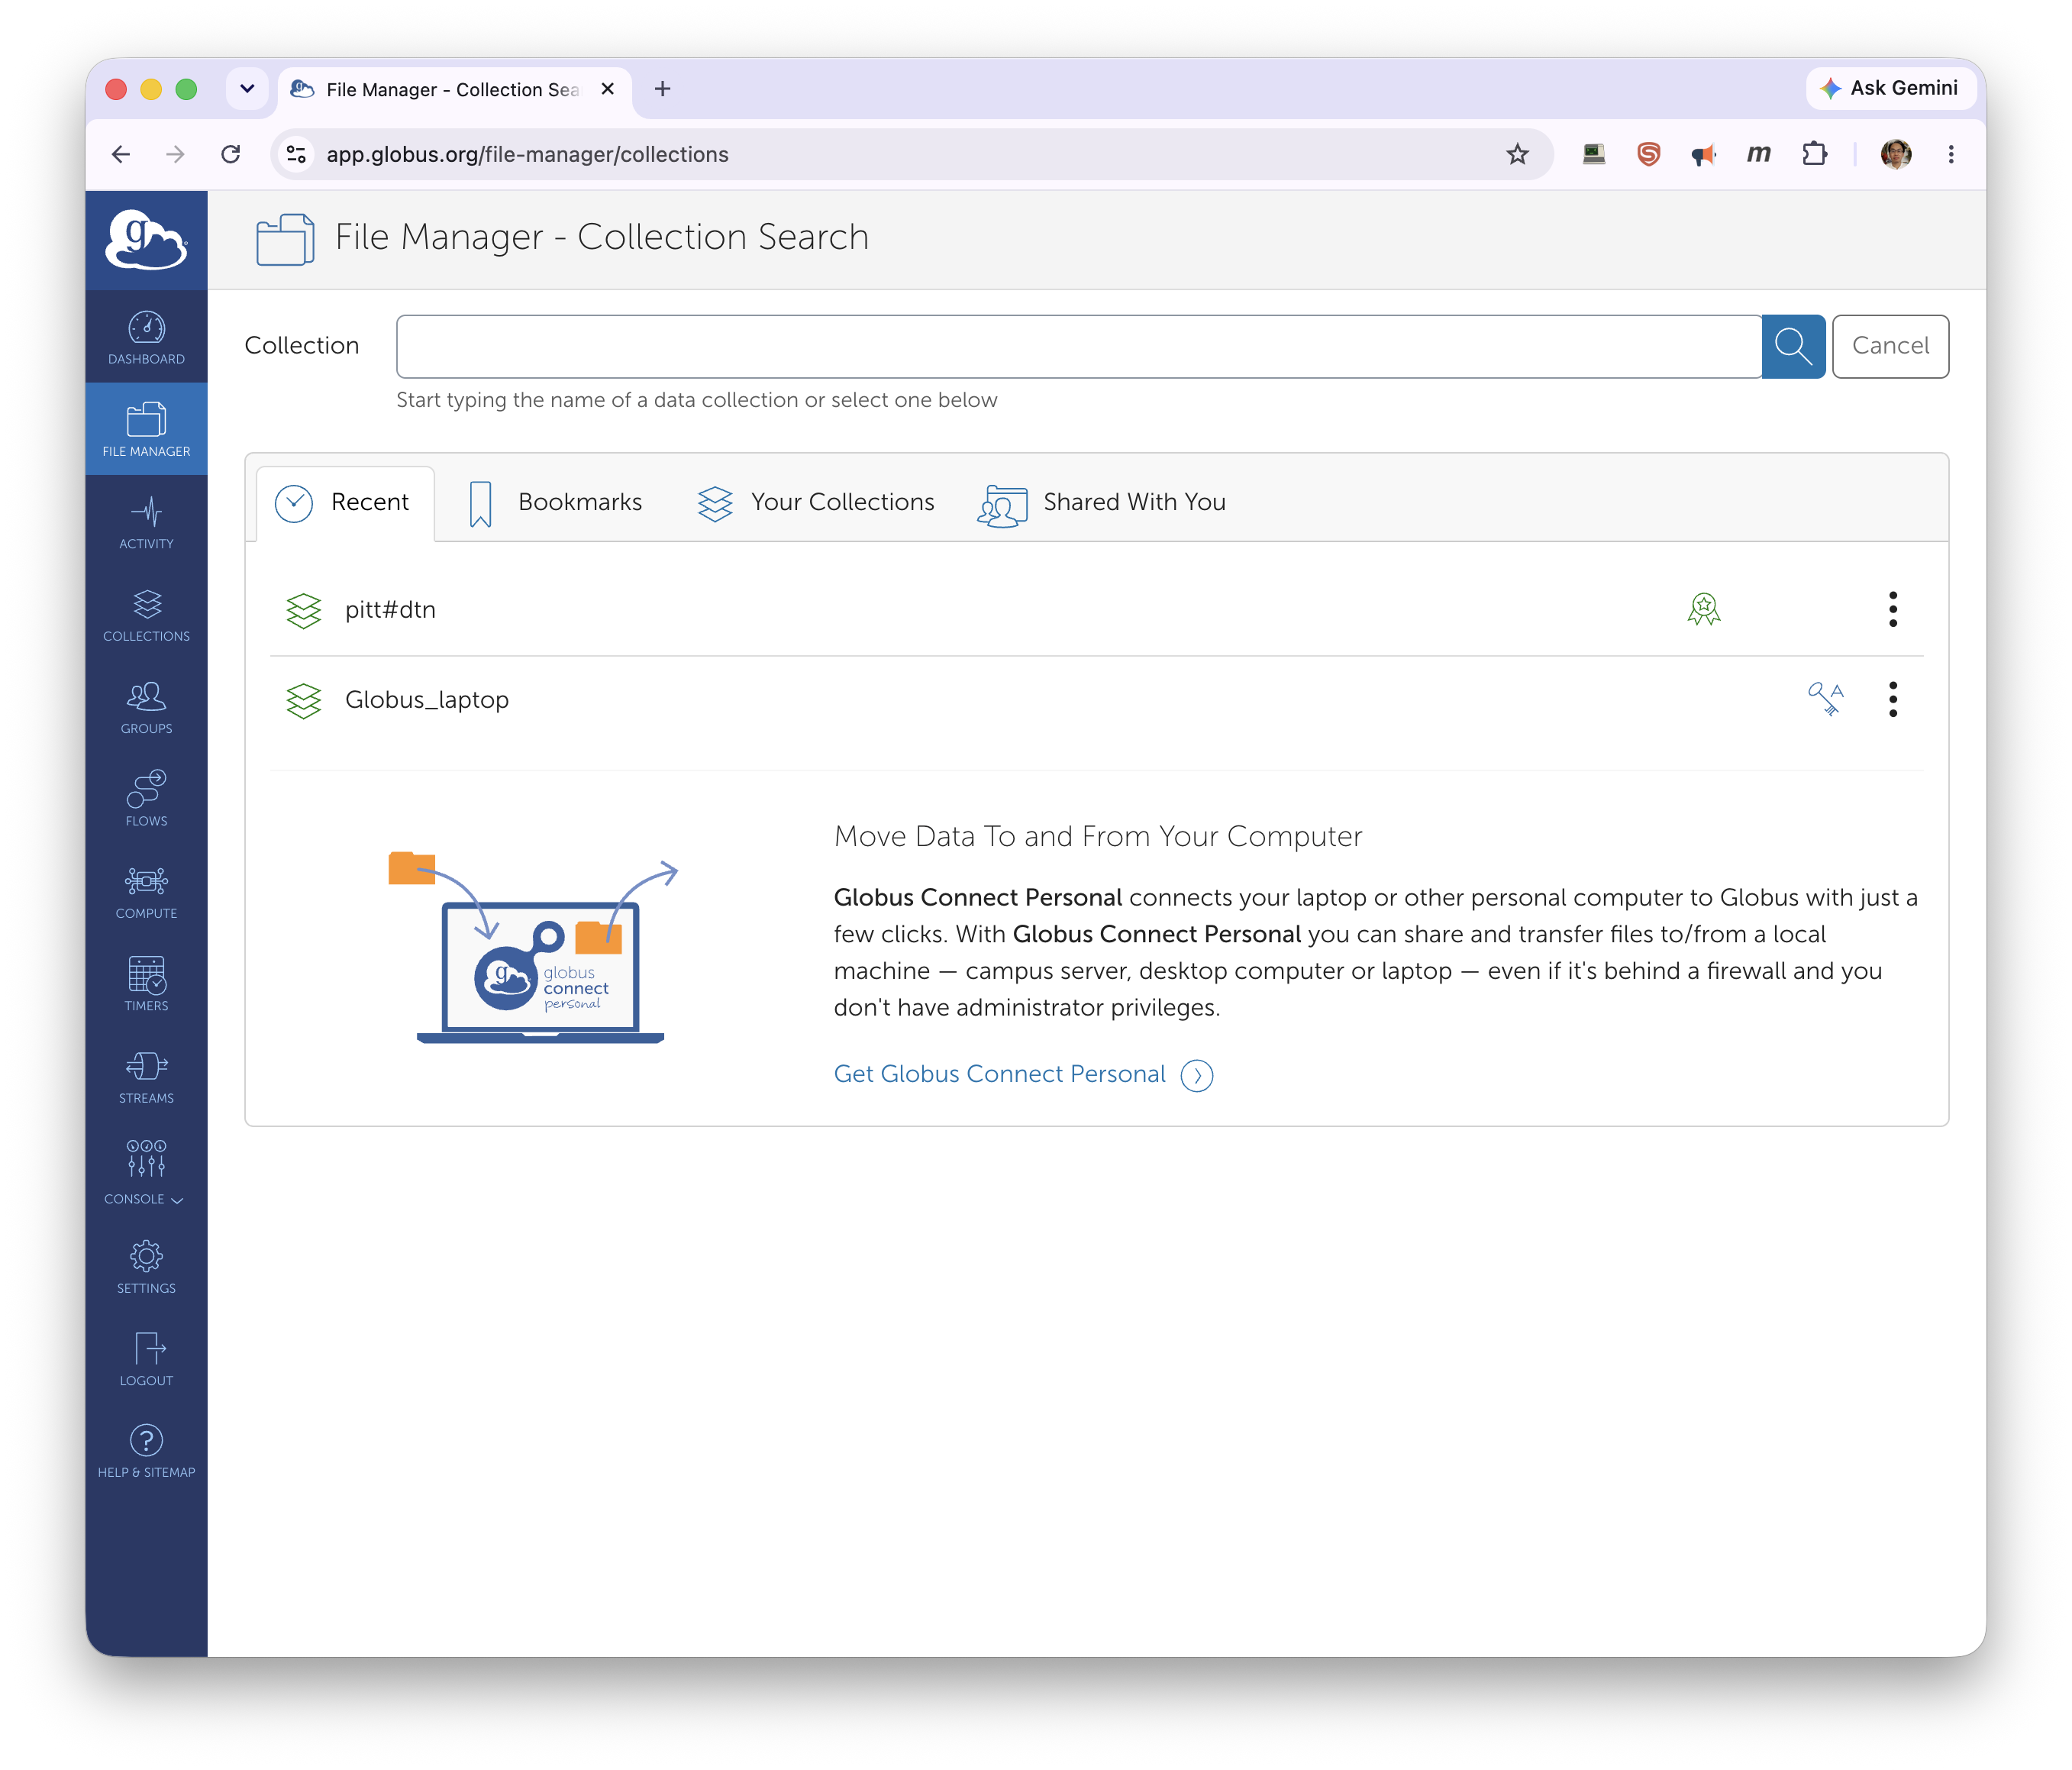
Setup is complete. Globus Connect Personal now runs in your menu bar, and your computer is available as a collection (here named Globus_laptop).
Transfer between CRCD and your computer
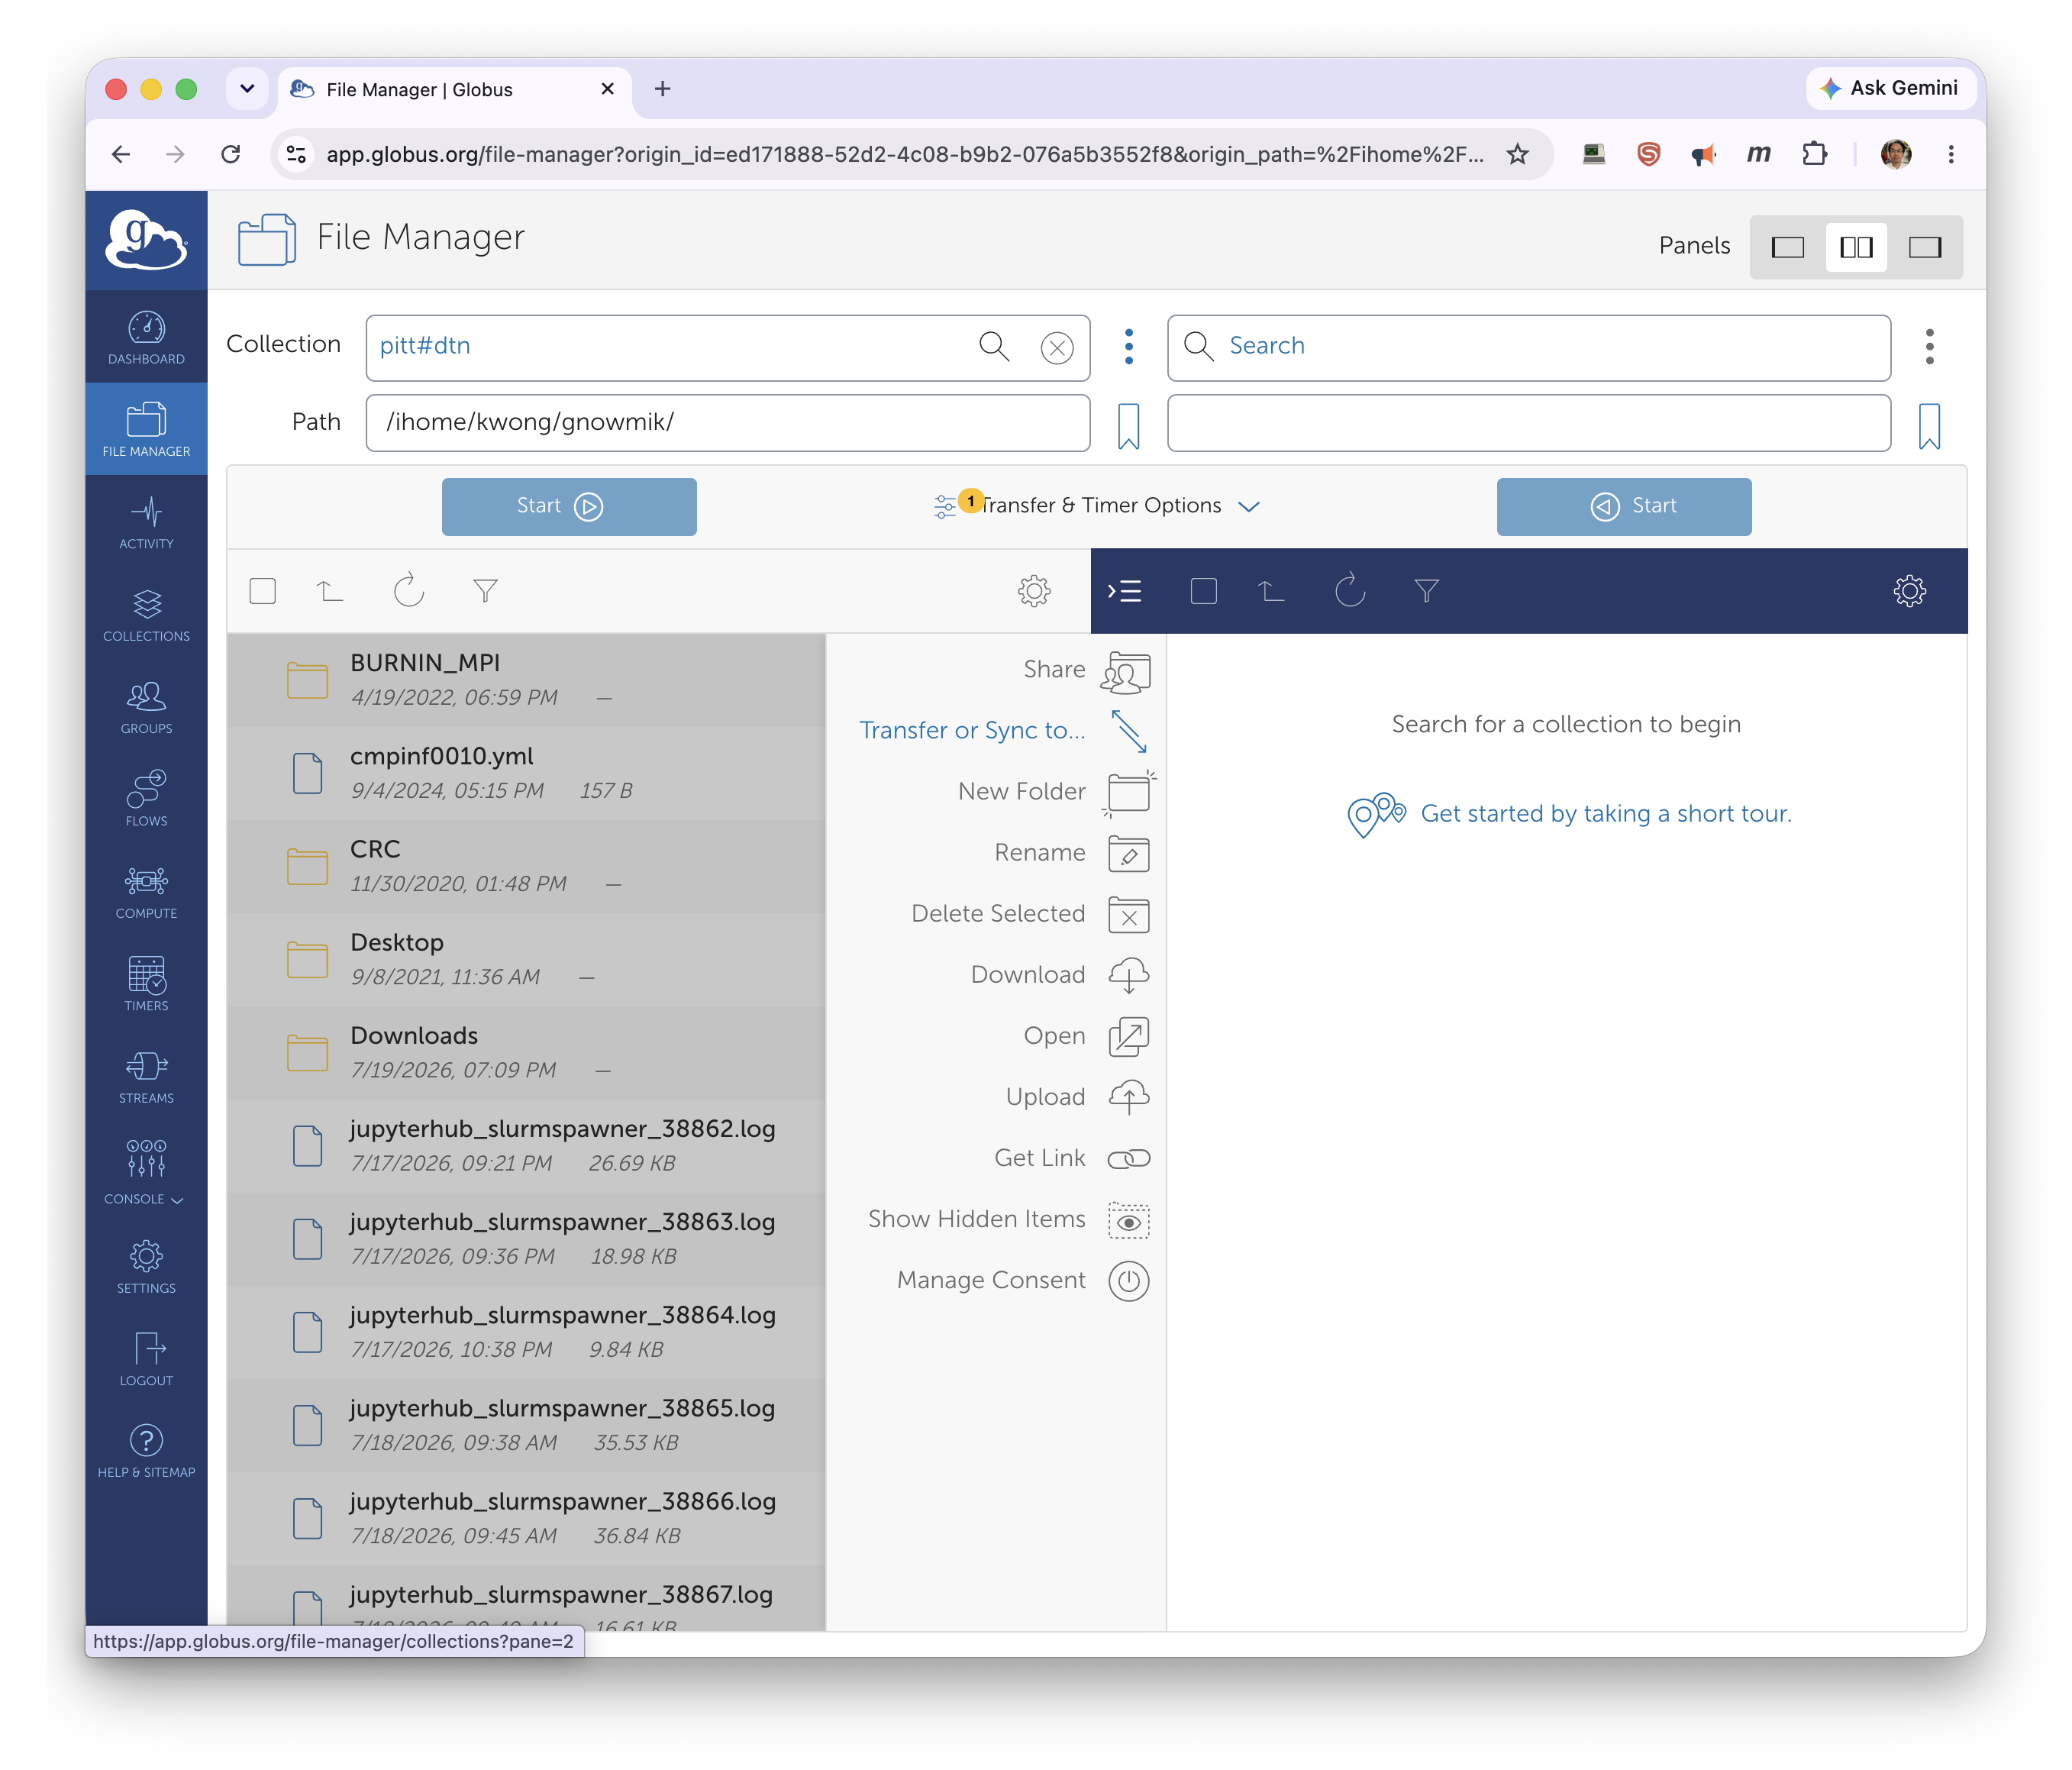
Back in the Globus File Manager, put pitt#dtn in one panel and search the other panel for
your new personal collection.
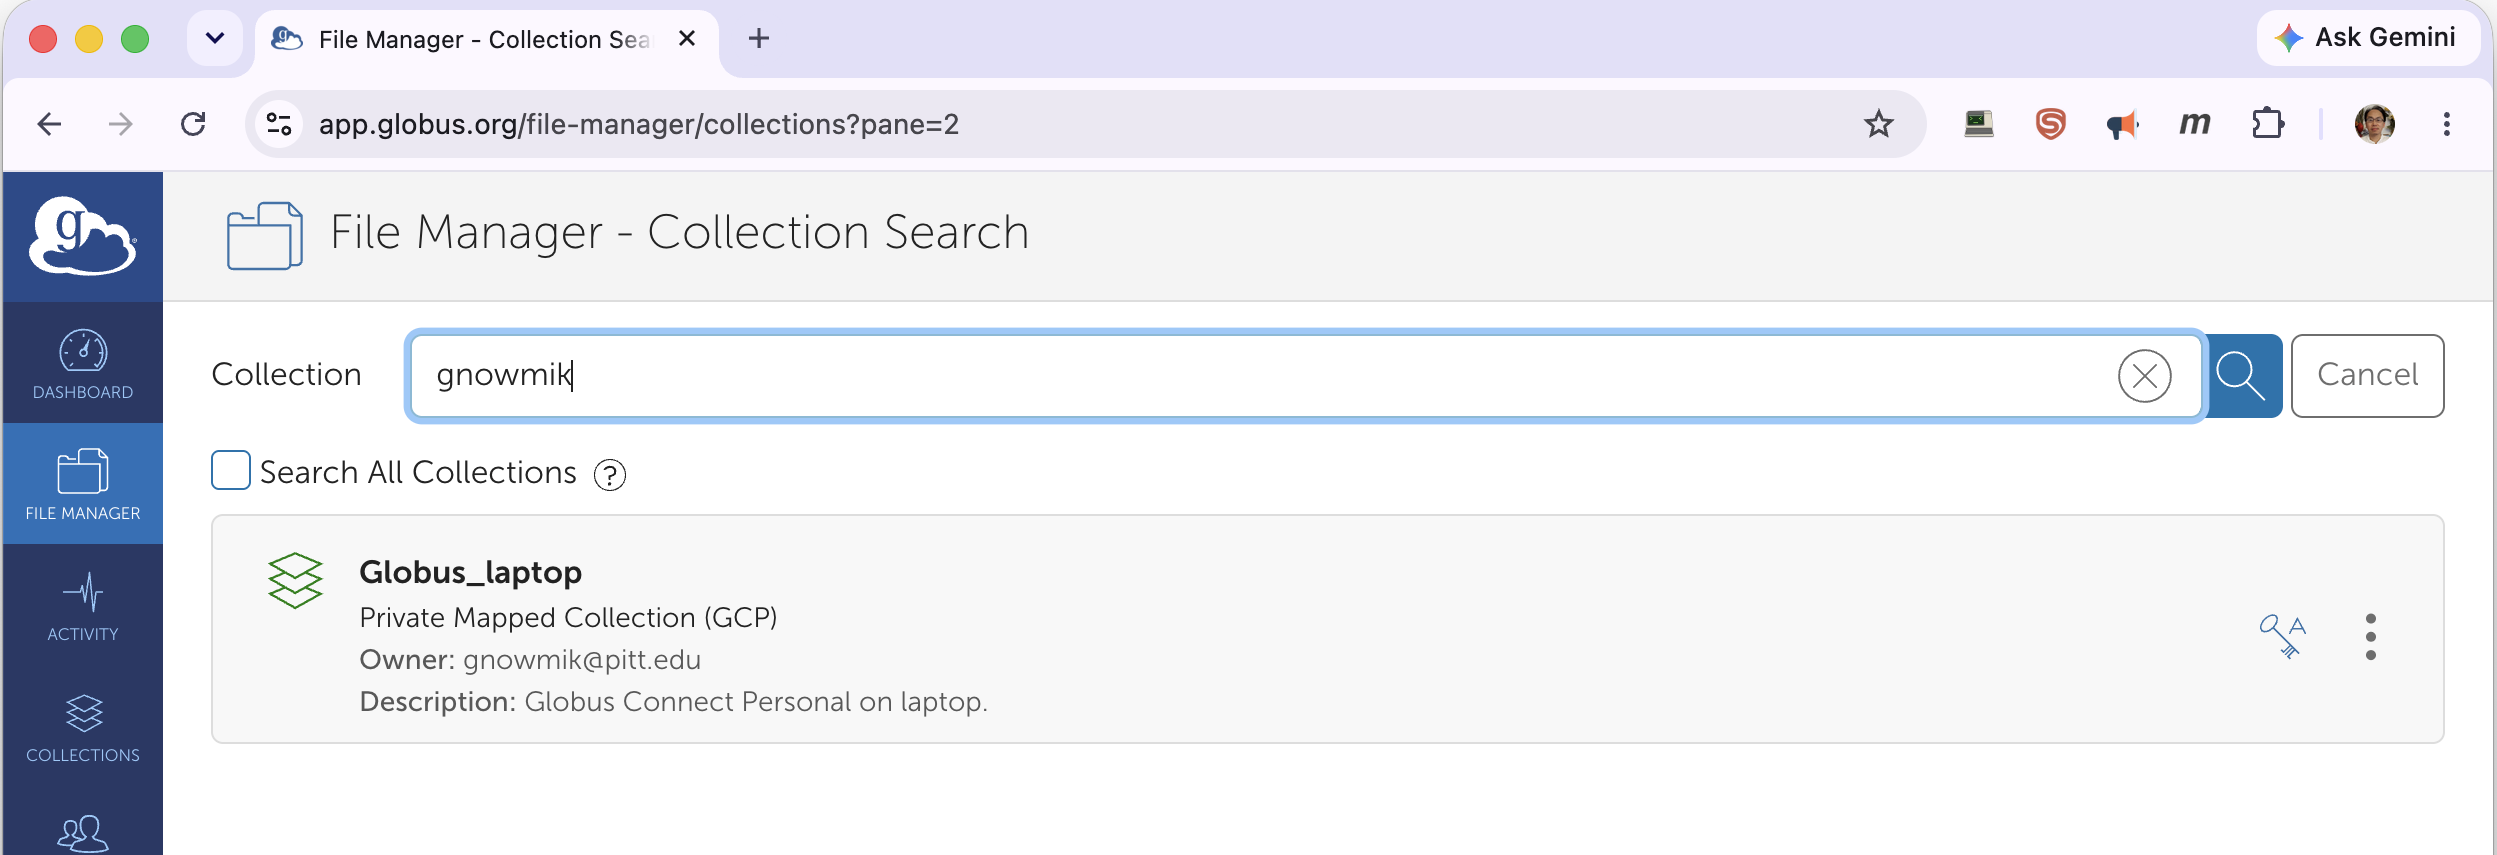
Type your collection name (or your username) and select your Globus Connect Personal collection.
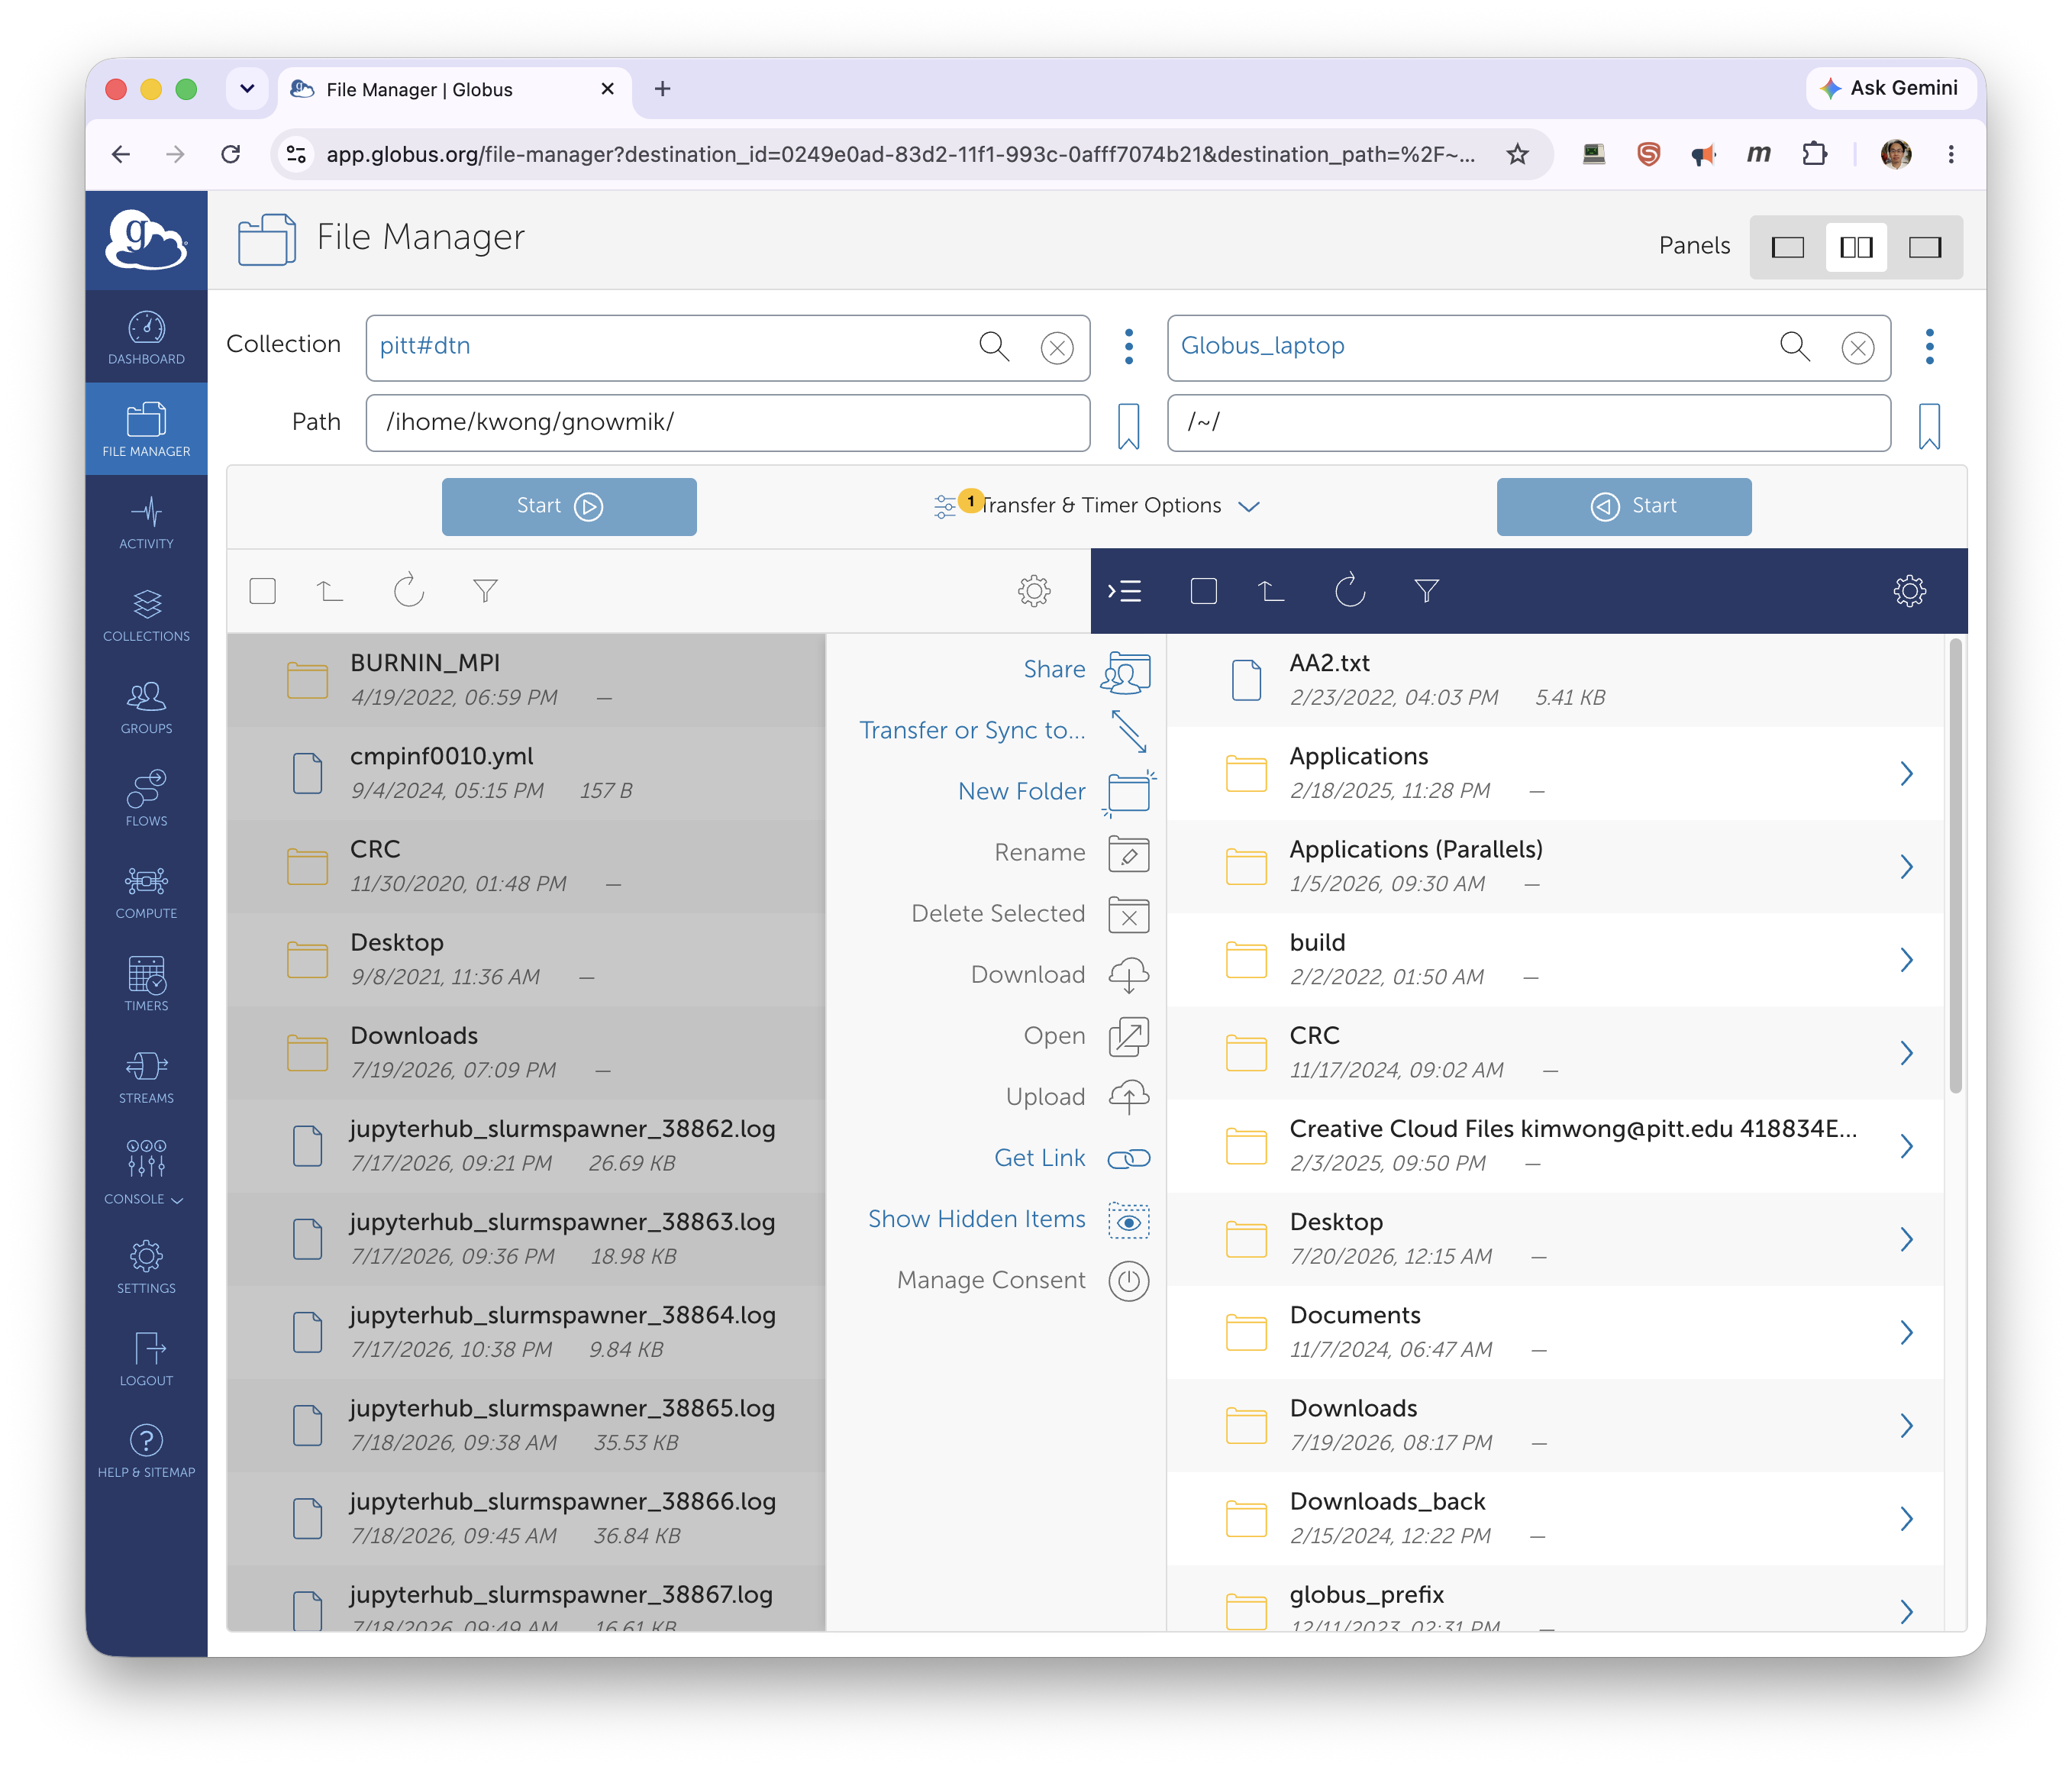
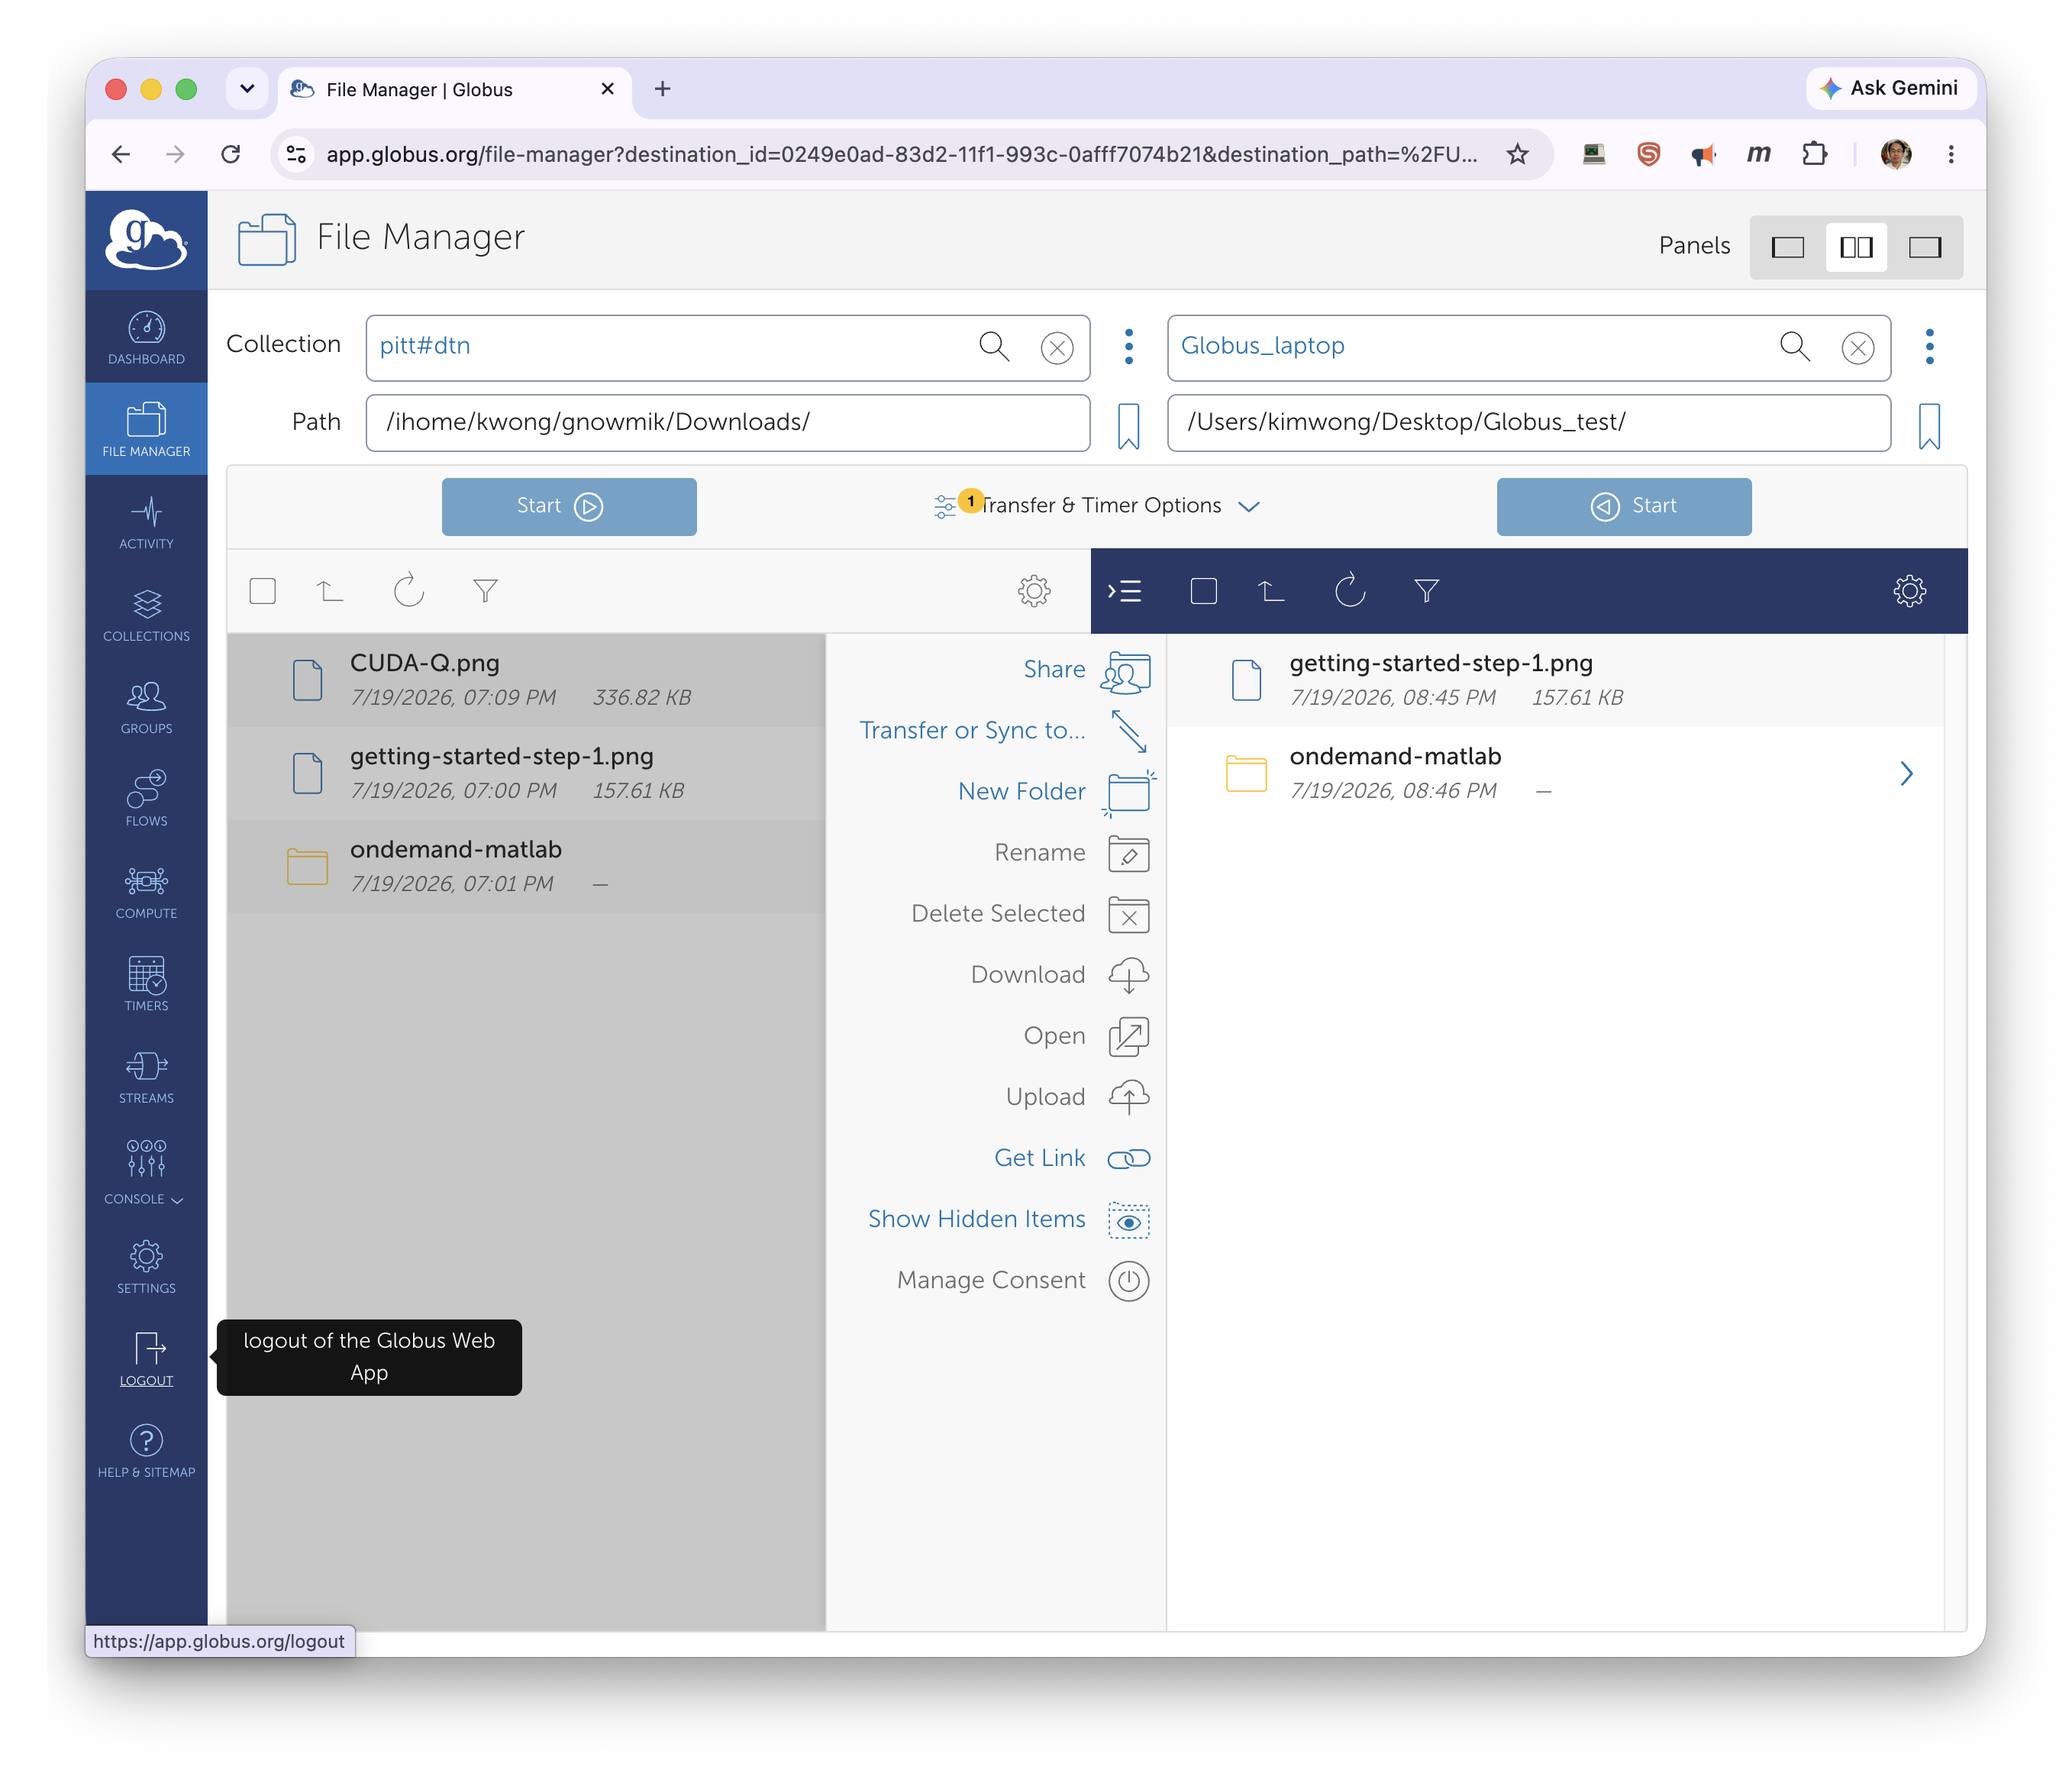
With both collections loaded, navigate each panel to the folder you want — your CRCD path on one side and a folder on your computer on the other.
Select the files or folders to move, then click Start on the source side. Here, files under
/ihome/kwong/gnowmik/Downloads transfer to ~/Desktop/Globus_test on the laptop.
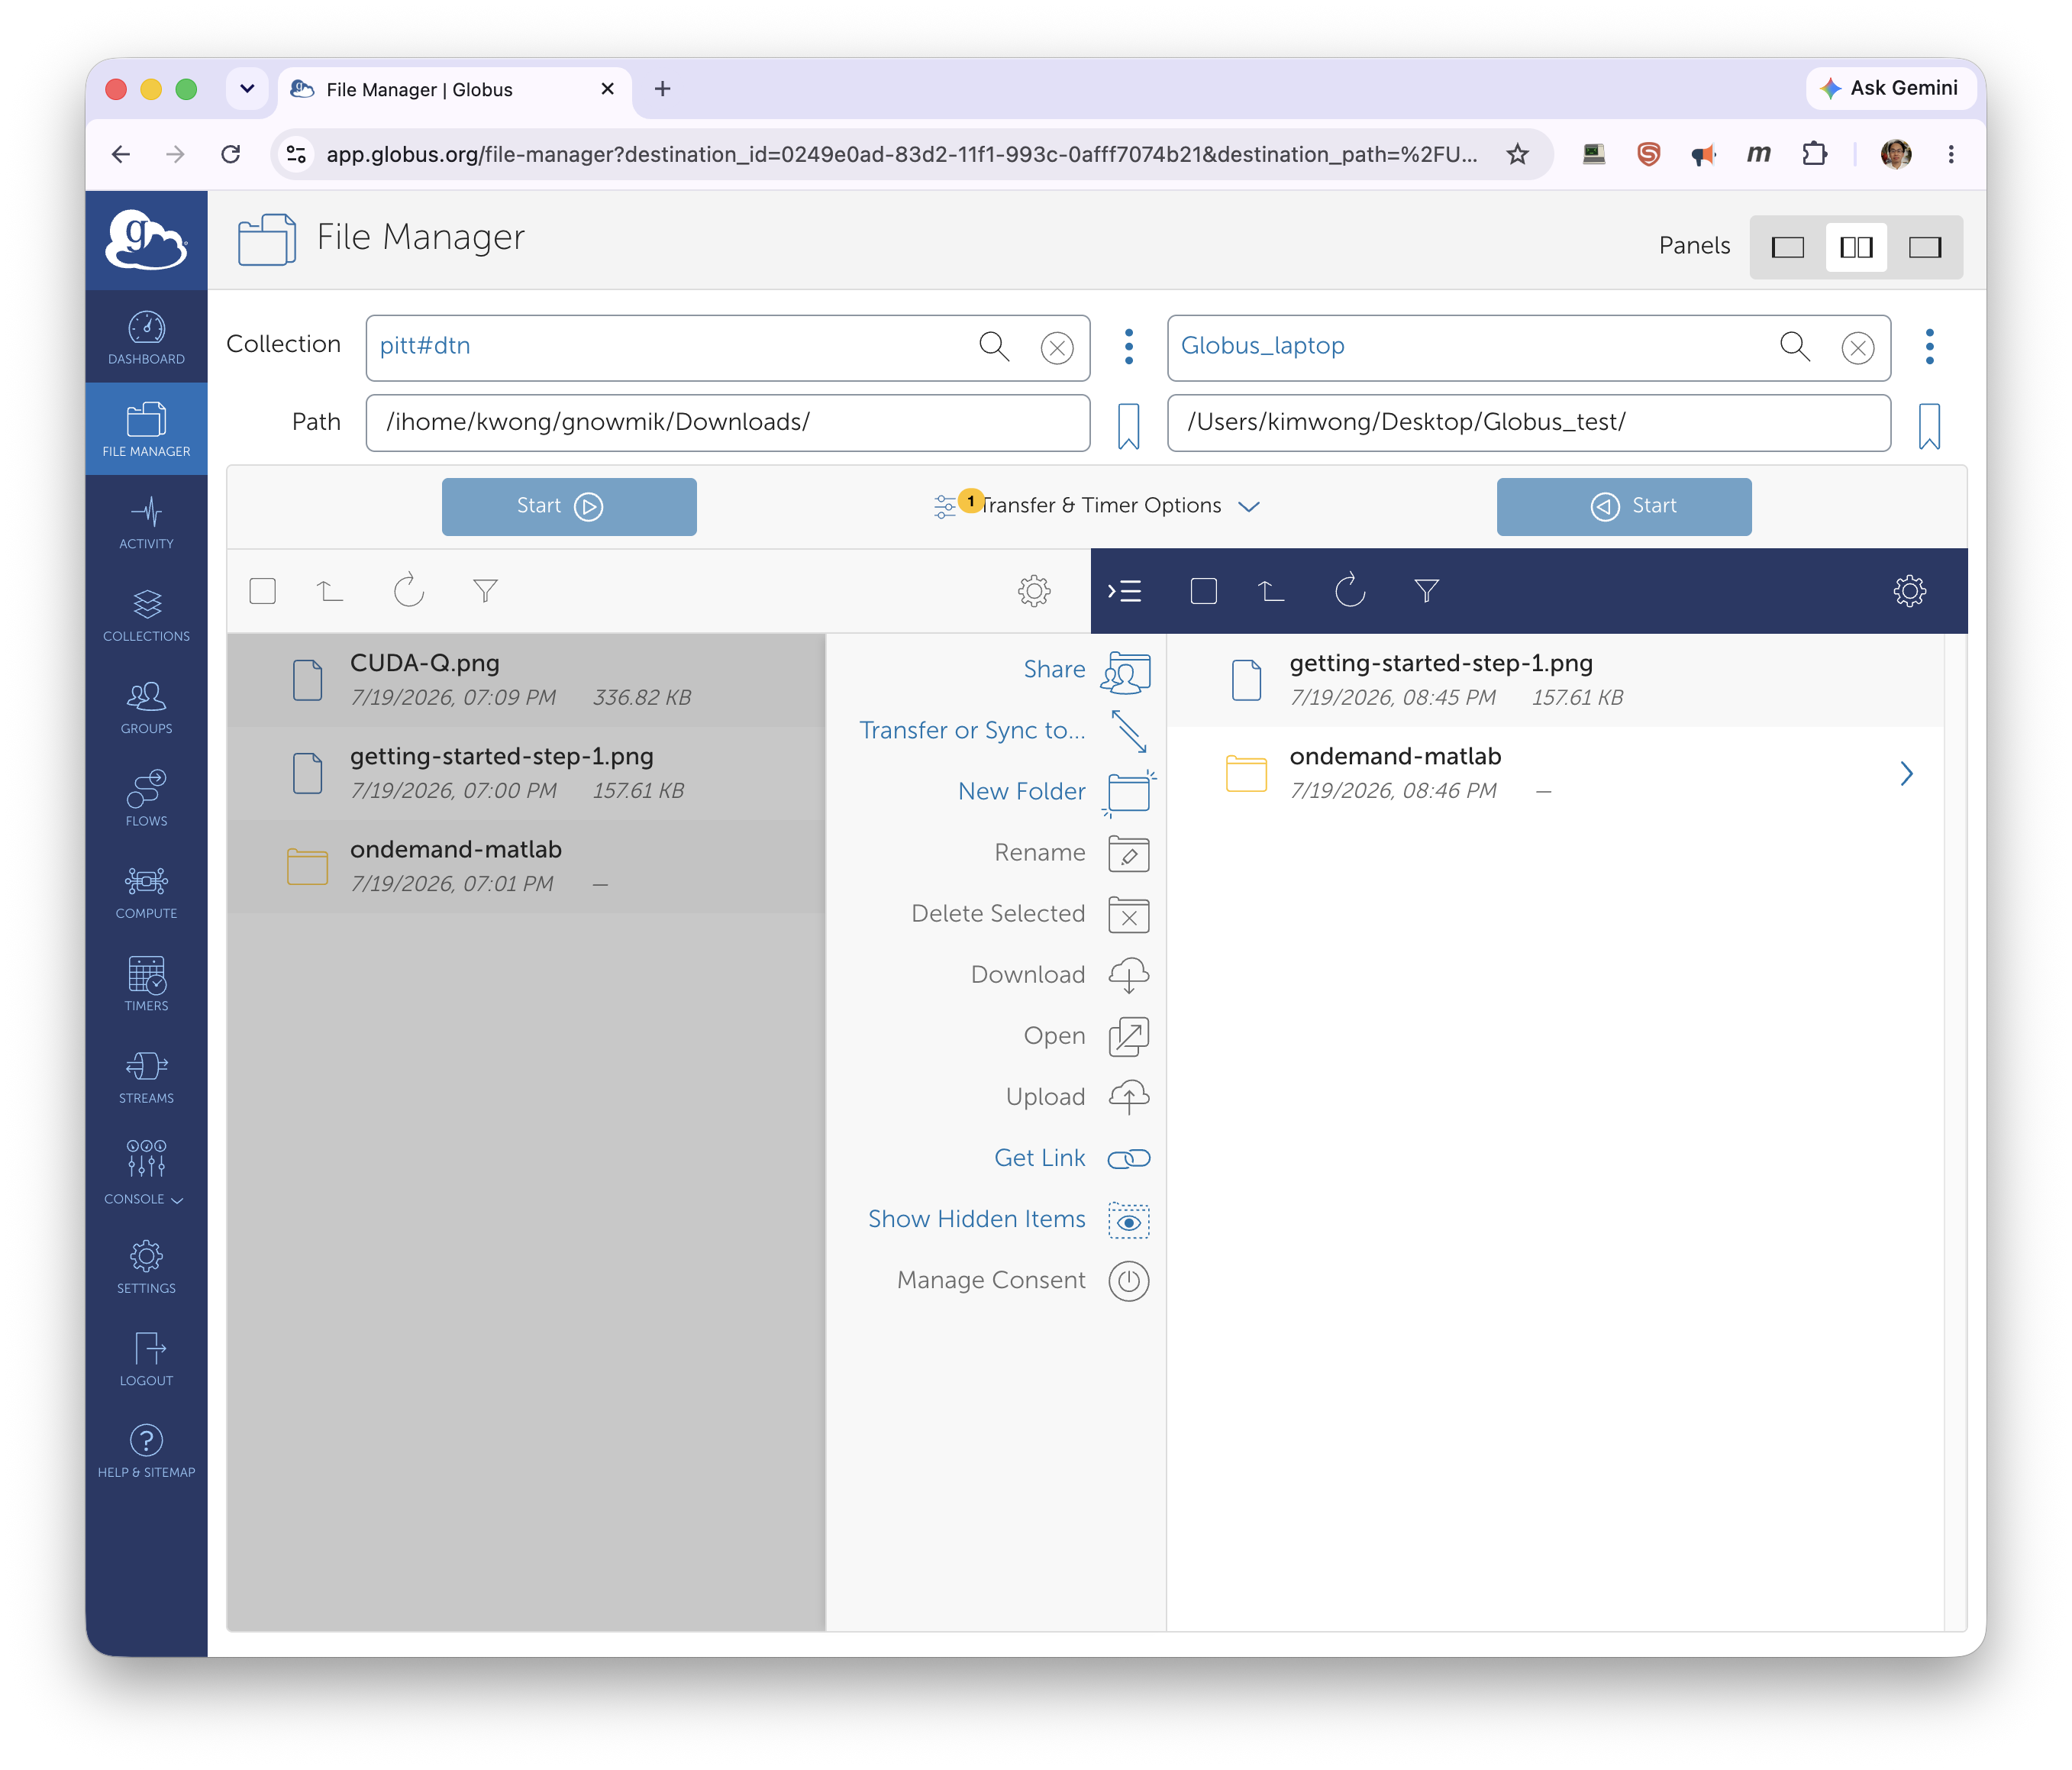
Globus runs the transfer in the background and emails you when it finishes; the files then appear in the destination collection.
Log out and reconnect later
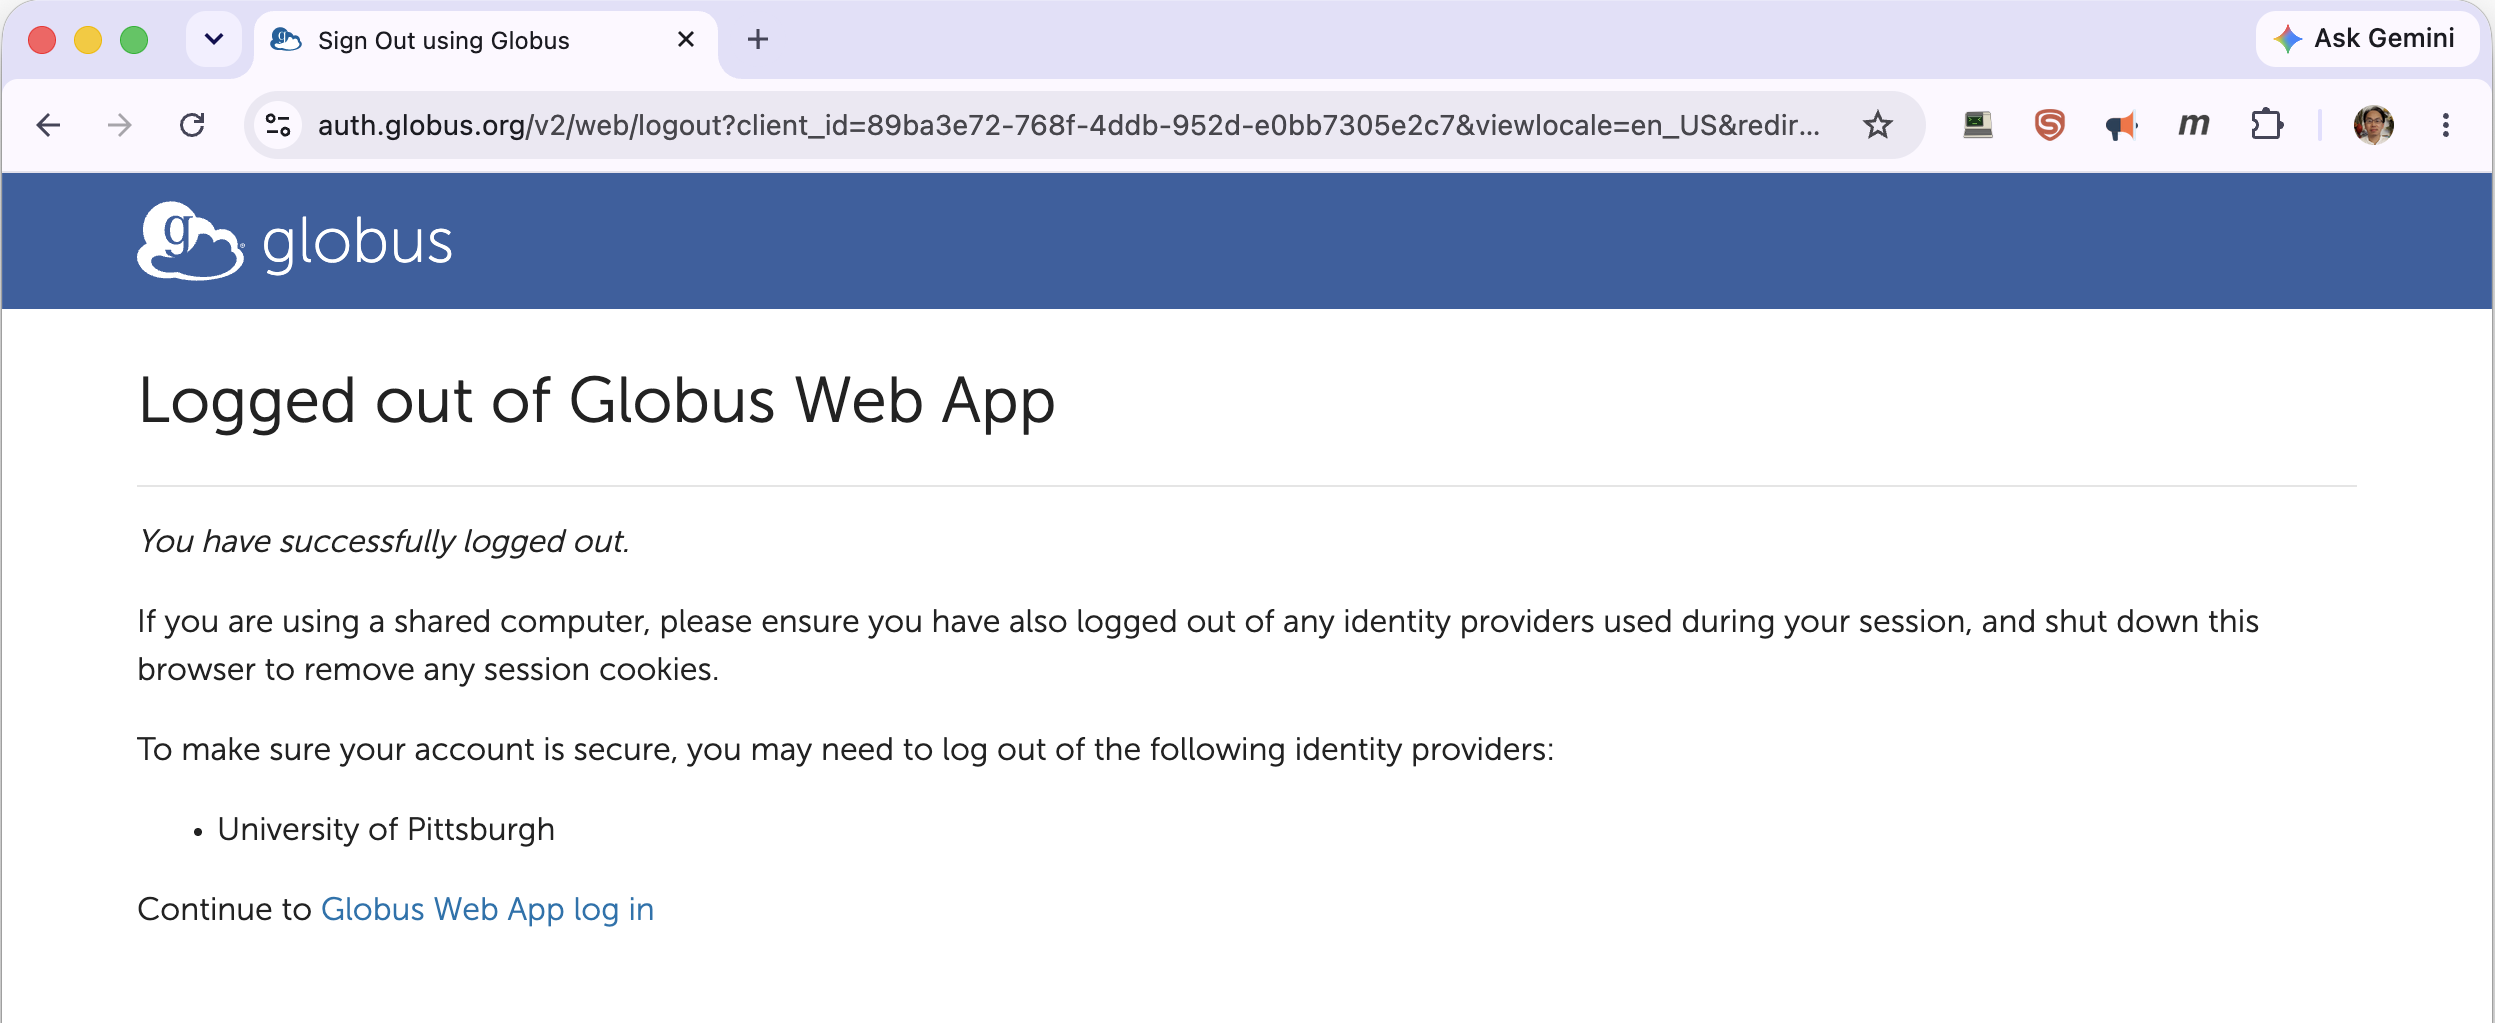
When you're finished, use Logout in the sidebar to sign out of the web app.
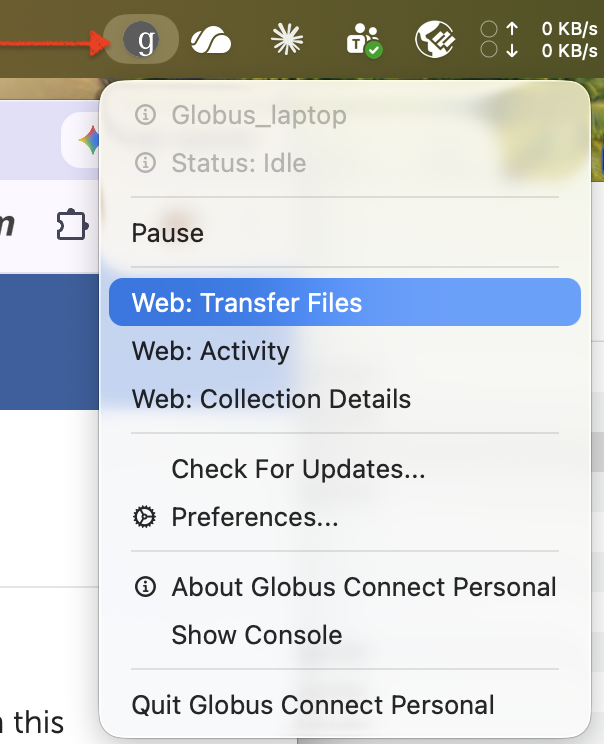
Globus Connect Personal keeps running in your menu bar, so your computer stays available for transfers. To return to the web app later, click the Globus Connect Personal icon in the menu bar and choose Web: Transfer Files — or choose Quit Globus Connect Personal to take your computer offline.
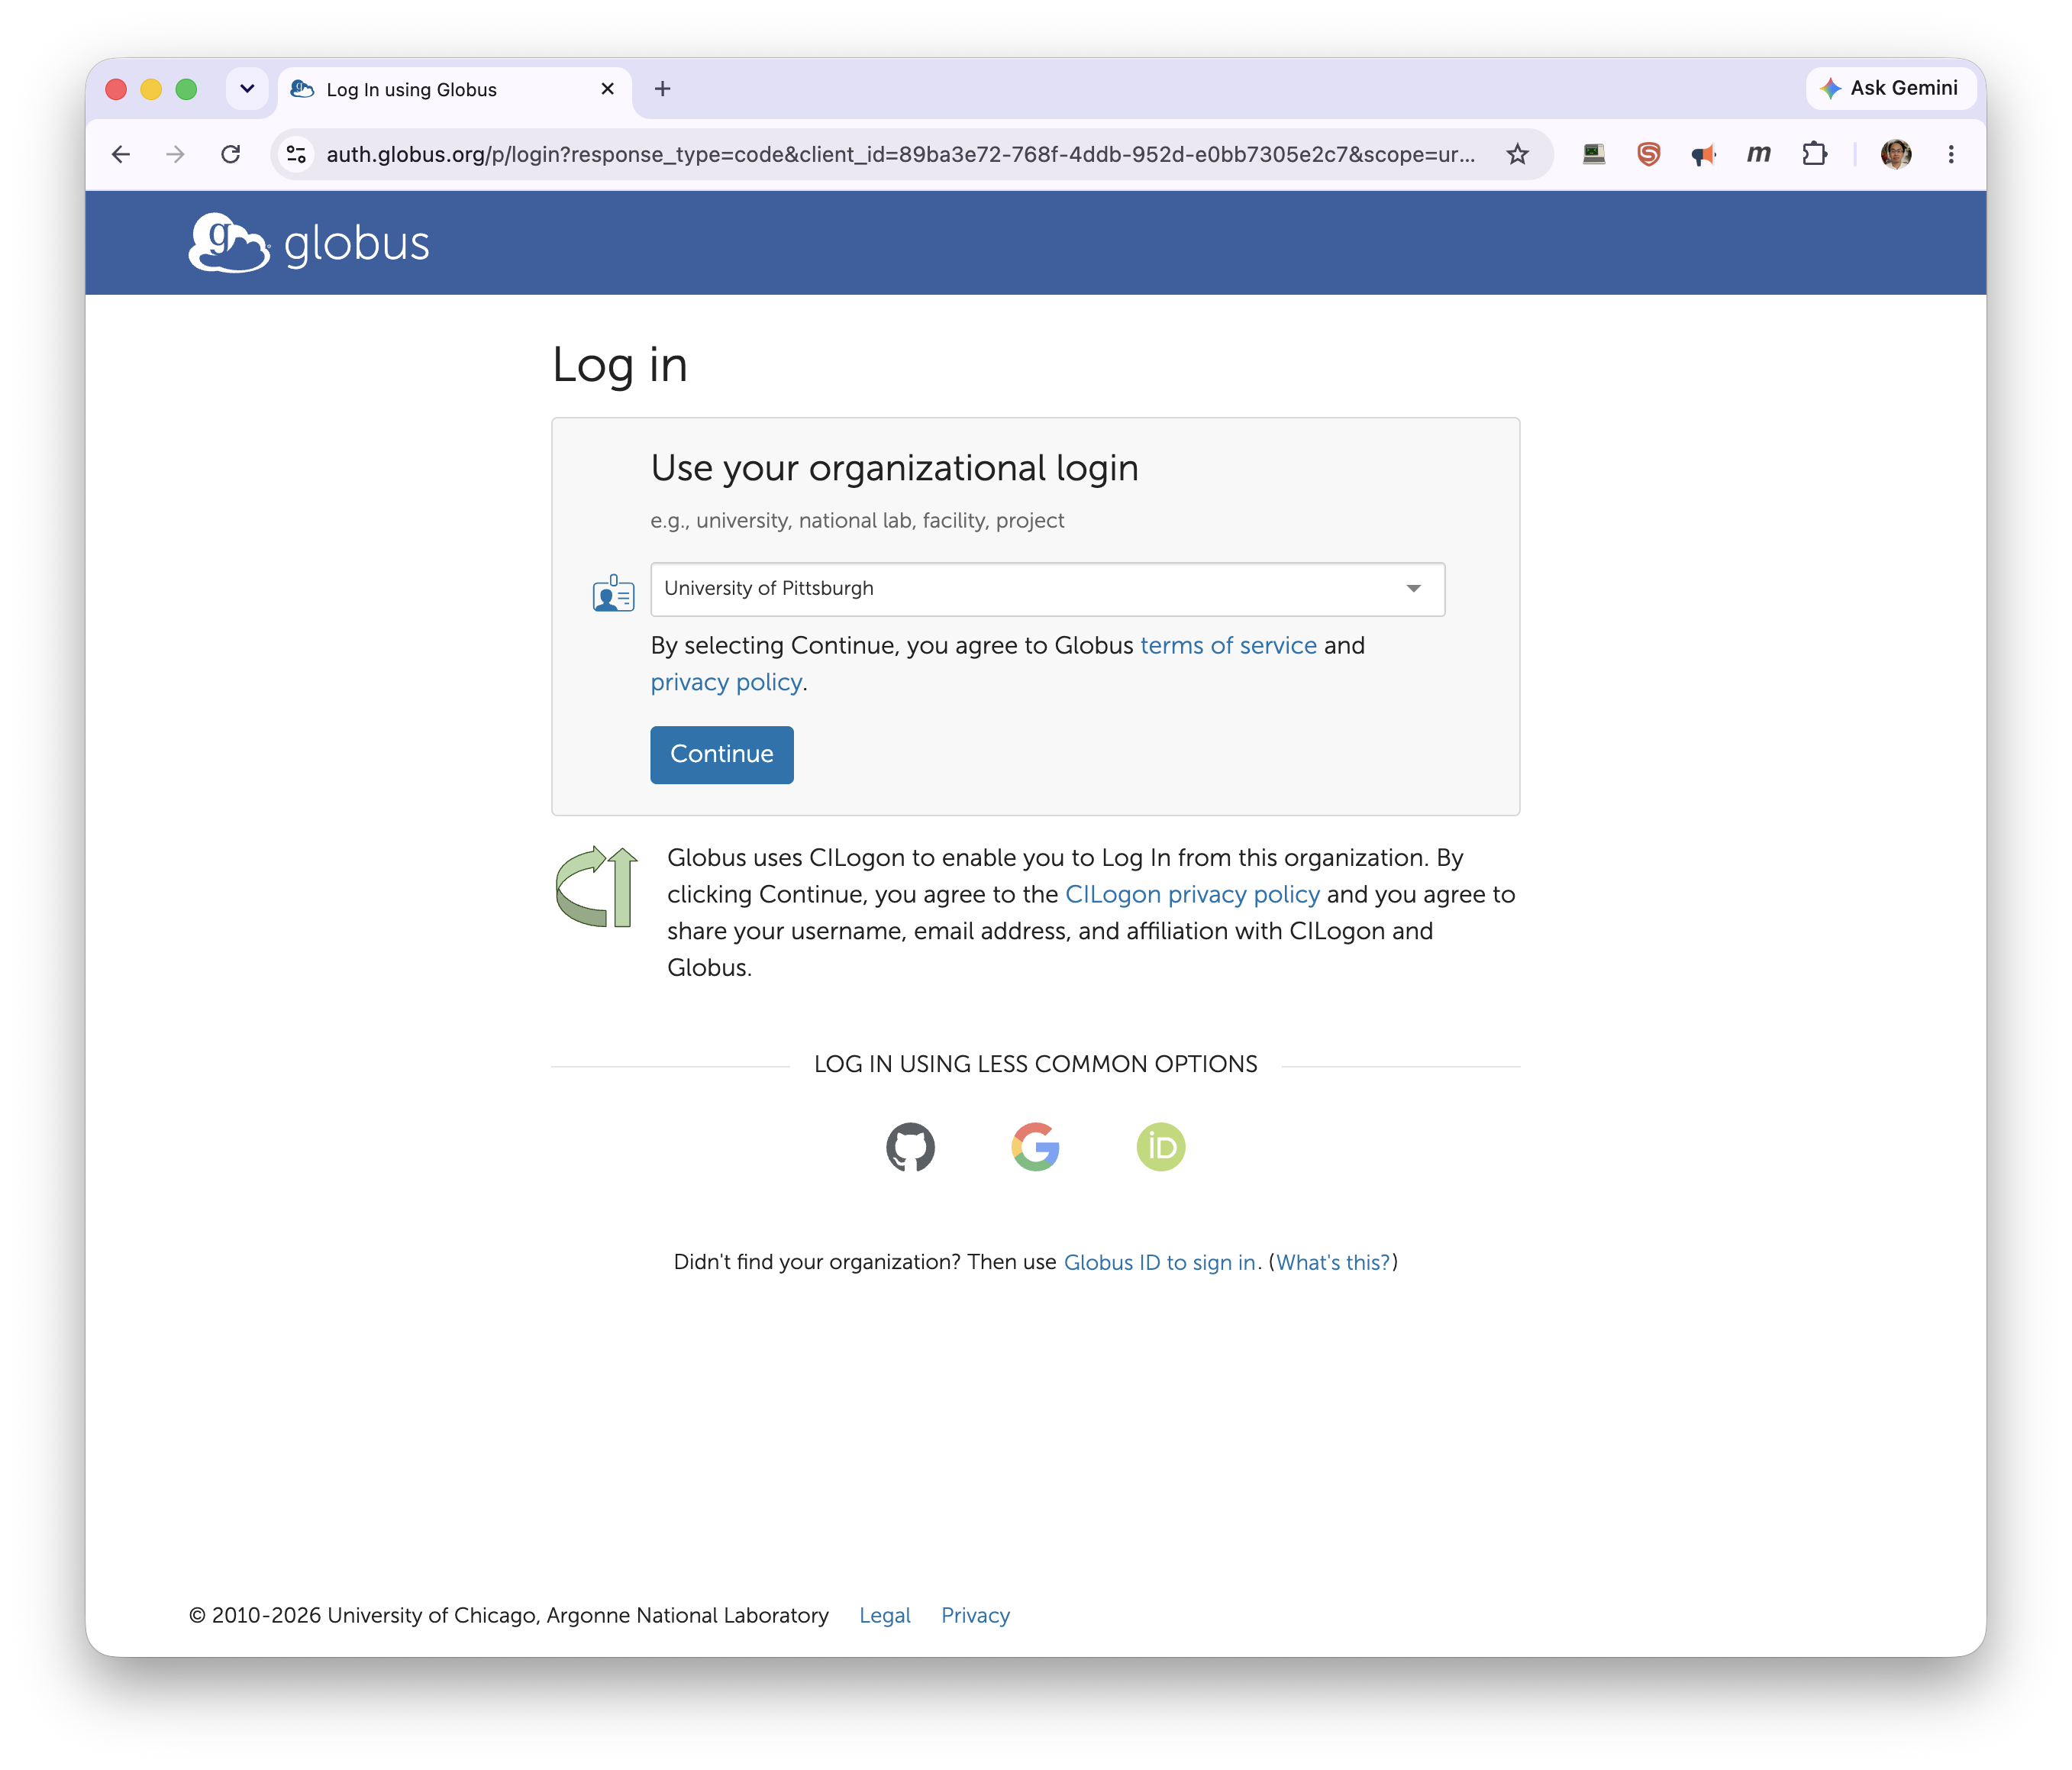
Logging back in is the same as before — select University of Pittsburgh and authenticate.
You return to the File Manager…
…and your CRCD and personal collections are waiting under Recent in the collection search, so you can pick them again without searching.
Where to put your data
For large datasets, transfer into your group's project storage (/ix, /ix1, /vast)
rather than your 75 GB home directory — see
Storage Tiers and File Systems.