JupyterHub on the Teach Cluster
JupyterHub provides students access to Jupyter notebooks with the capability of connecting to dedicated computing resources on the Teach cluster. Through this web portal, students can request access to CPU and GPU compute nodes for classwork.
Step 1. Connecting to JupyterHub
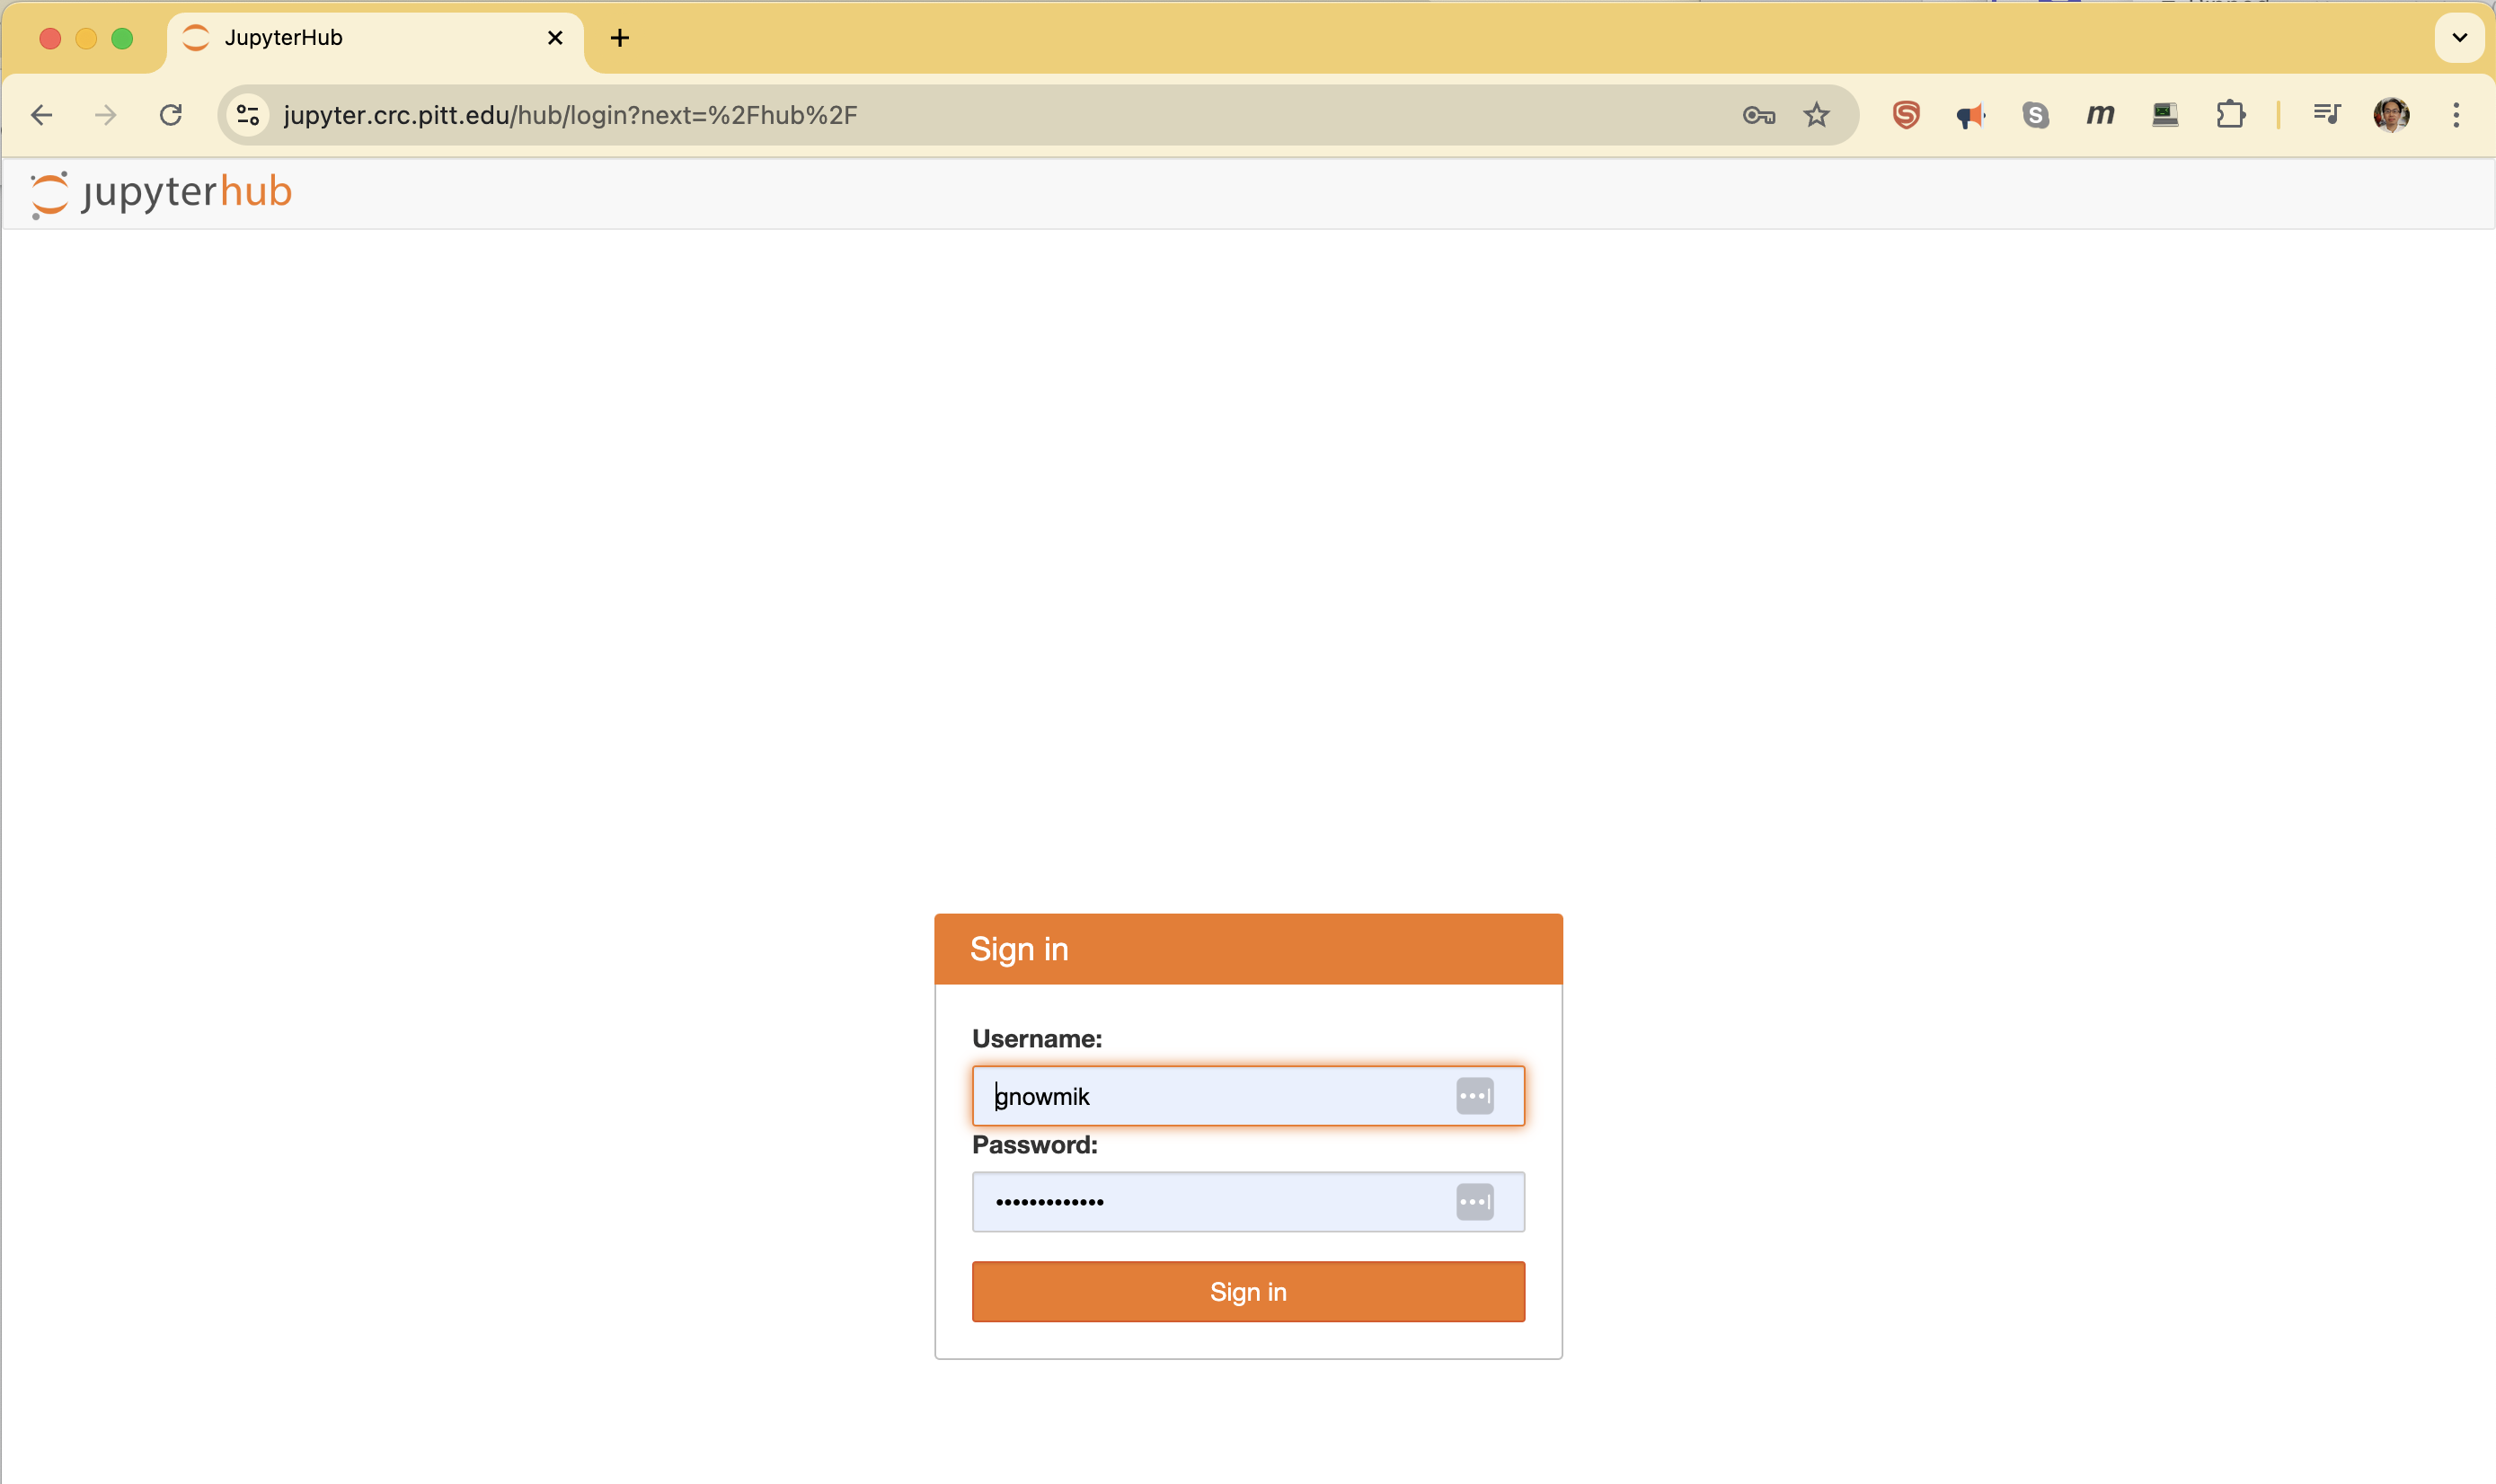
Point your browser to the address below and authenticate using your Pitt credentials. The username needs to be all lowercase and is the same one used to access my.pitt.edu. The web host should be accessible for all users while connected through Wireless-PittNet. If that is not the case, please try again while on the GlobalProtect VPN.
- web hostname: https://jupyter.crc.pitt.edu
- authentication credentials: Pitt username (all lowercase) and password
Step 2. Configuring the JupyterHub session
After logging in, you will be presented with the JupyterHub configuration page, which looks like the image below.
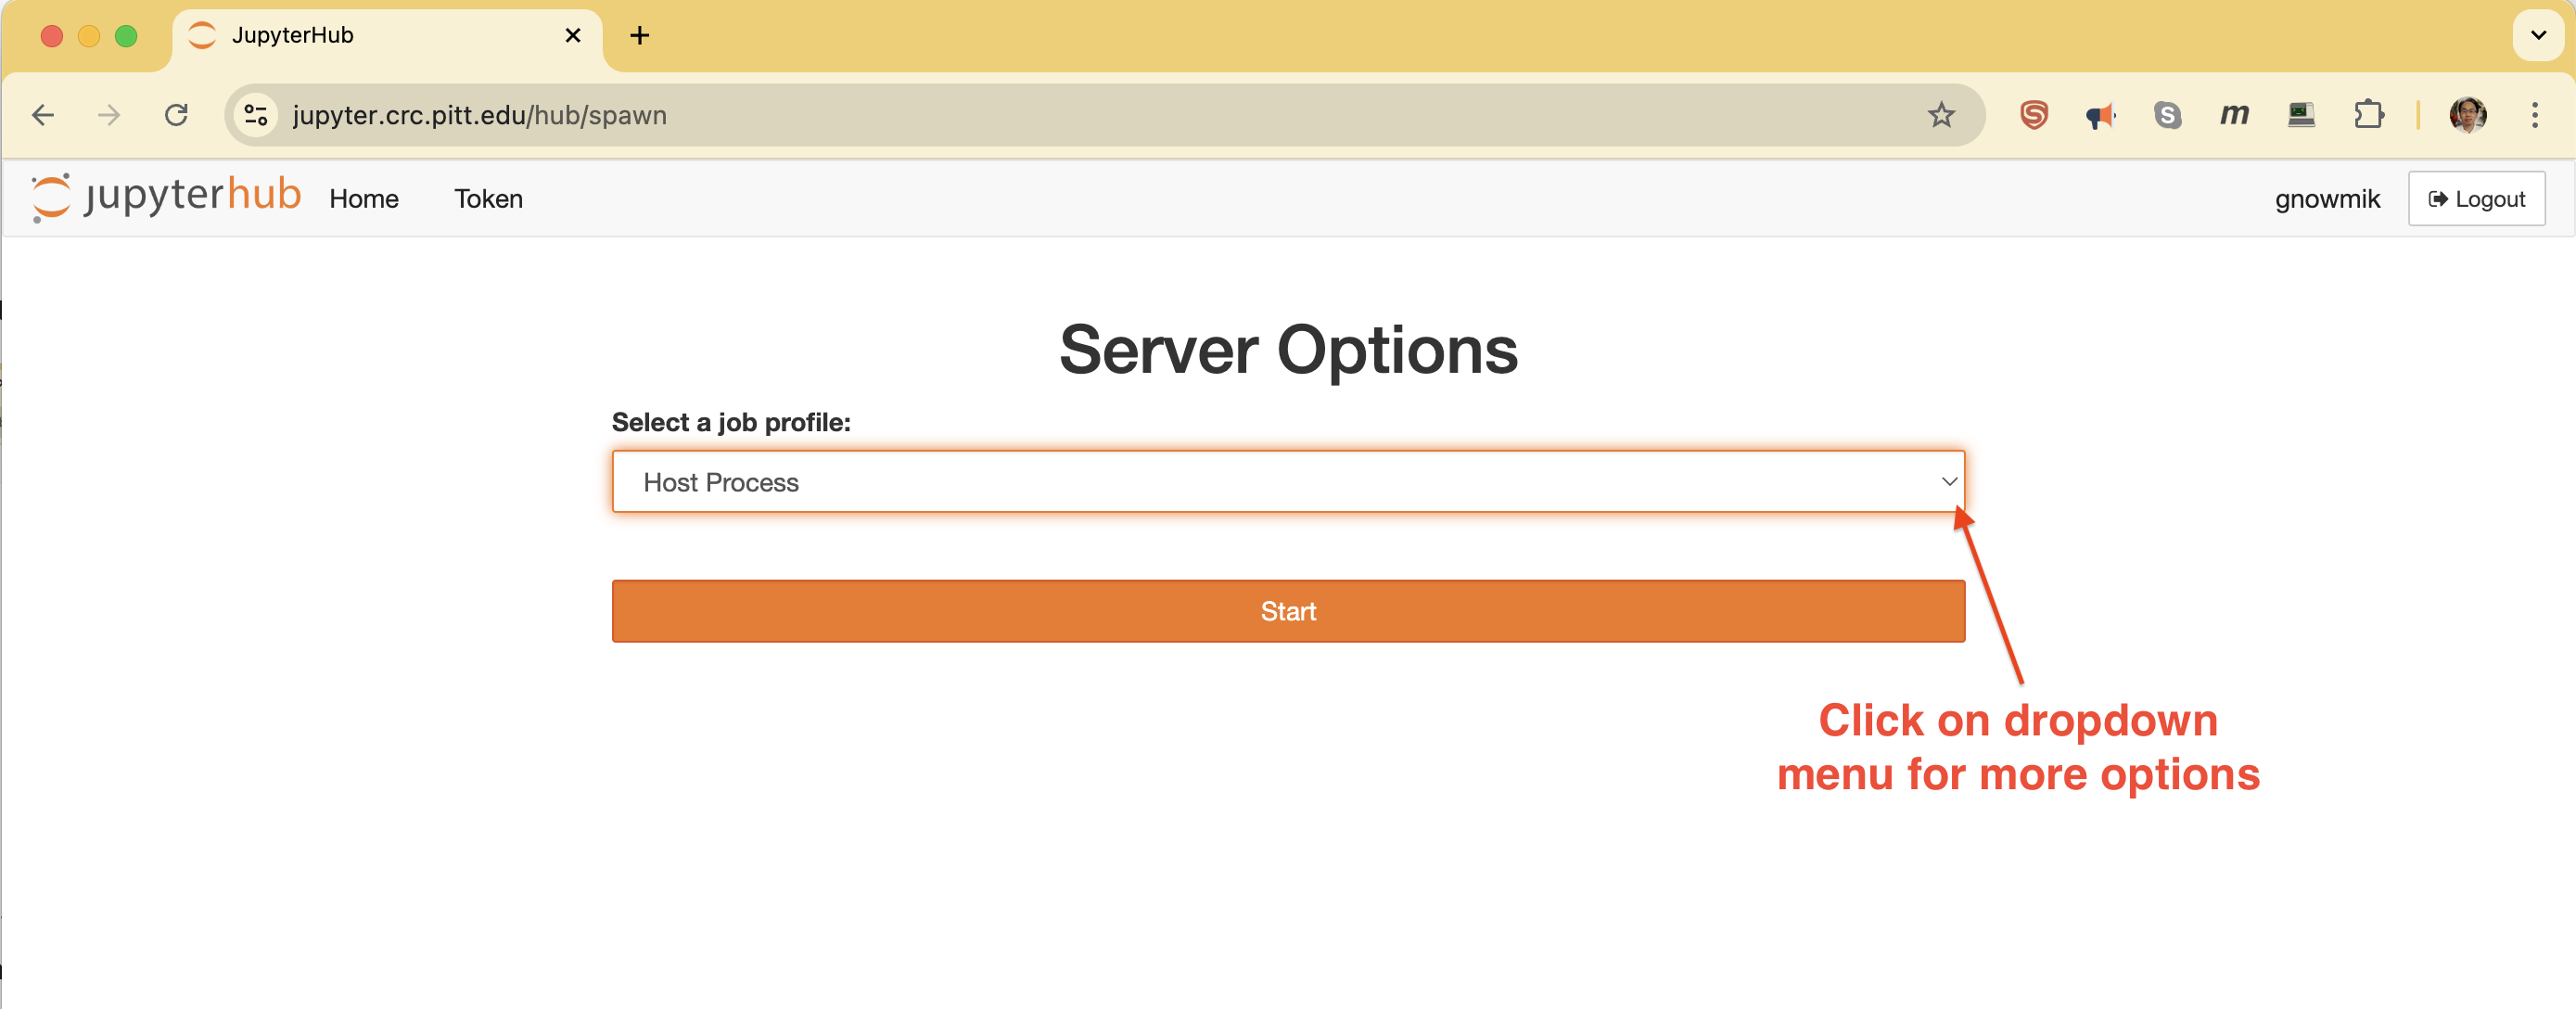
The Select Partition dropdown menu provides 4 preset configurations on the Teach cluster. The configurations are as follows:
- Teach - 6 CPUs - 45GB
- Teach - Nvidia GTX 1080 GPU - 2 CPUs - 20GB
- Teach - Nvidia Titan X GPU - 3 CPUs - 24GB
- Teach - Nvidia L4 GPU - 16 CPUs - 60GB
The 4 configurations are designed to best utilize the available resources on the Teach cluster. All of them are configured to run for 3 hours.
The Select Virtual Environment dropdown menu allows you to select the Python environment you want to use. The default is the base environment, which is a standard Python 3.11 installation. If your class needs a specific Python environment, please submit a help ticket and we will create it for you, so you can select it from the dropdown menu. The menu also includes a Provide custom path option which allows you to specify a custom Python environment path. Please refer to the Create a virtual environment for JupyterHub for more instructions on how to create a custom Python environment for JupyterHub.
You can use the Account field to specify a different Slurm account to use for the session other than your default
account. As an example, let's say that you are in a research group with a Slurm account called panthers and this is your
default Slurm association. In the current semester, you are enrolled in a class that has a Slurm account called datasci.
If you do not specify datasci in the Account field, your default Slurm account will be used and you may encounter errors
because research group accounts typically do not have Resource Allocation on the Teach cluster.
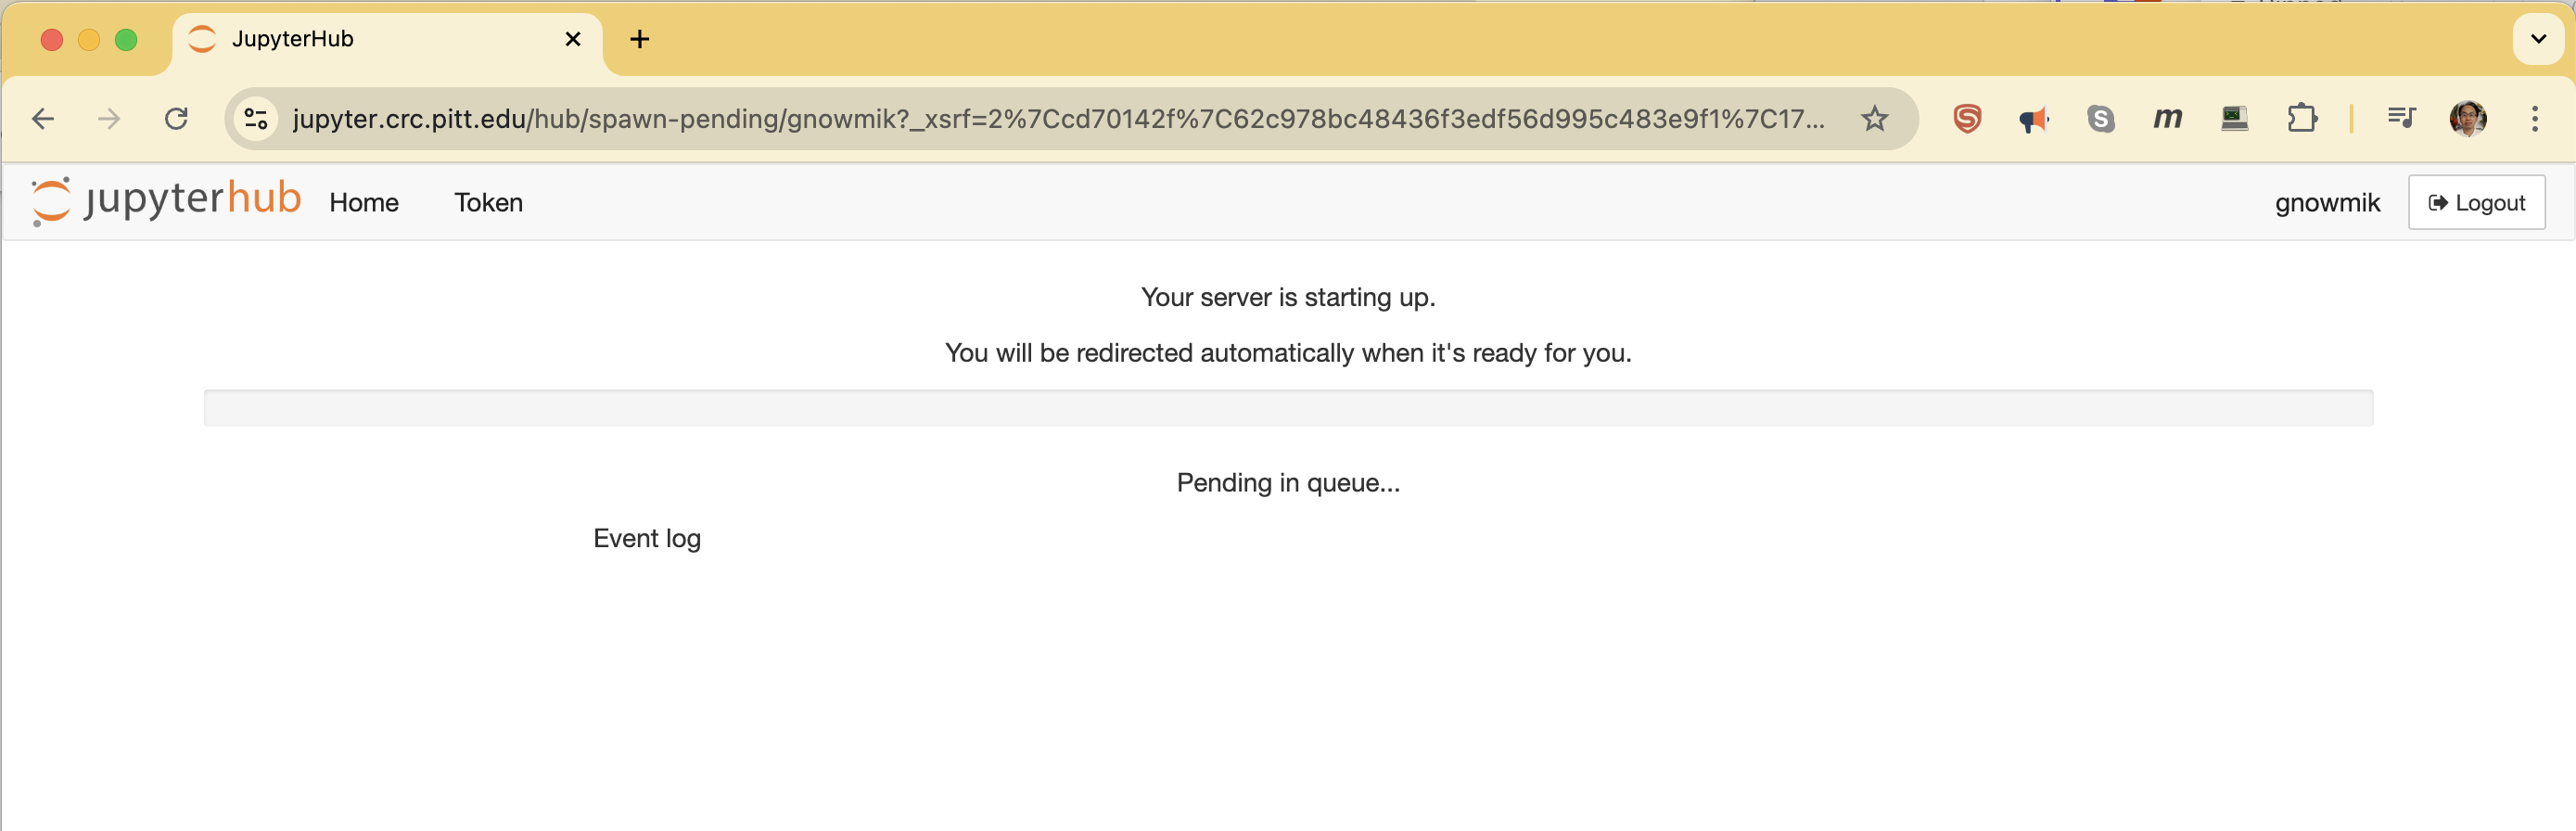
Pressing Start will launch a Slurm job to the Teach cluster and send back a Jupyter Notebook on the web GUI.
Step 3. Interacting with the Jupyter Notebook
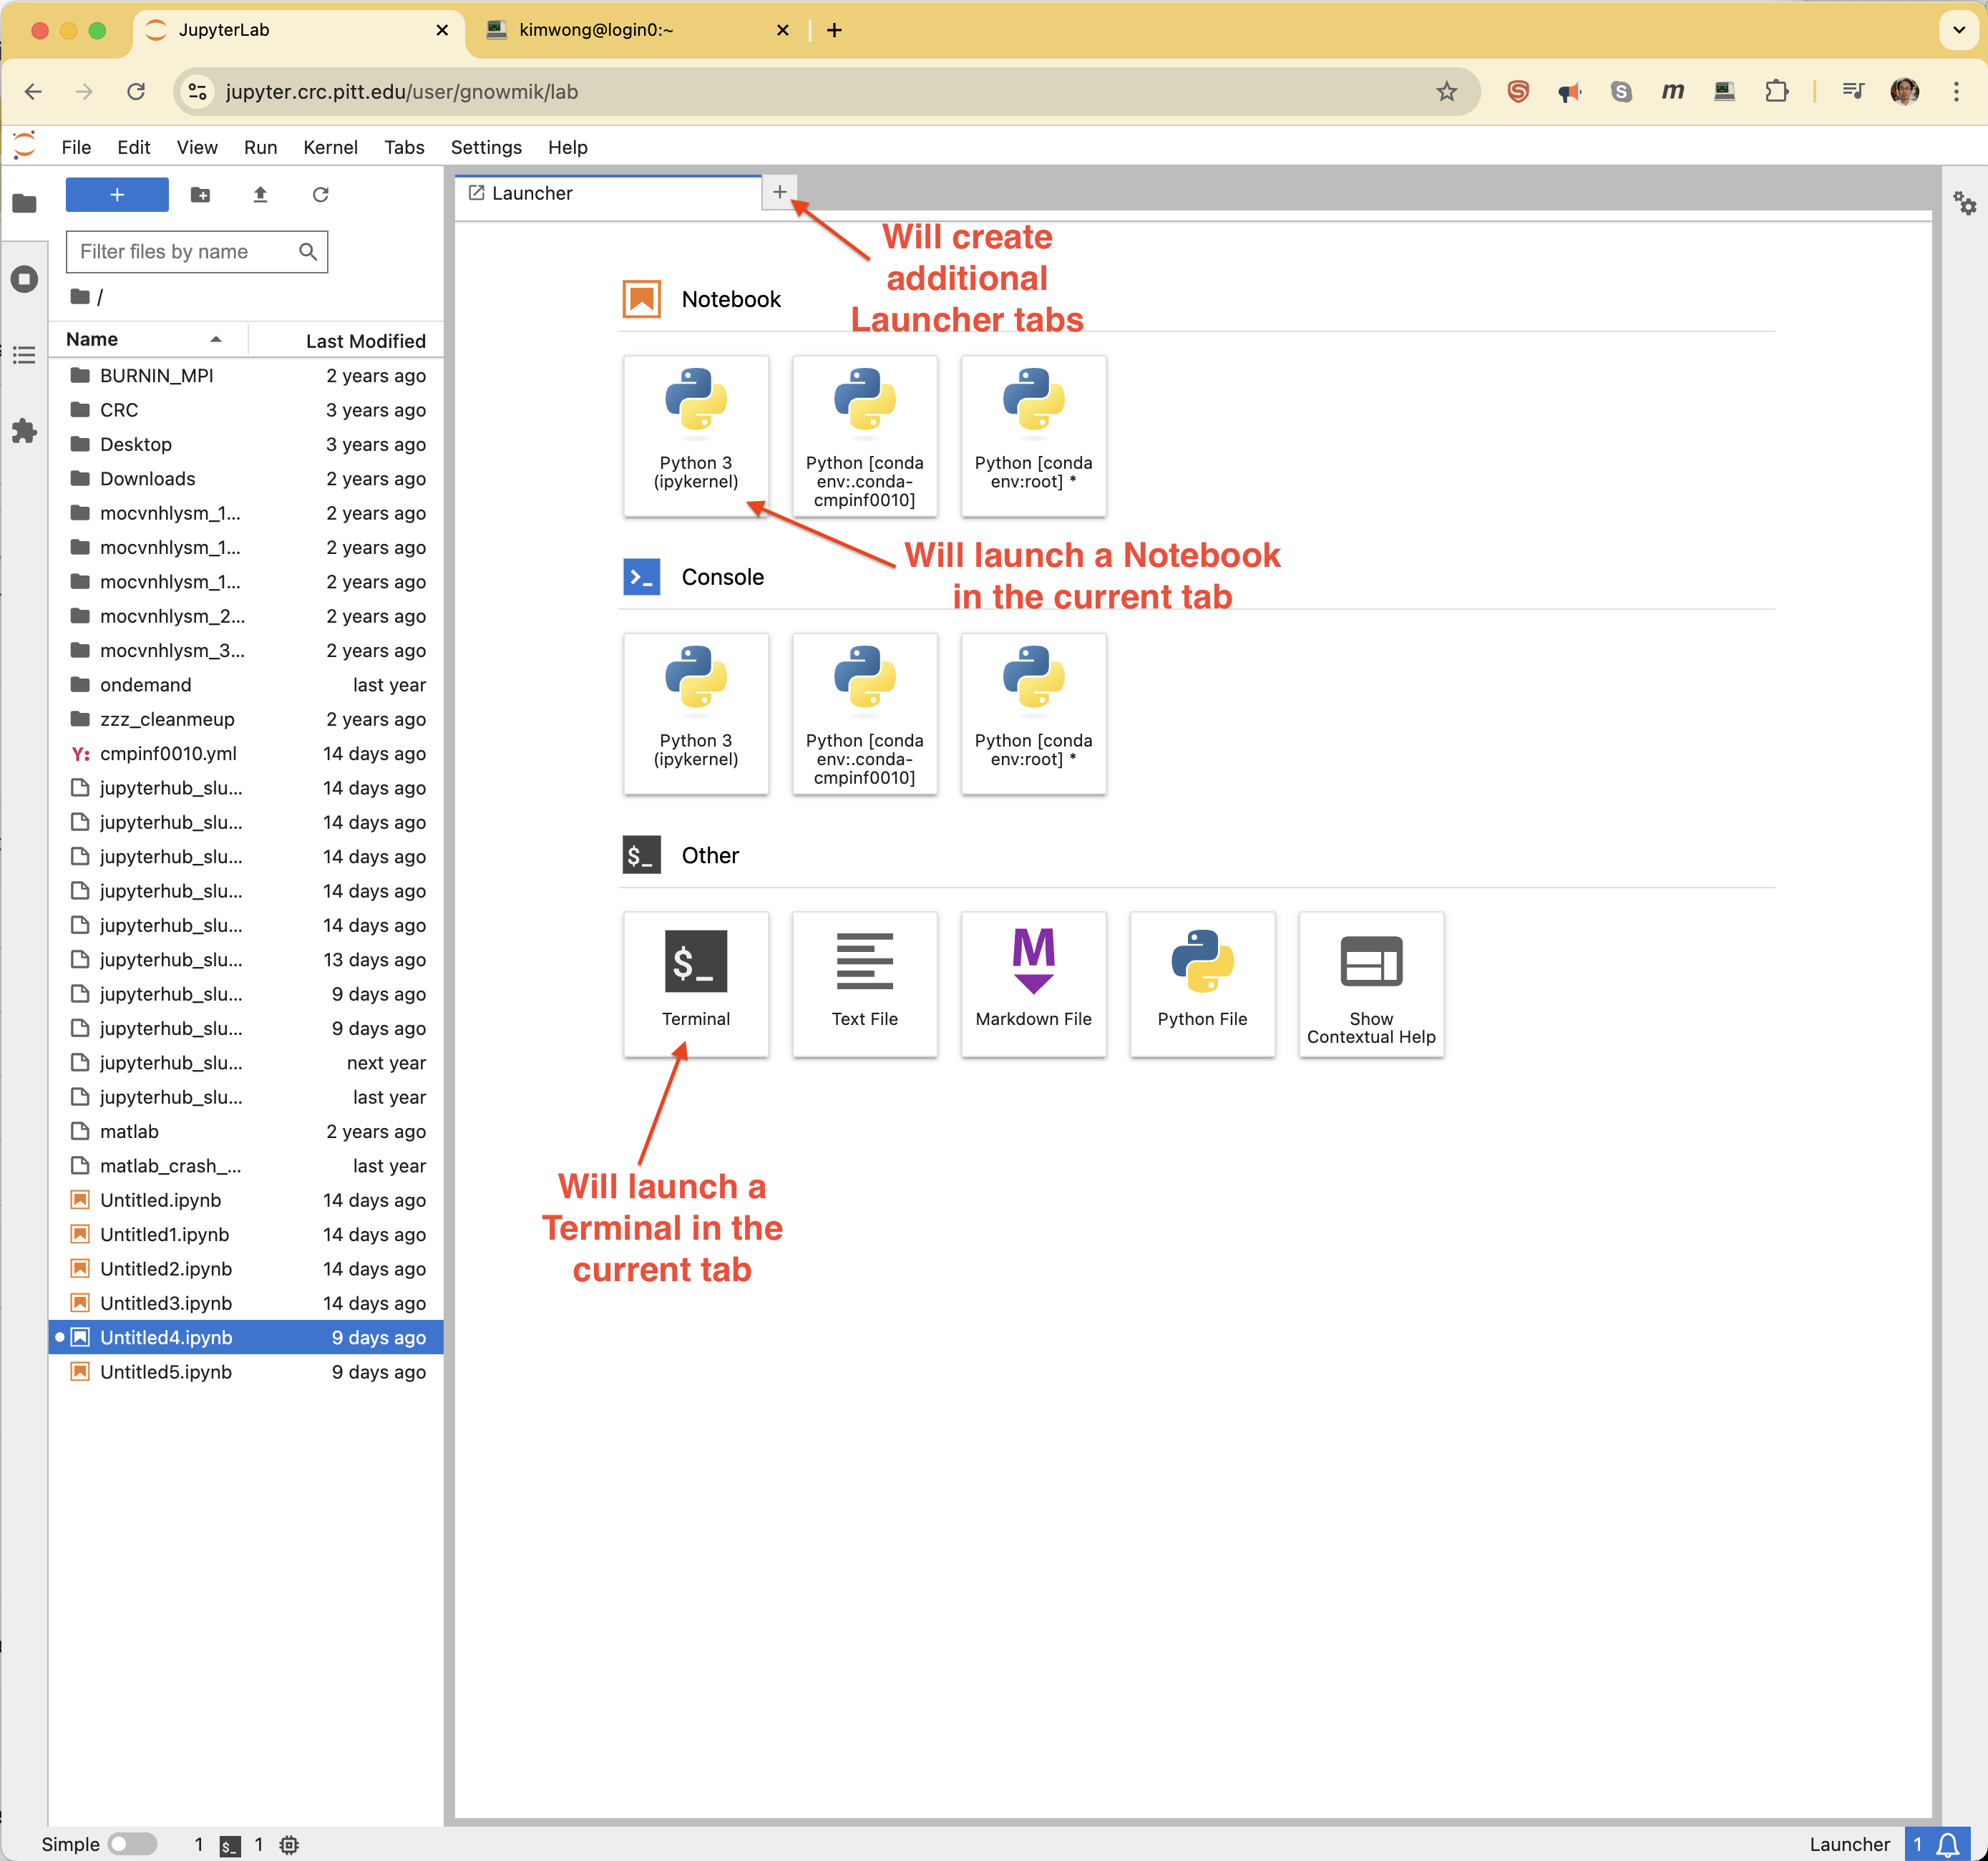
If successful, you will see the GUI below. The Project Jupyter site has good documentation on all aspects of the GUI.
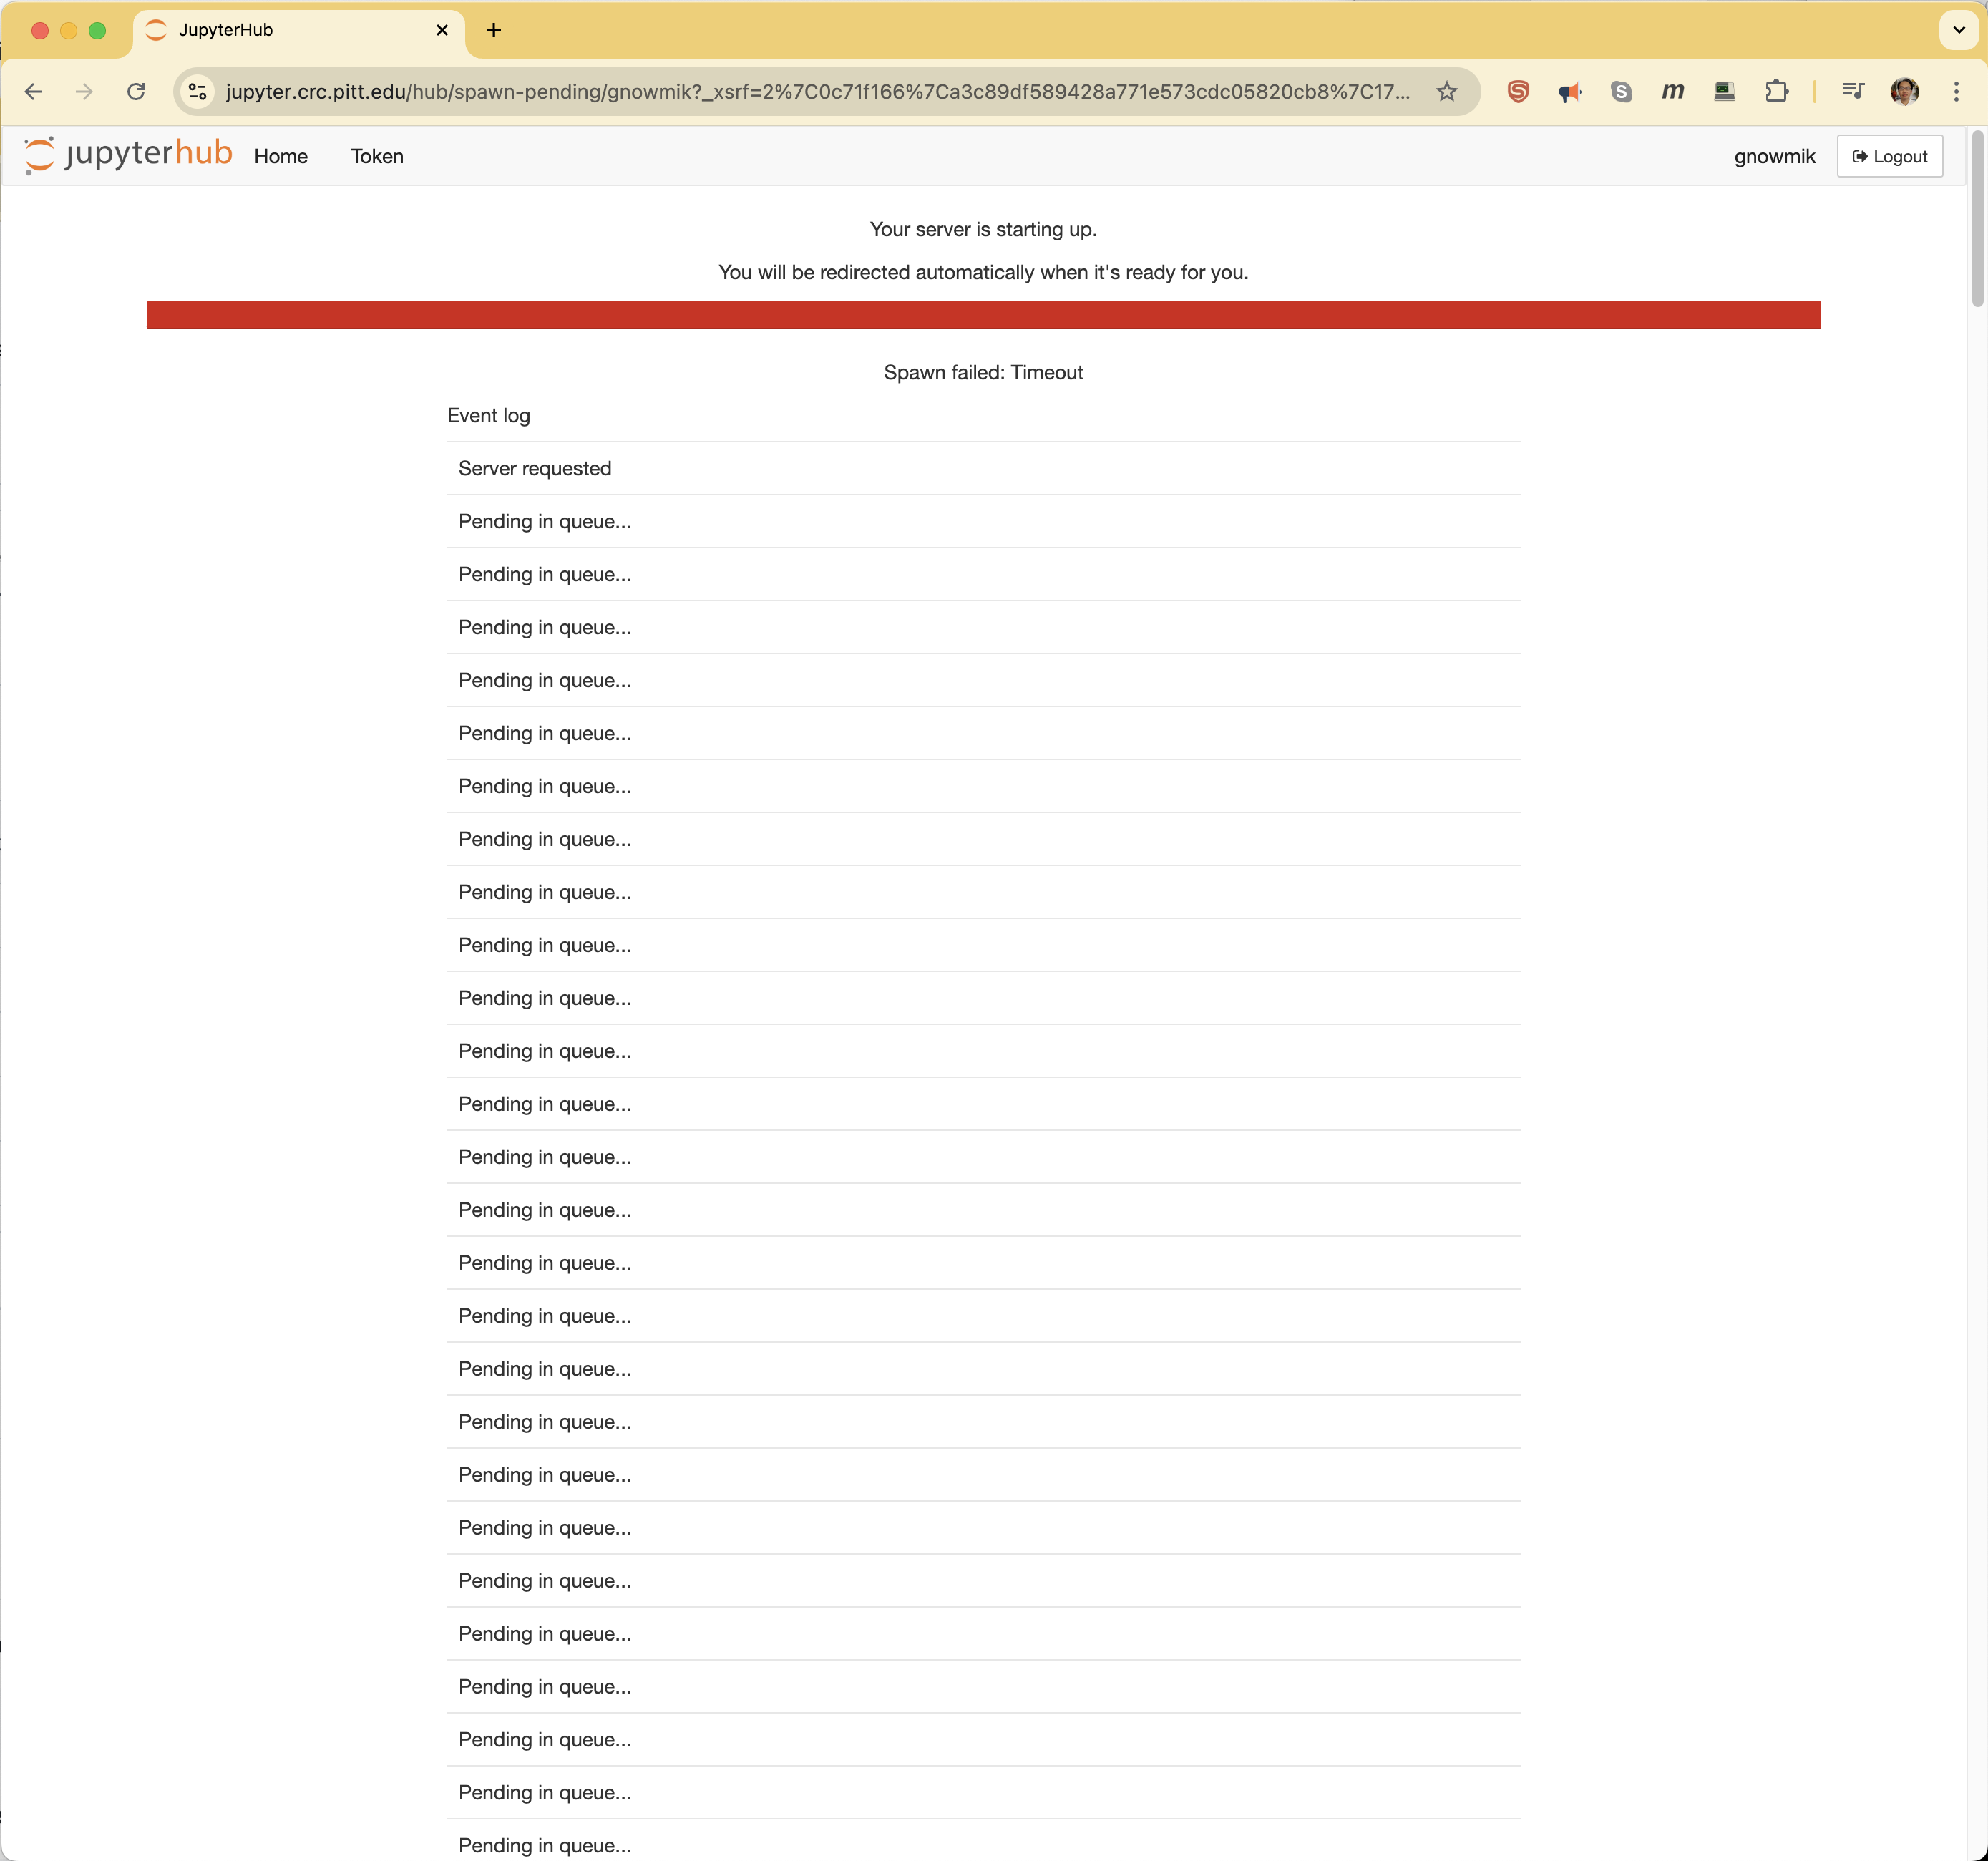
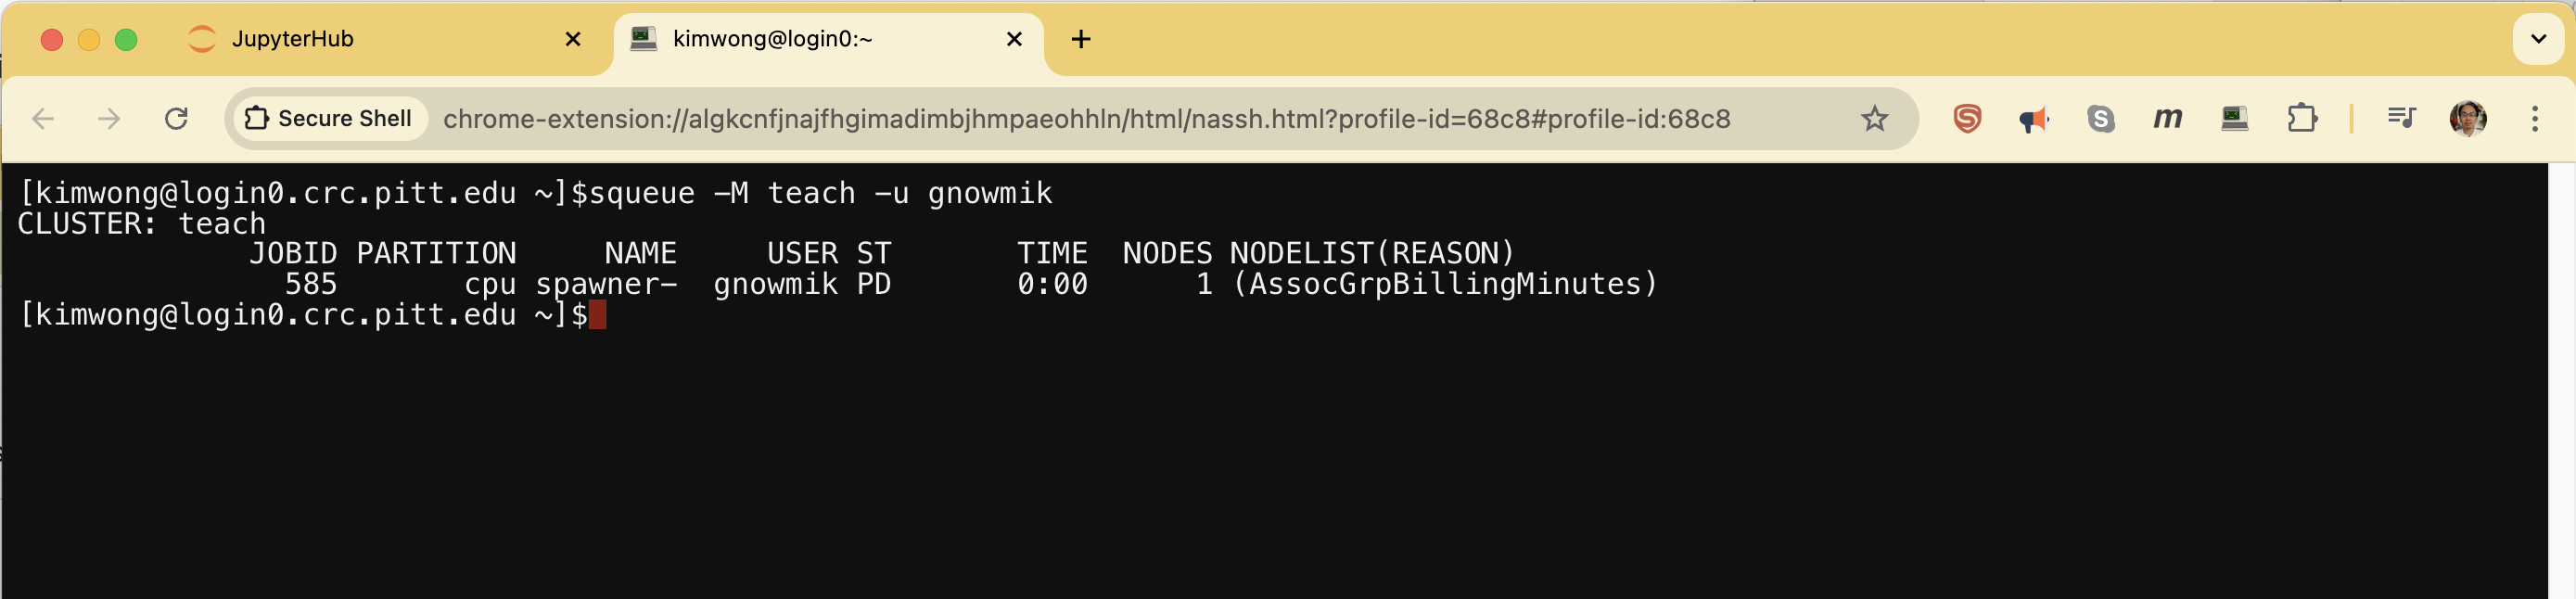
Should you run into problems, please submit a help ticket and we will troubleshoot. A potential error could be that your account does not have an allocation on the Teach cluster. A symptom of this error is shown in the Appendix at the bottom.
Step 4. Ending session
What happens if I don't [Stop My Server] ?
The server process is a Slurm job that will continue to run in the background until the requested walltime has expired or someone
scancel the job. The great news is that your analysis can continue to run even if you close your web browser. You can log
back into JupyterHub later and pick up where you left off. The bad news is that if you are done with your work session and forgot
to [Stop My Server], the resource remains idle and unavailable to other users, hence wasted. Your Resource Allocation will
still be charged for the wasted time.
Be sure to Save All your work before ending your session.
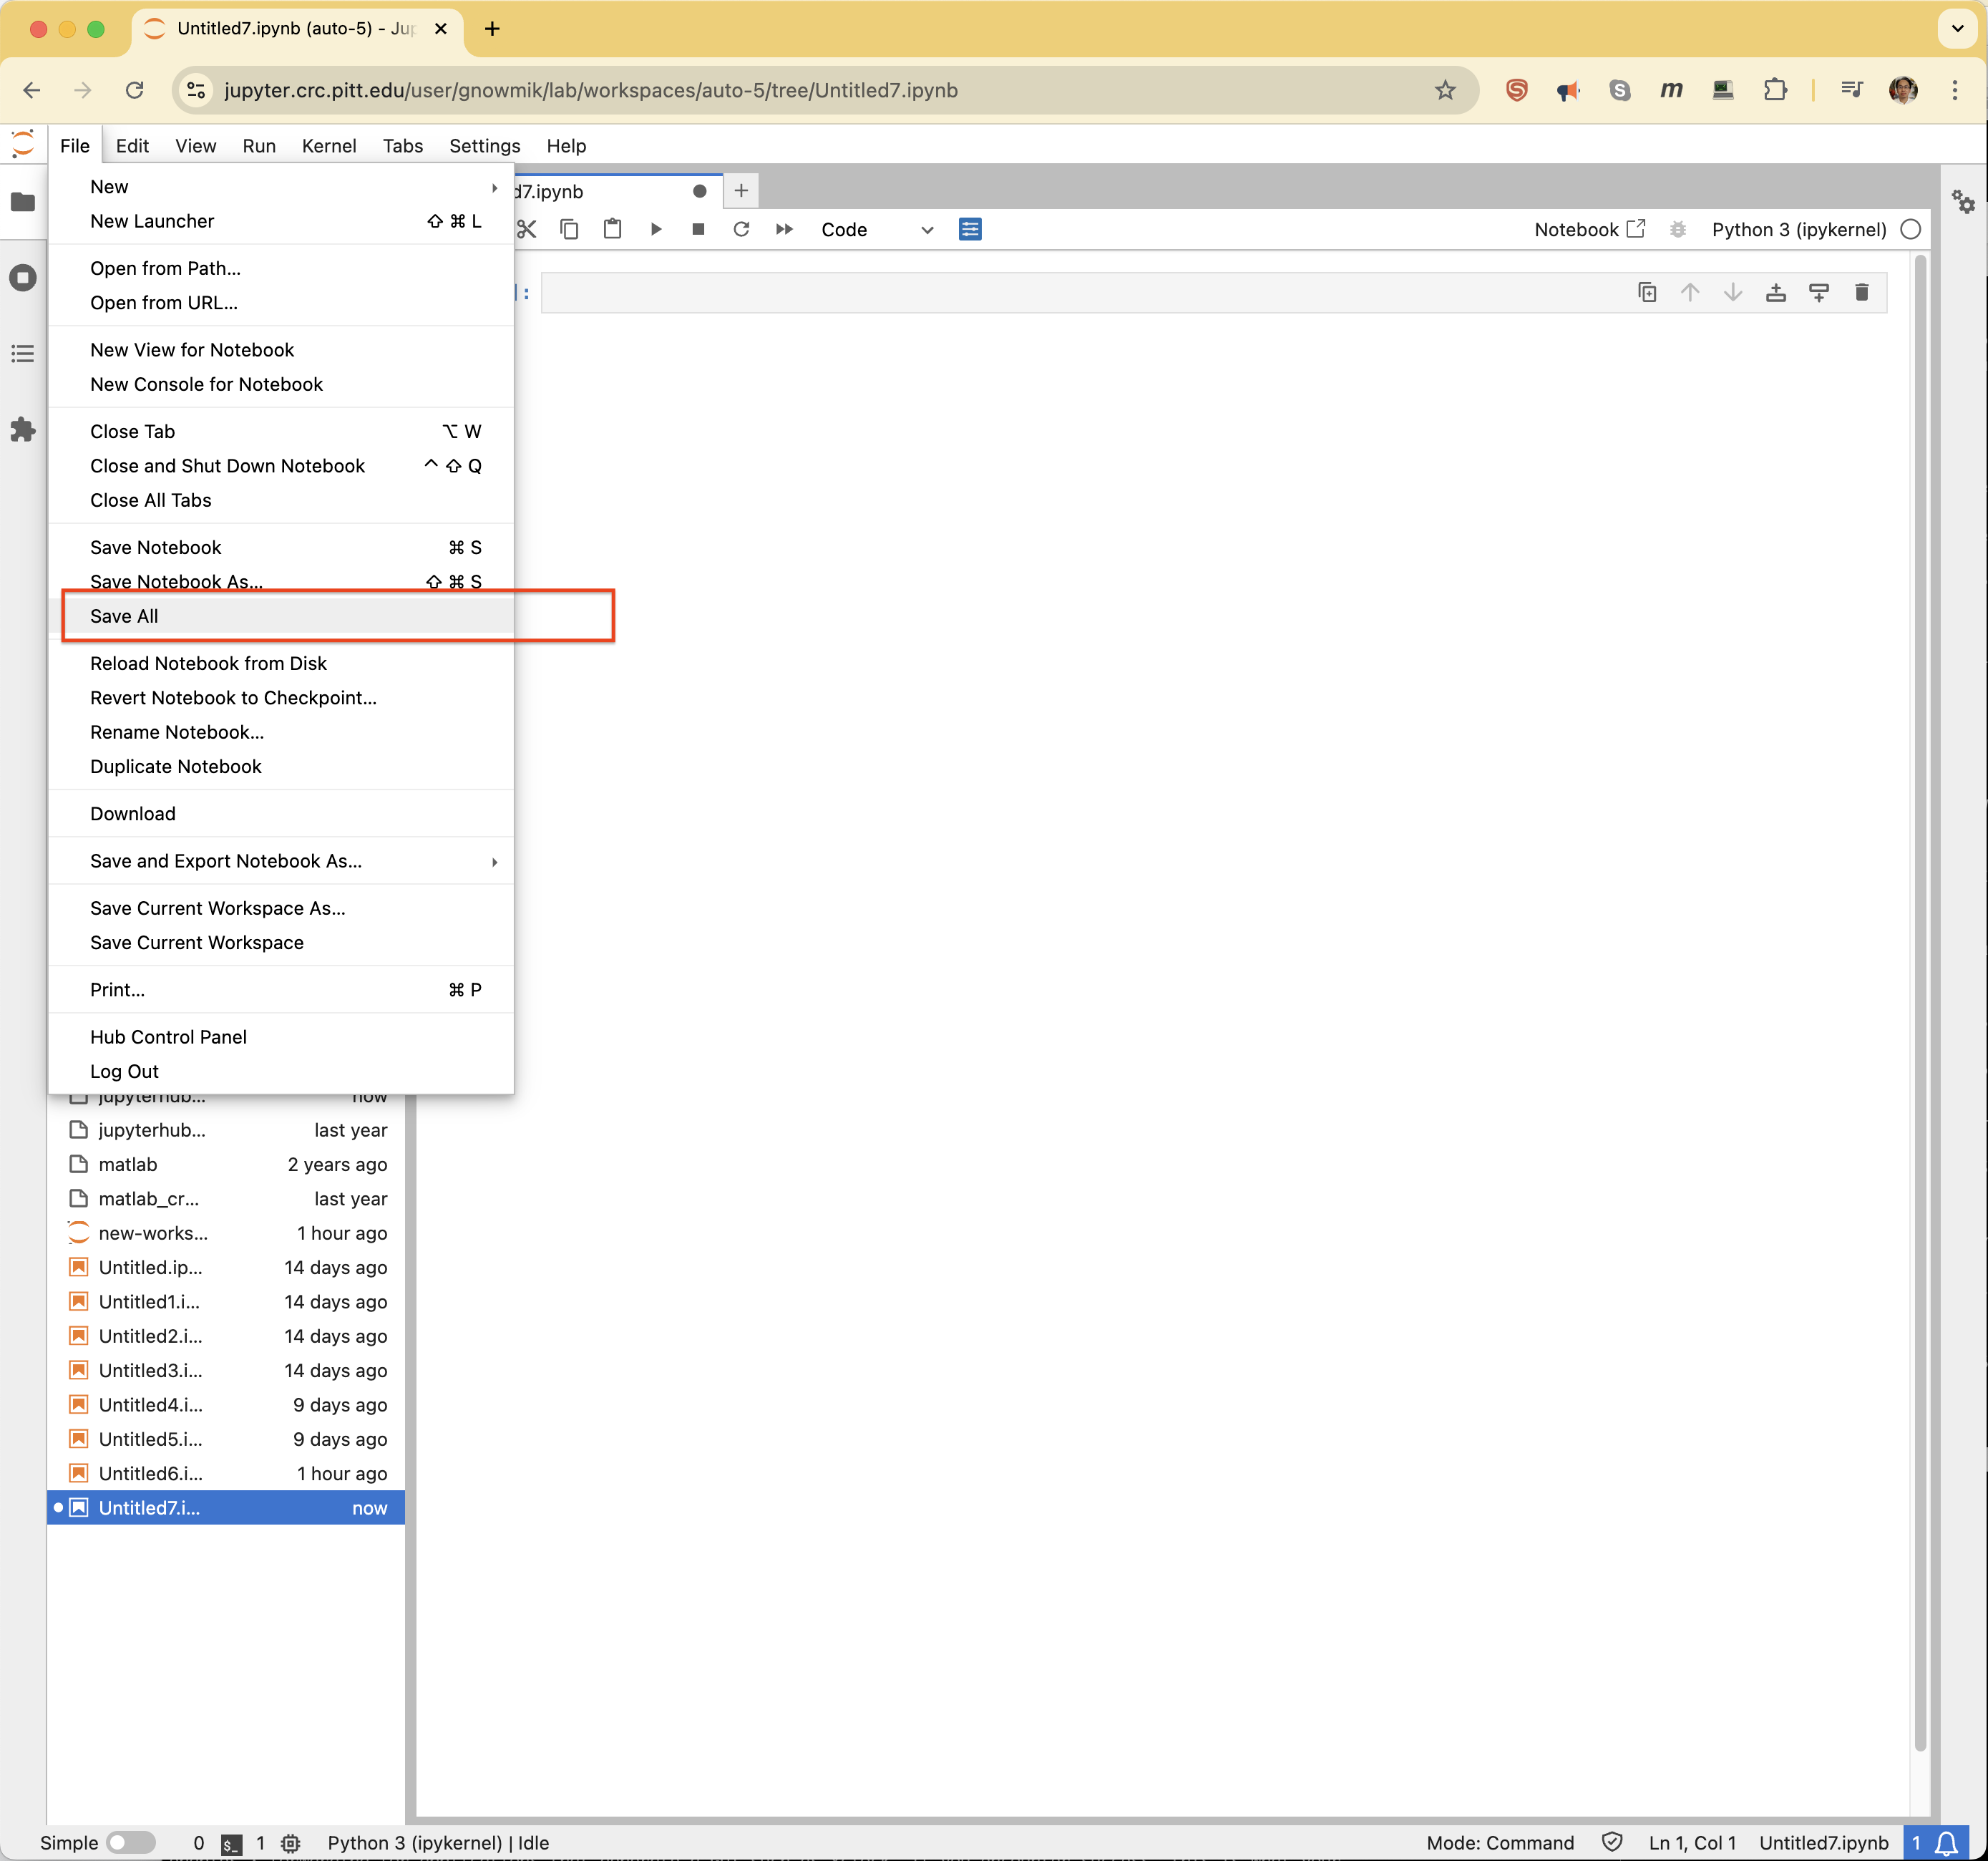
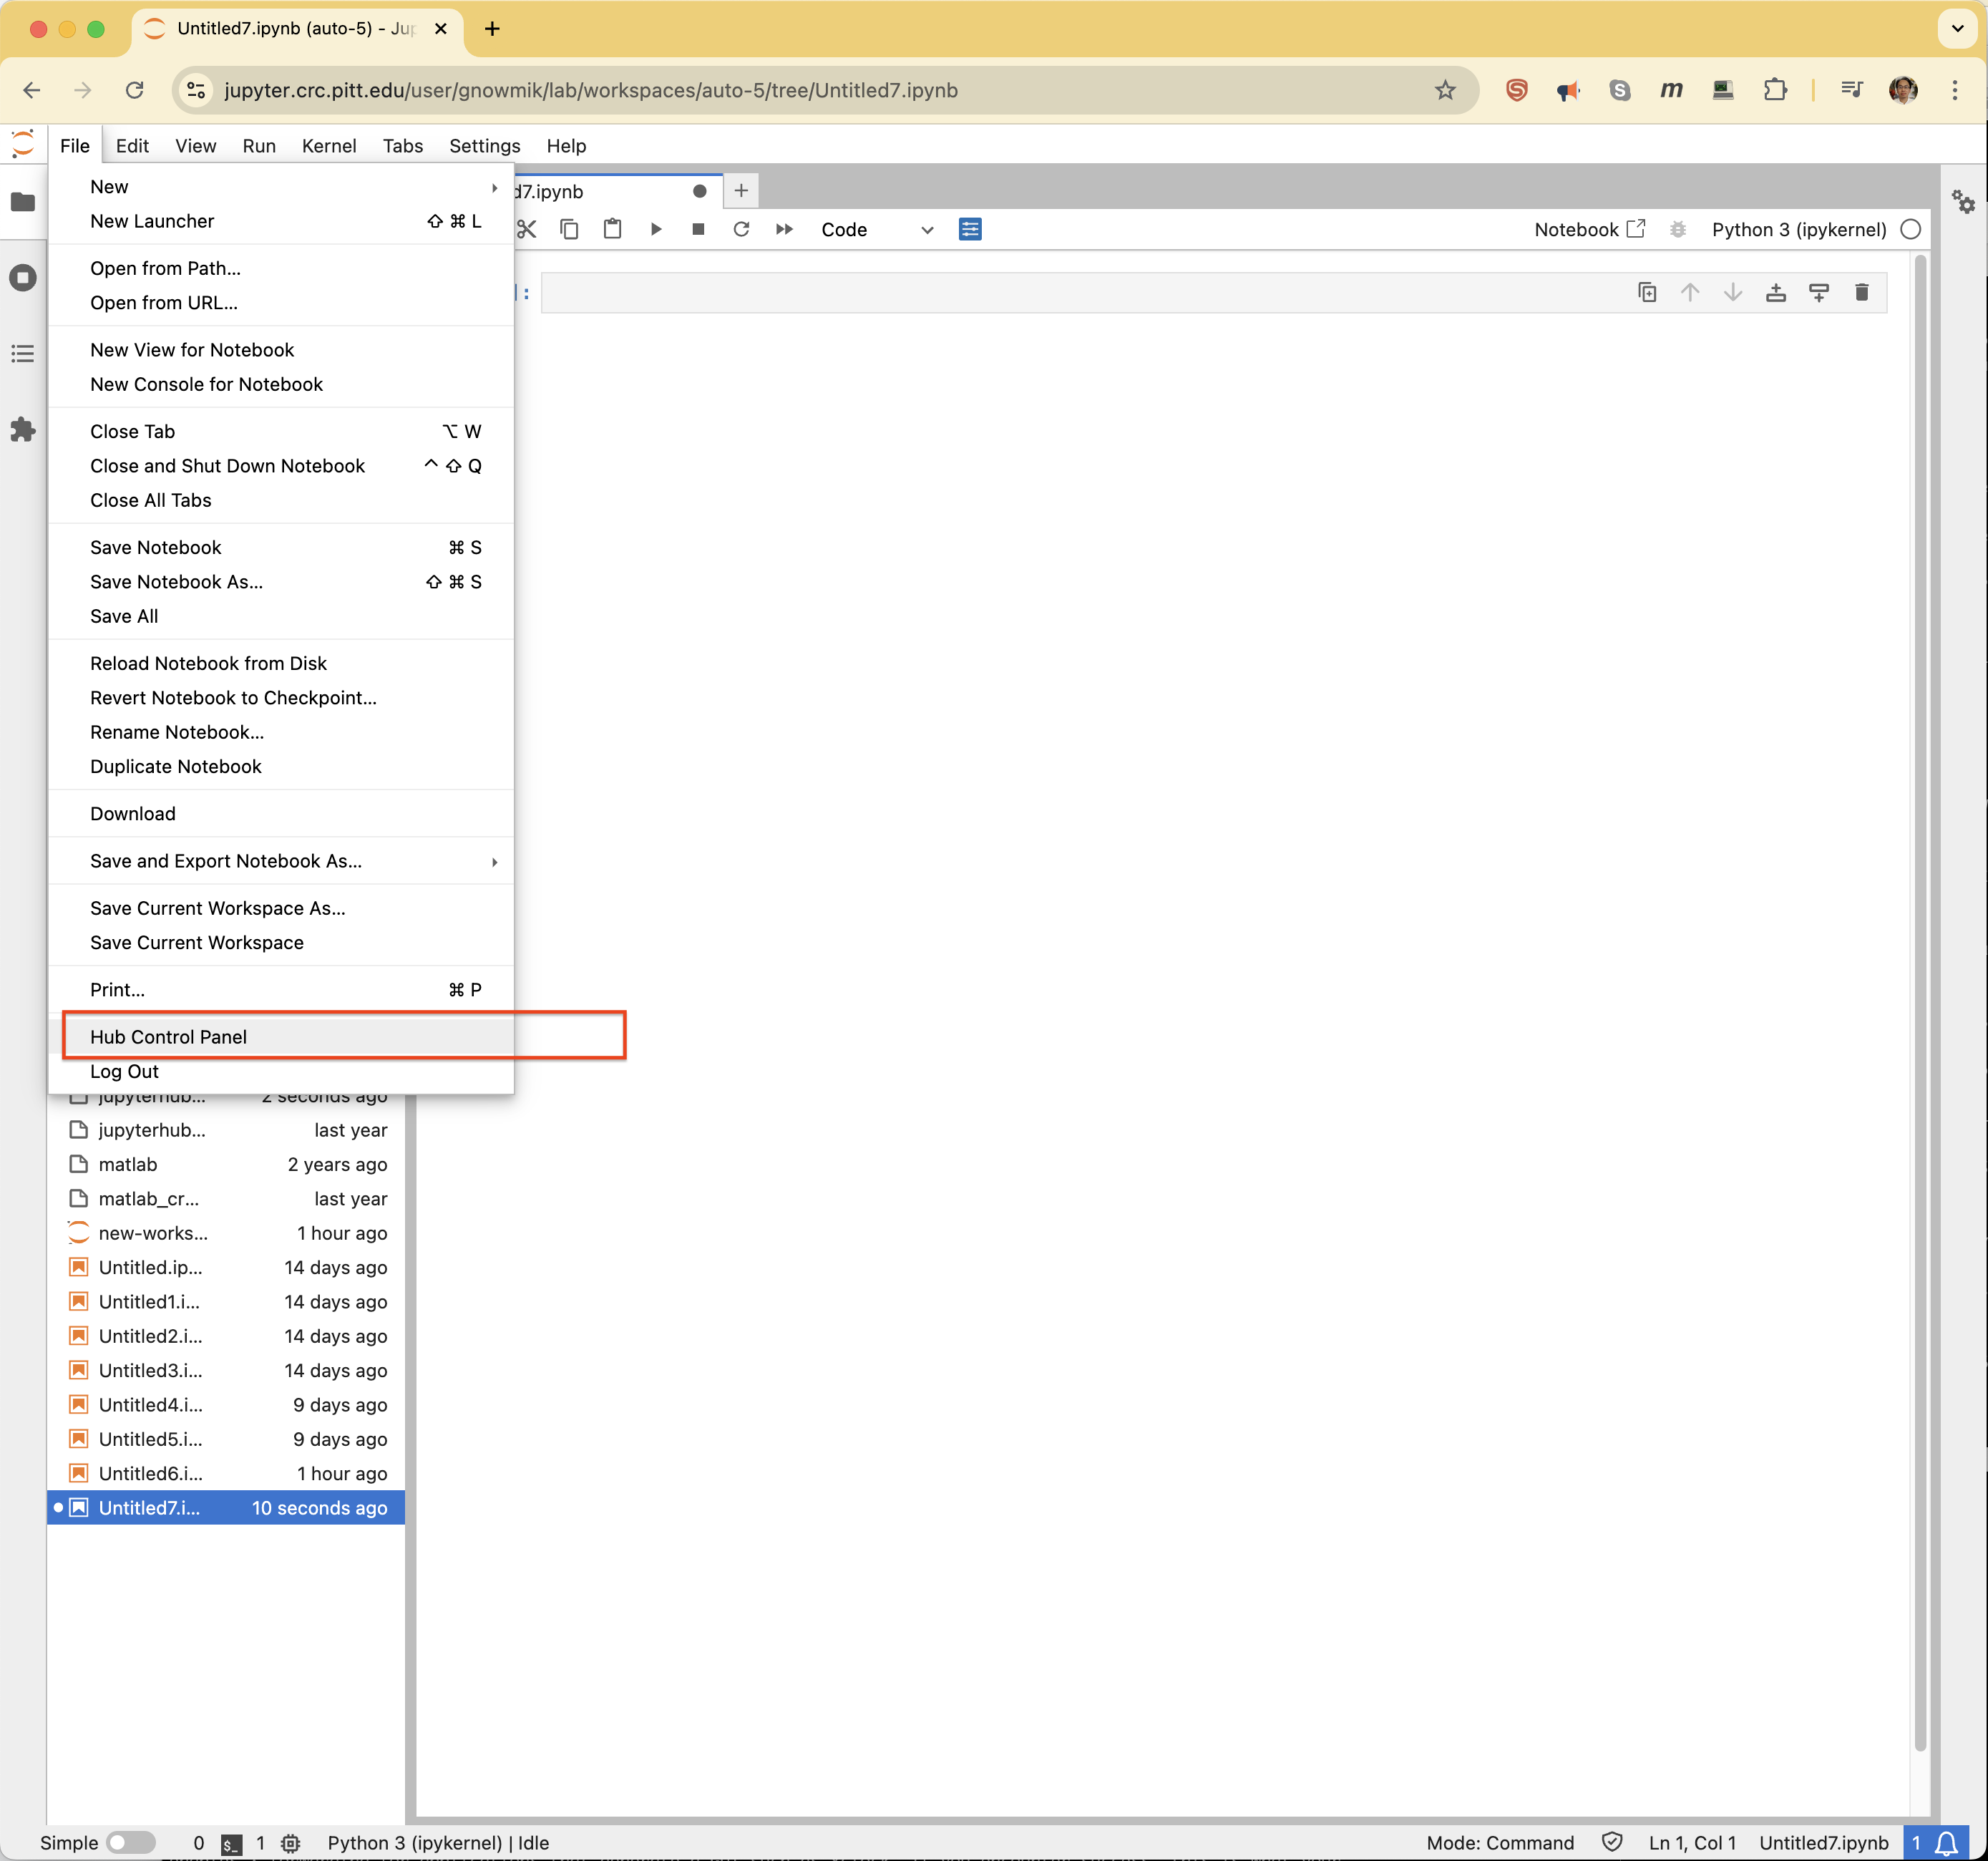
Next, select the Hub Control Panel to bring up the option to Stop My Server, which will end the Slurm job and hence your JupyterHub session.
You may see additional warning/error messages in the tab where you have your Notebook open. You can safely ignore these and close your browser window. Essentially, you have stopped the server (stopped the Slurm job) and so the front-end can no longer connect to it. Stopping the server also killed the Python kernel that was running.


Appendix: Errors
Your request for a Jupyter Notebook on the Teach cluster will fail if your account does not have a Resource Allocation there. The error may manifest as shown below. Please submit a help ticket and we will create it for you.